RSS Feed
Search...
CTL Twitter
CTL Instagram
Email the CTL
CTL Facebook
Home
NEWS
& Updates
TEAMS
Info & Rosters
Bristol Knights
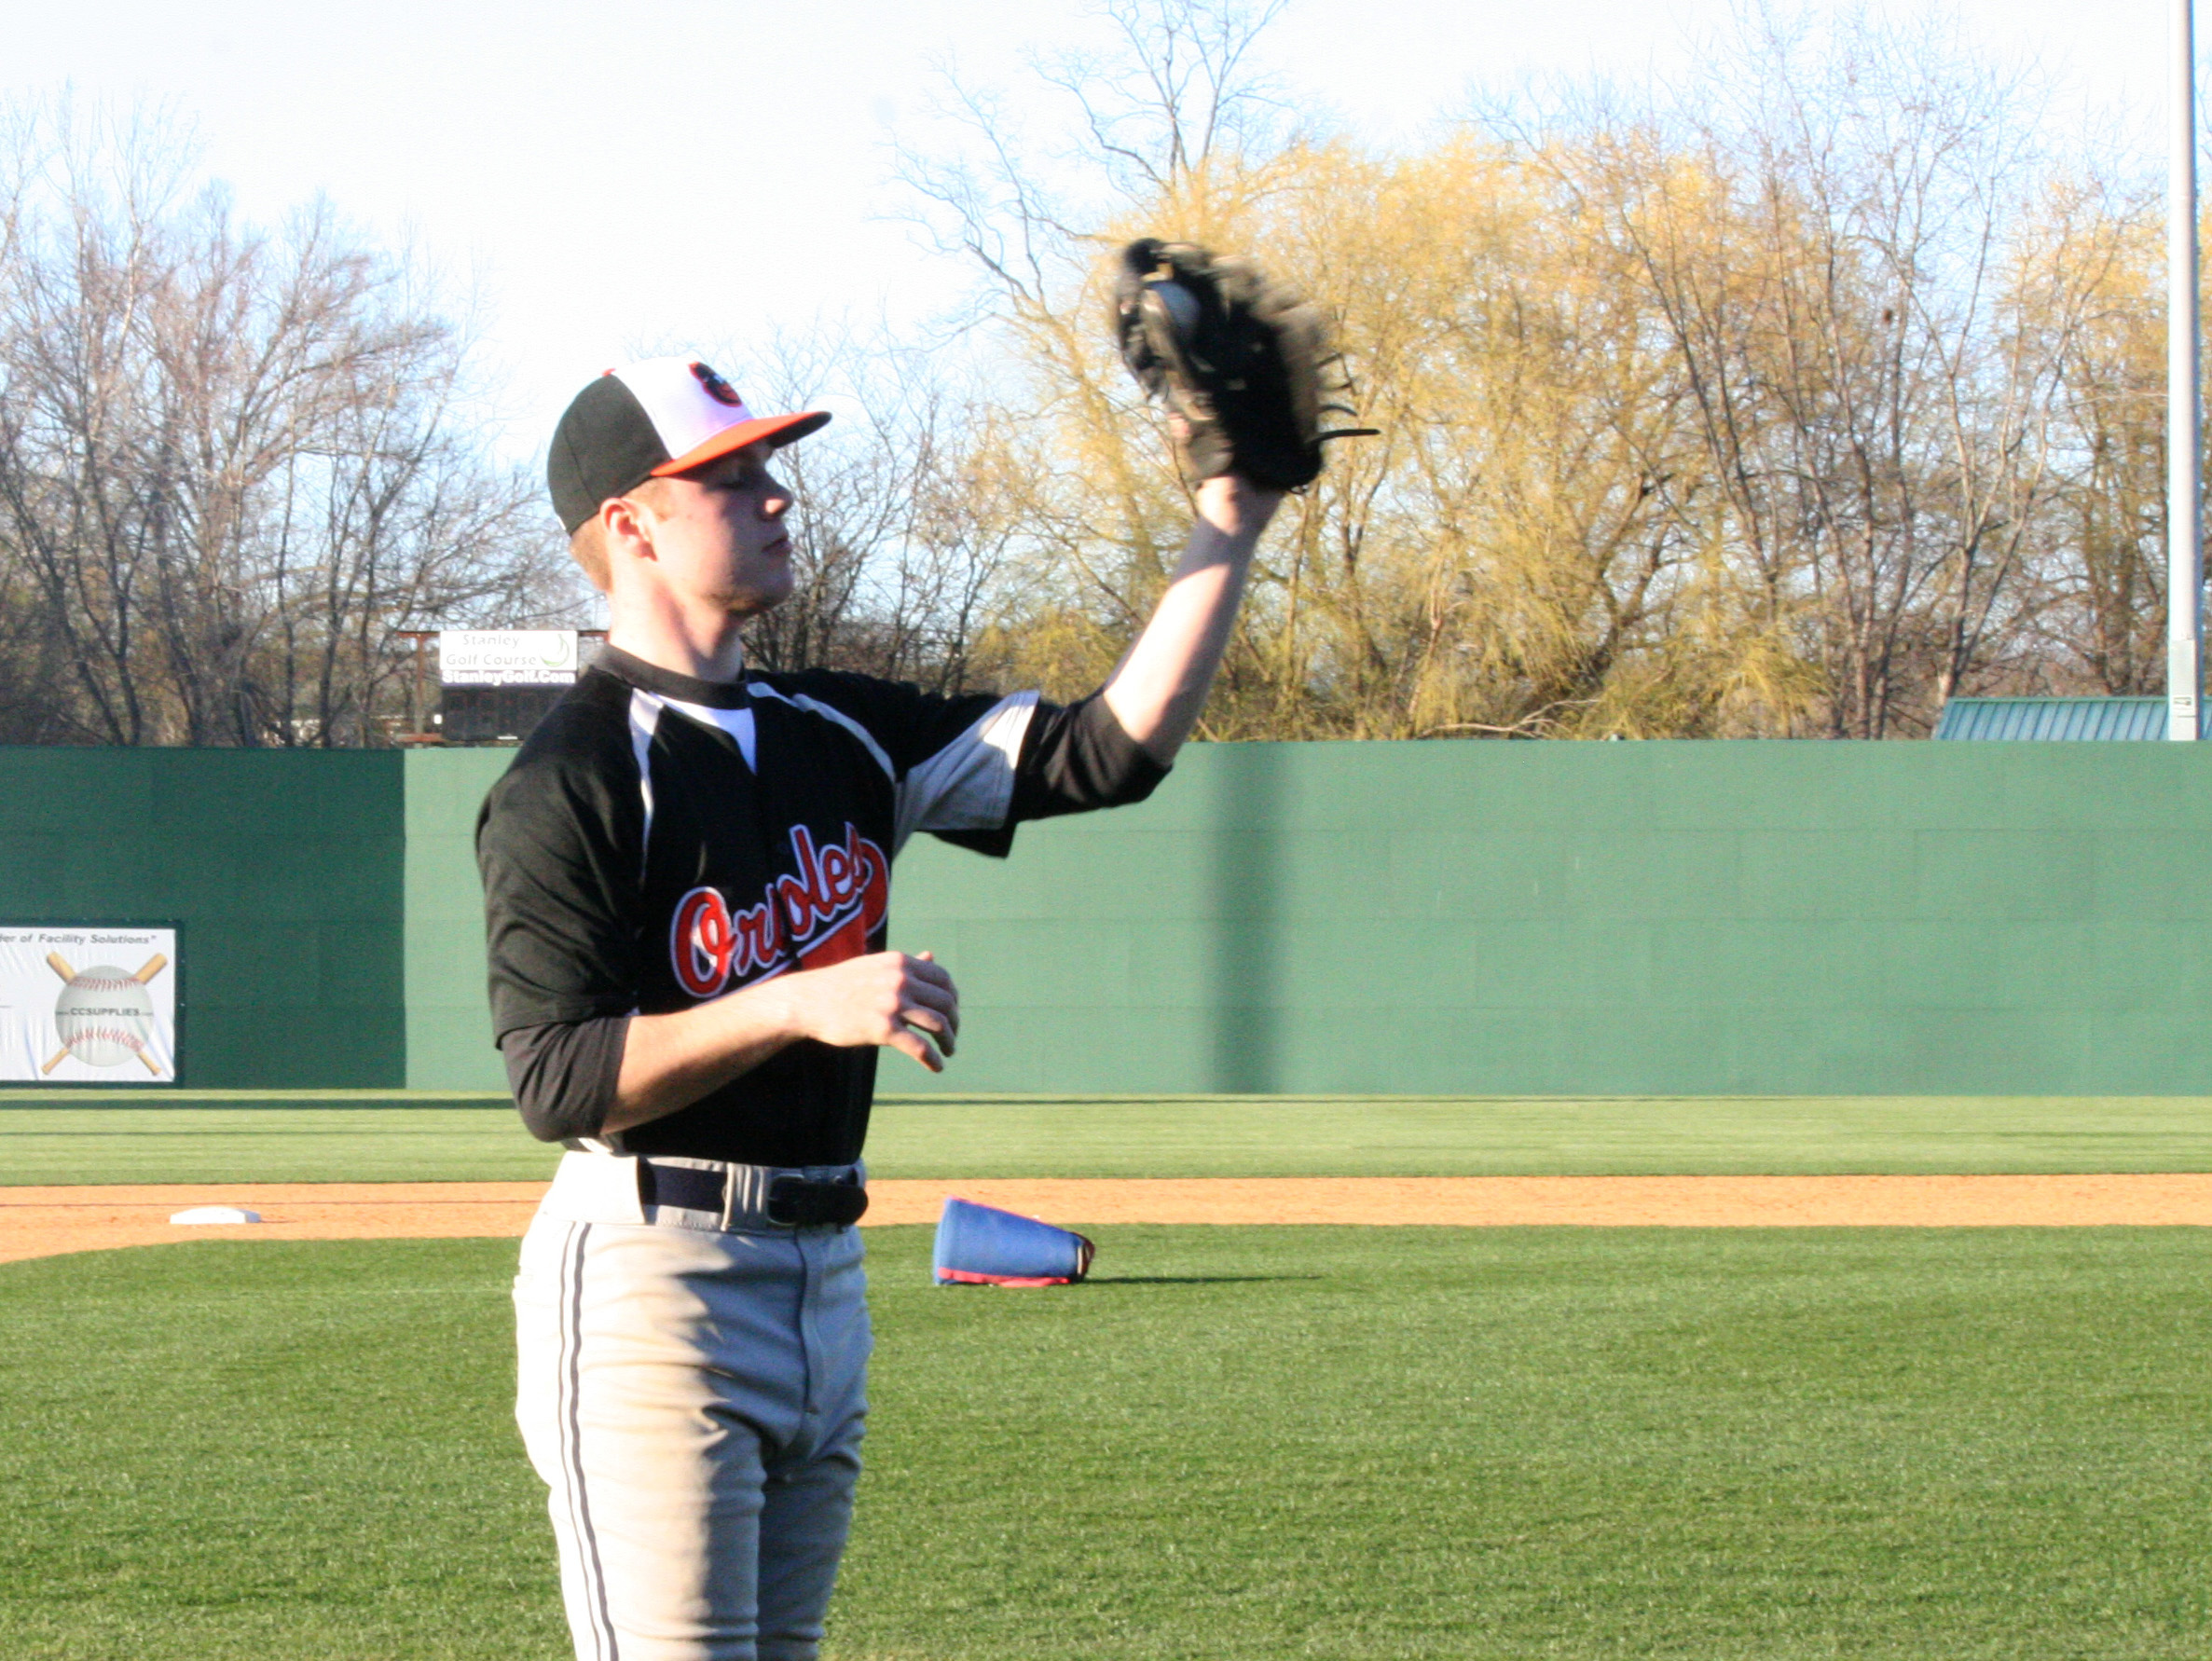
Connecticut Orioles
Elmer’s Angels
Enfield Patriots
New Britain Rock Cats
Rocky Hill Rockies
Southington Aftershock
Terryville Black Sox
Wethersfield Dodgers
Former Teams
Loco Perro Expos
Barile Realty Indians
Loco Perro Expos
Moodus Nationals
P.L.A.T. Life Royals
Portland Panthers
East Hartford Angels
Chicago Sam’s Orioles
Fat Orange Cat Brewers
Glastonbury Pirates
Singing Surgeons
Willibrew Ridges
CTL INFO
Info & Store
CTL Information
CTL Contact Info – Updated for 2022
CTL History
CTL Documents & Files
CTL STORE
Concussion Safety
Free Agent Sign-Up Form
SCHEDULE
2024 Schedule & Playoffs
STANDINGS
2023 Schedule & Playoffs
2022 Schedule & Playoffs
Field Directions
Previous Schedules
2021 Schedule & Playoffs
2020 Schedule & Playoffs
2019 Playoffs Schedule & Bracket
2019 Schedule
2018 PLAYOFFS
2018 Schedule
2017 CTL Playoffs
2017 Season Schedules
2016 Regular Season & Playoffs
PHOTOS
Check us out
2022 Photos
2021 Photos
2020 Photos
2019 Photos
2019 CTL vs NB Bees Exhibition
New Britain Stadium Games
CTL Summer Classic 2019, Game 1
CTL Summer Classic 2019, Game 2
CTL Summer Classic 2019, Game 3
CTL Summer Classic 2019, Game 4
CTL Summer Classic 2019, Game 5
2019 CTL Playoffs
2019 CTL Championship Series
2019 All-Star Game
2018 Photos
New Britain Bees Game 2018
Indians vs Knights at Muzzy Field
Expos and Orioles Vs Knights at Muzzy
CTL at Dodd Stadium 2018
2018 CTL Summer Classic
2018 CTL Summer Classic, Game 1: Loco Perro Expos VS Singing Surgeons
2018 CTL Summer Classic, Game 2: Willimantic Ridges VS Bristol Knights
2018 CTL Summer Classic, Game 3: Chicago Sam’s Orioles VS Glastonbury Pirates
2018 CTL Summer Classic, Game 4: Elmer’s Angels VS PLAT Life Royals
2018 Playoffs
2018 ALL-STAR GAME
2017 Photos
Bees Game 2017
2017 CTL Summer Classic at Dunkin’ Donuts Park
CTL Summer Classic: Expos vs Royals
CTL Summer Classic: Indians vs Ridges
CTL Summer Classic: Knights vs Angels
CTL Summer Classic: Elmer’s vs Glastonbury
CTL Summer Classic: Orioles vs Dodgers
Knights at Indians 071817
2017 CTL vs GHTBL ASG
Elmer’s Championship Series 2011 Photos
2012 MTL All-Star Game
All 2016 Photos
NB Bees 2016 Photos
NB Bees 2016 Videos
Dodd Stadium Doubleheader 2016
Home Run Derby 2016
2016 Regular Season Photos
2016 Playoffs Photos
2016 CTL vs GHTBL All-Star Game
2005 All-Star Game
All 2015 Photos
Bristol Knights Photos
2011 Champions – The Bristol Knights
Bristol Knights vs Angels/Twins in Opening Week Muzzy Doubleheader
Knights / Indians / Ridges Muzzy Double Header 6/6/12
Knights DH vs Indians & Elmers
Knights at East Hartford
Angels at Knights 5/19/14
Indians photos
STATISTICS
Hitting & Pitching
2023 Statistics
2022 Statistics
2021 Statistics
2020 Statistics
2019 Statistics
2018 Statistics
2017 Statistics
2016 Statistics
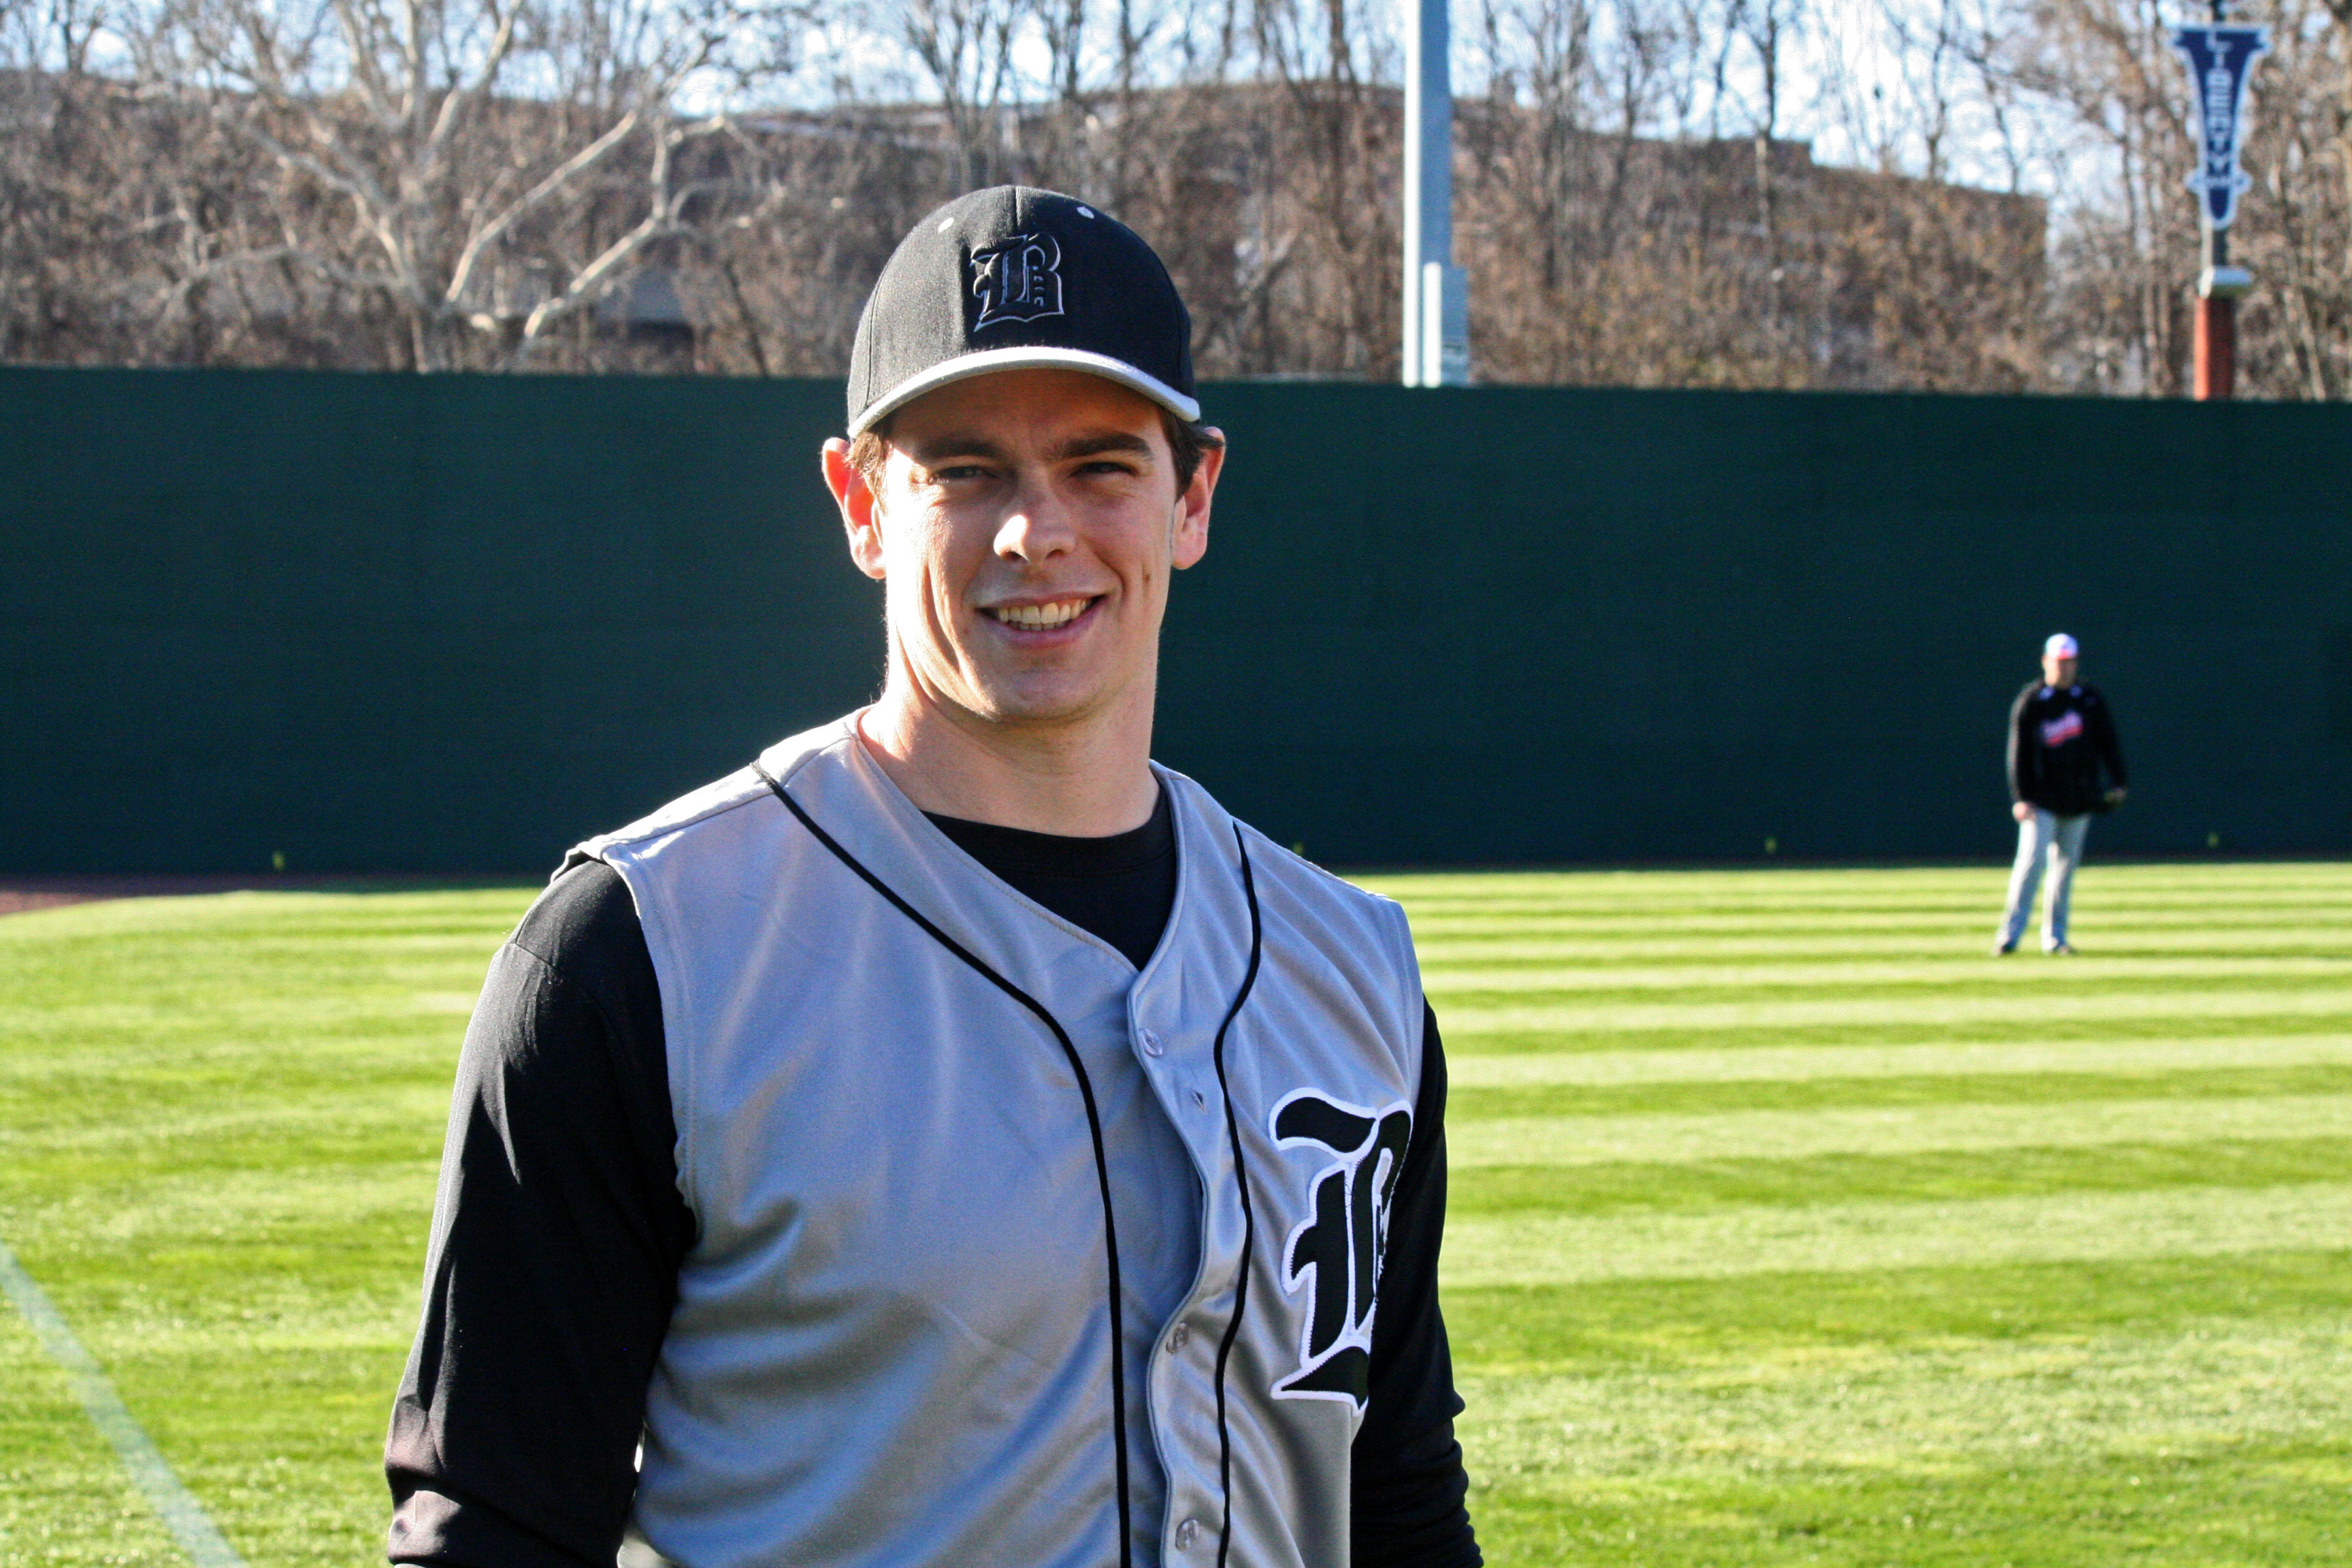
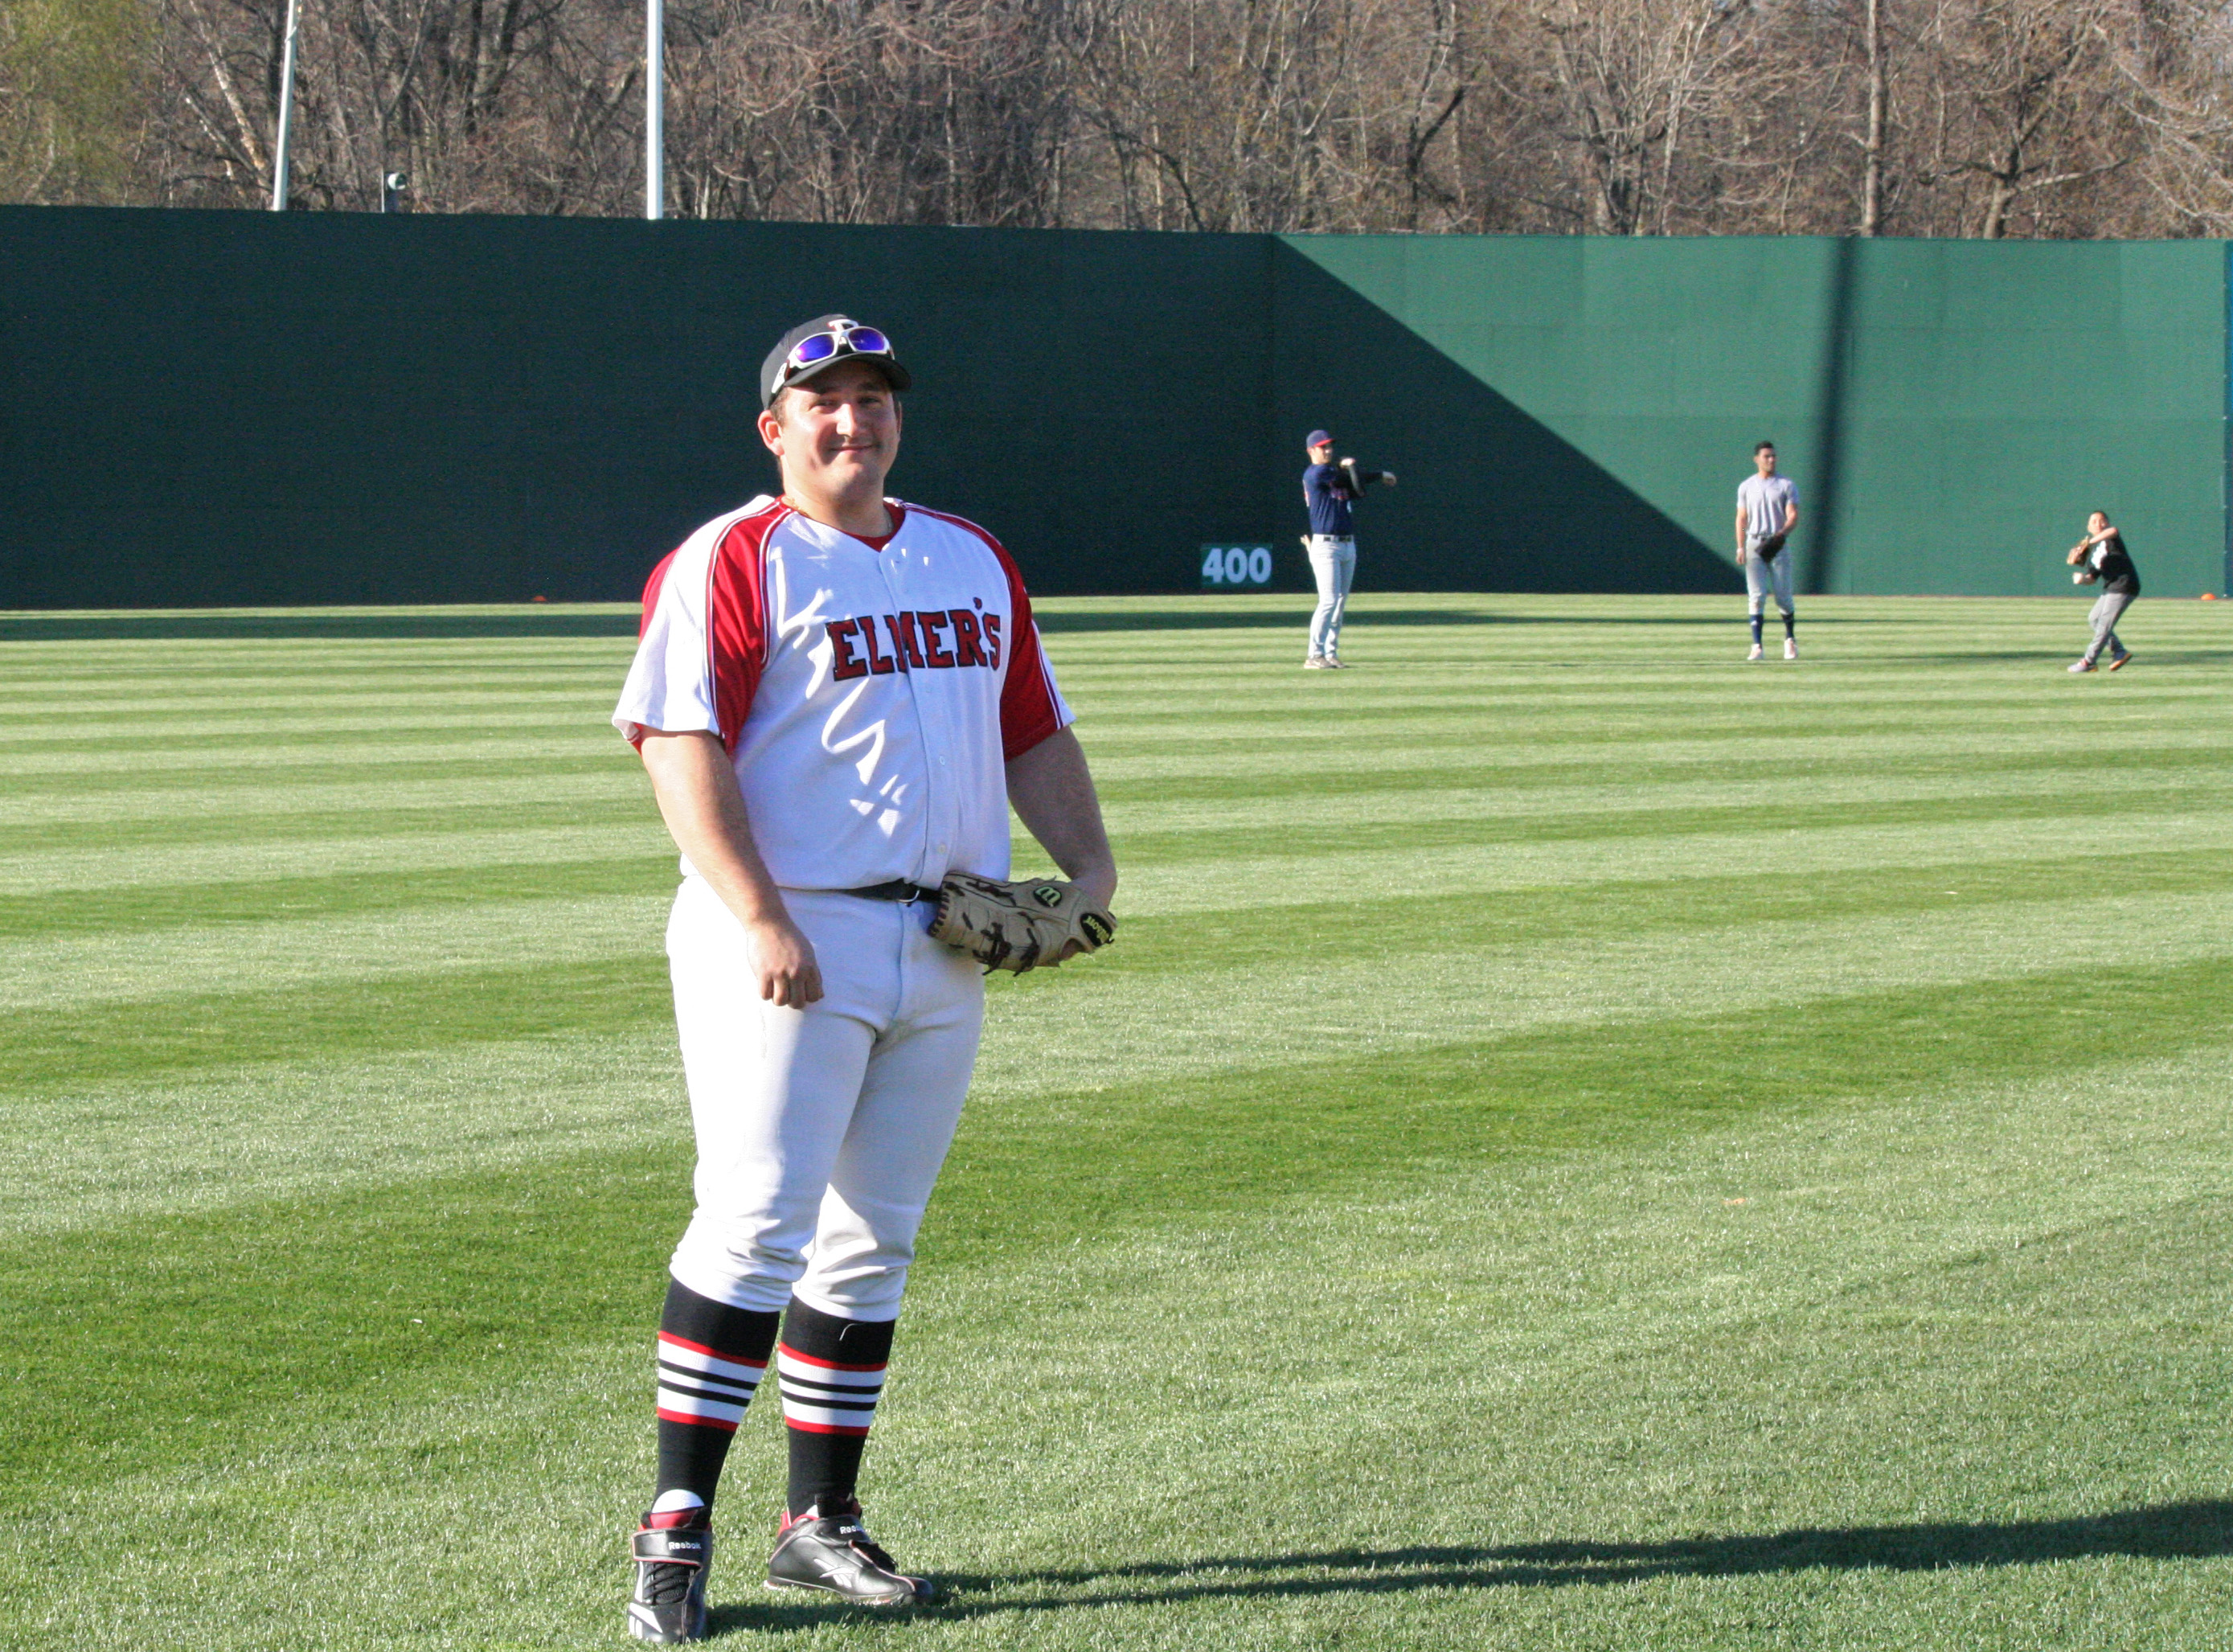
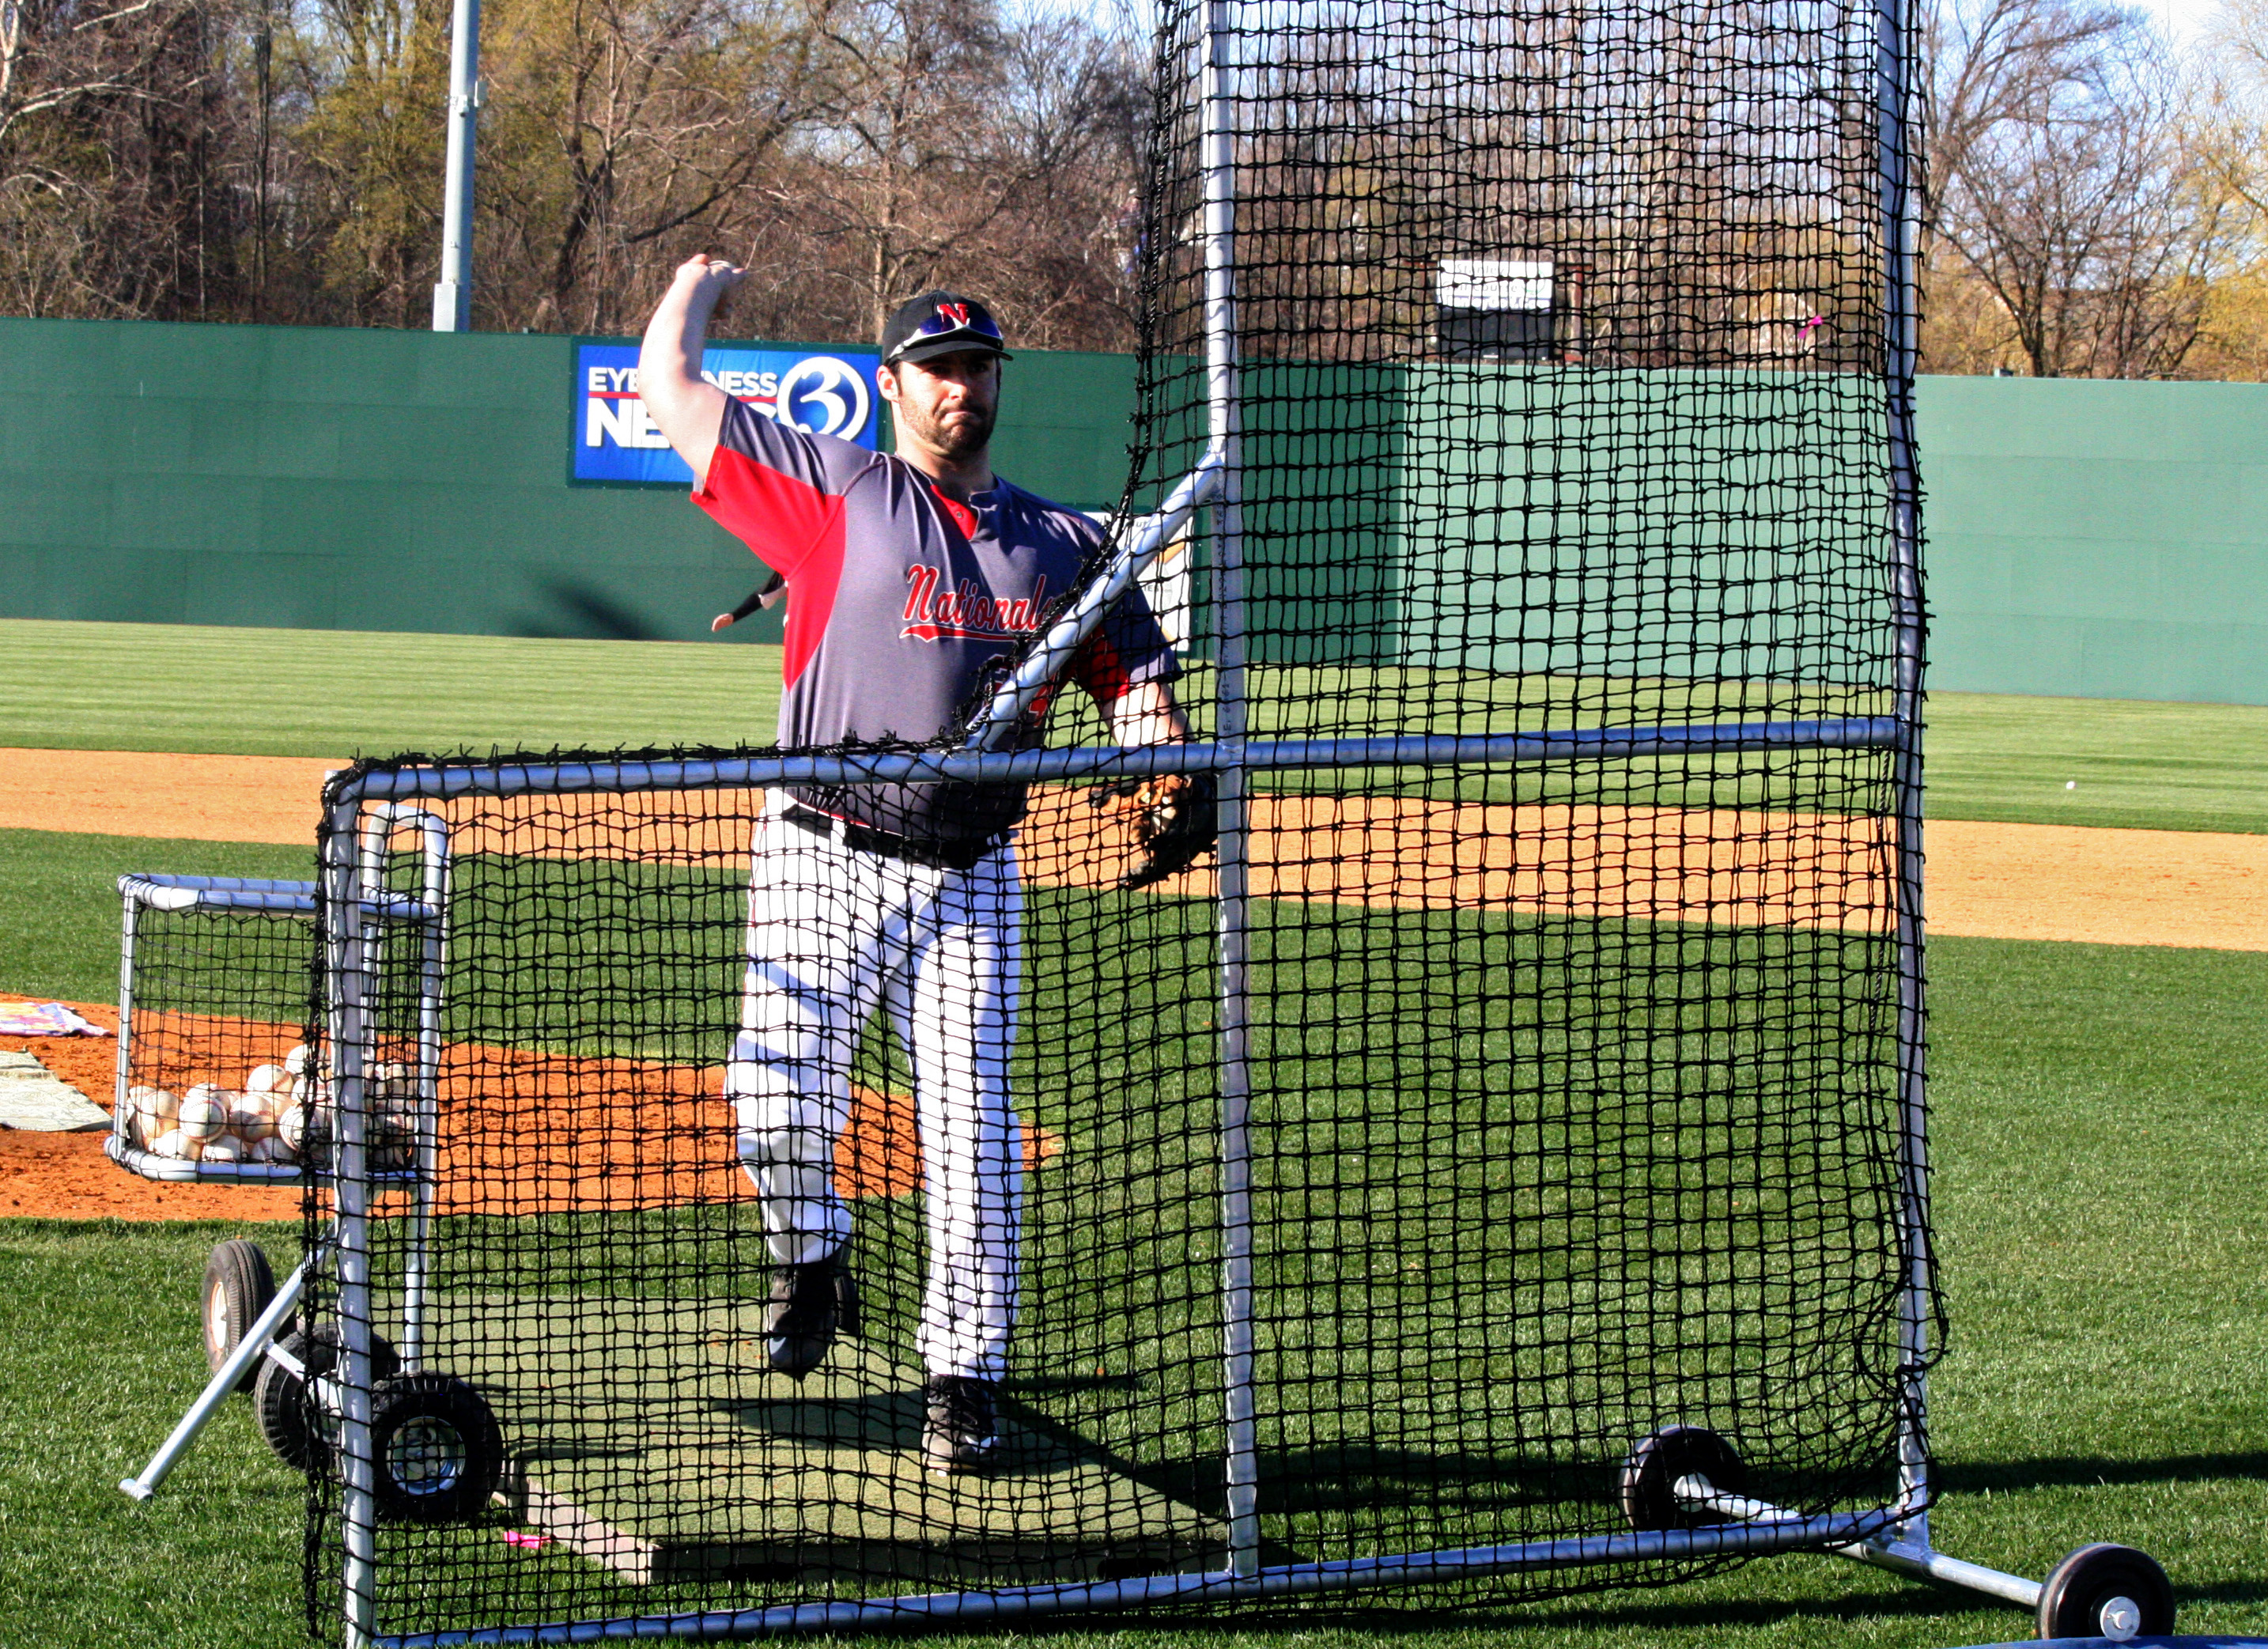
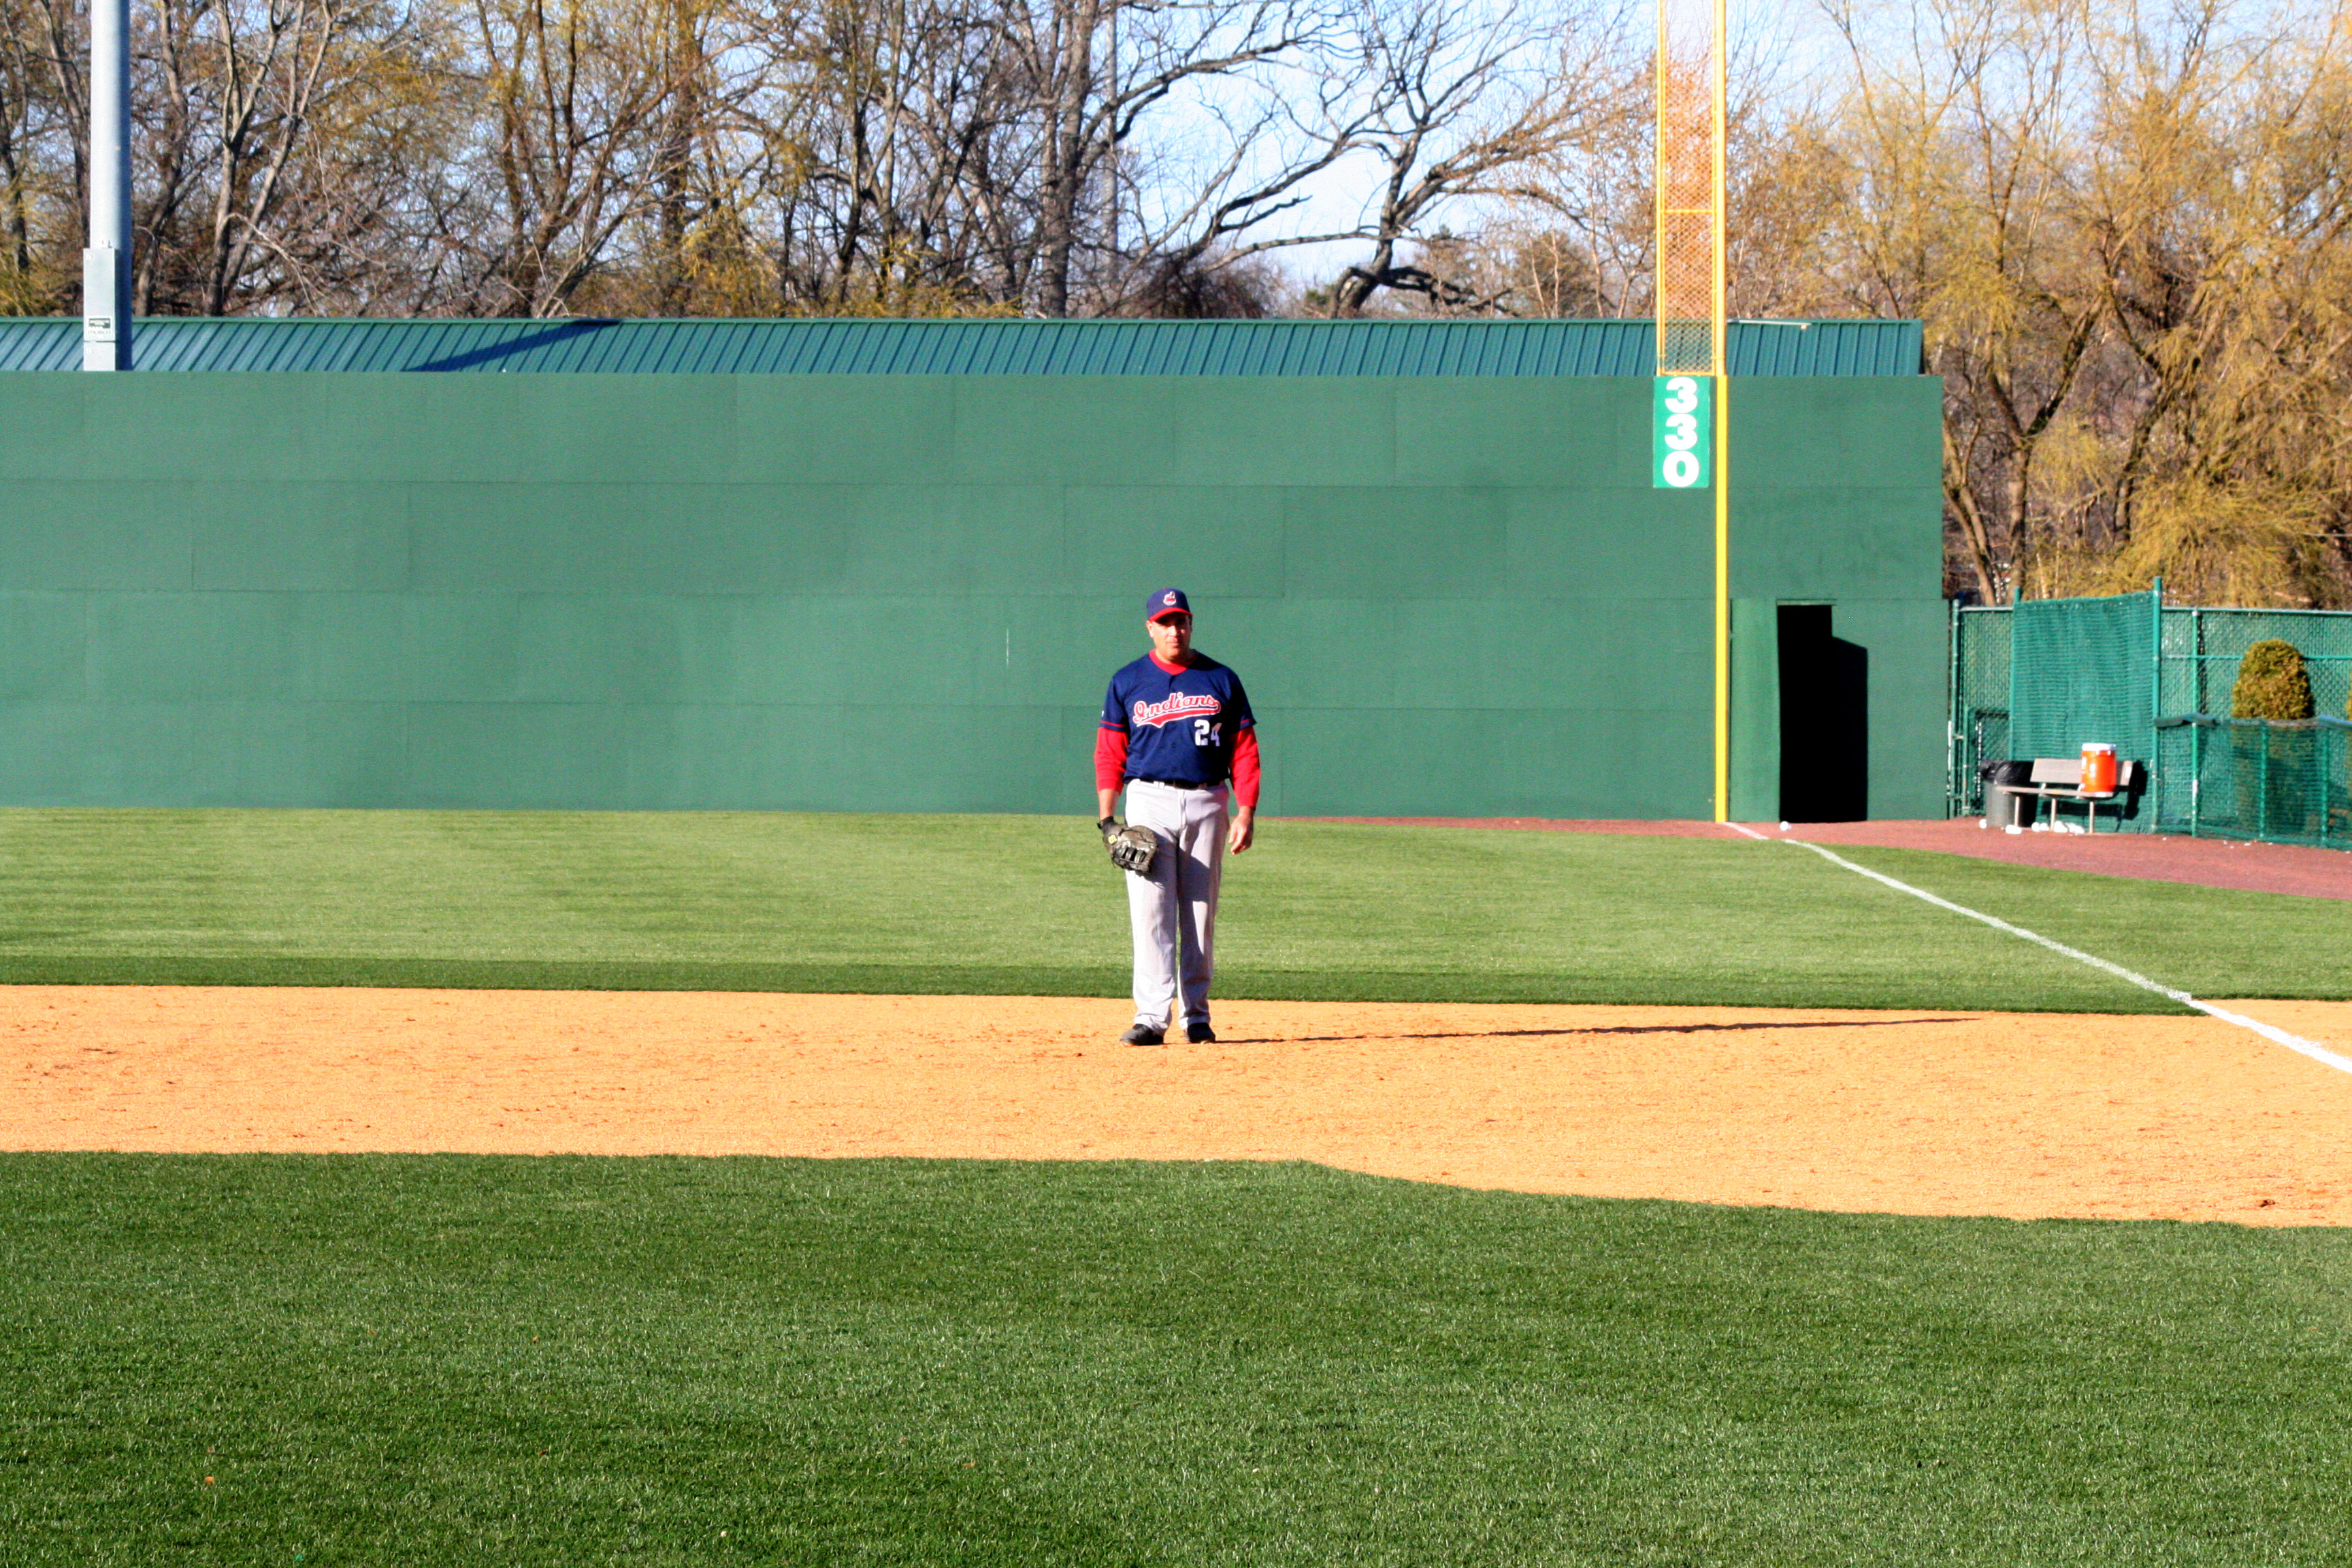
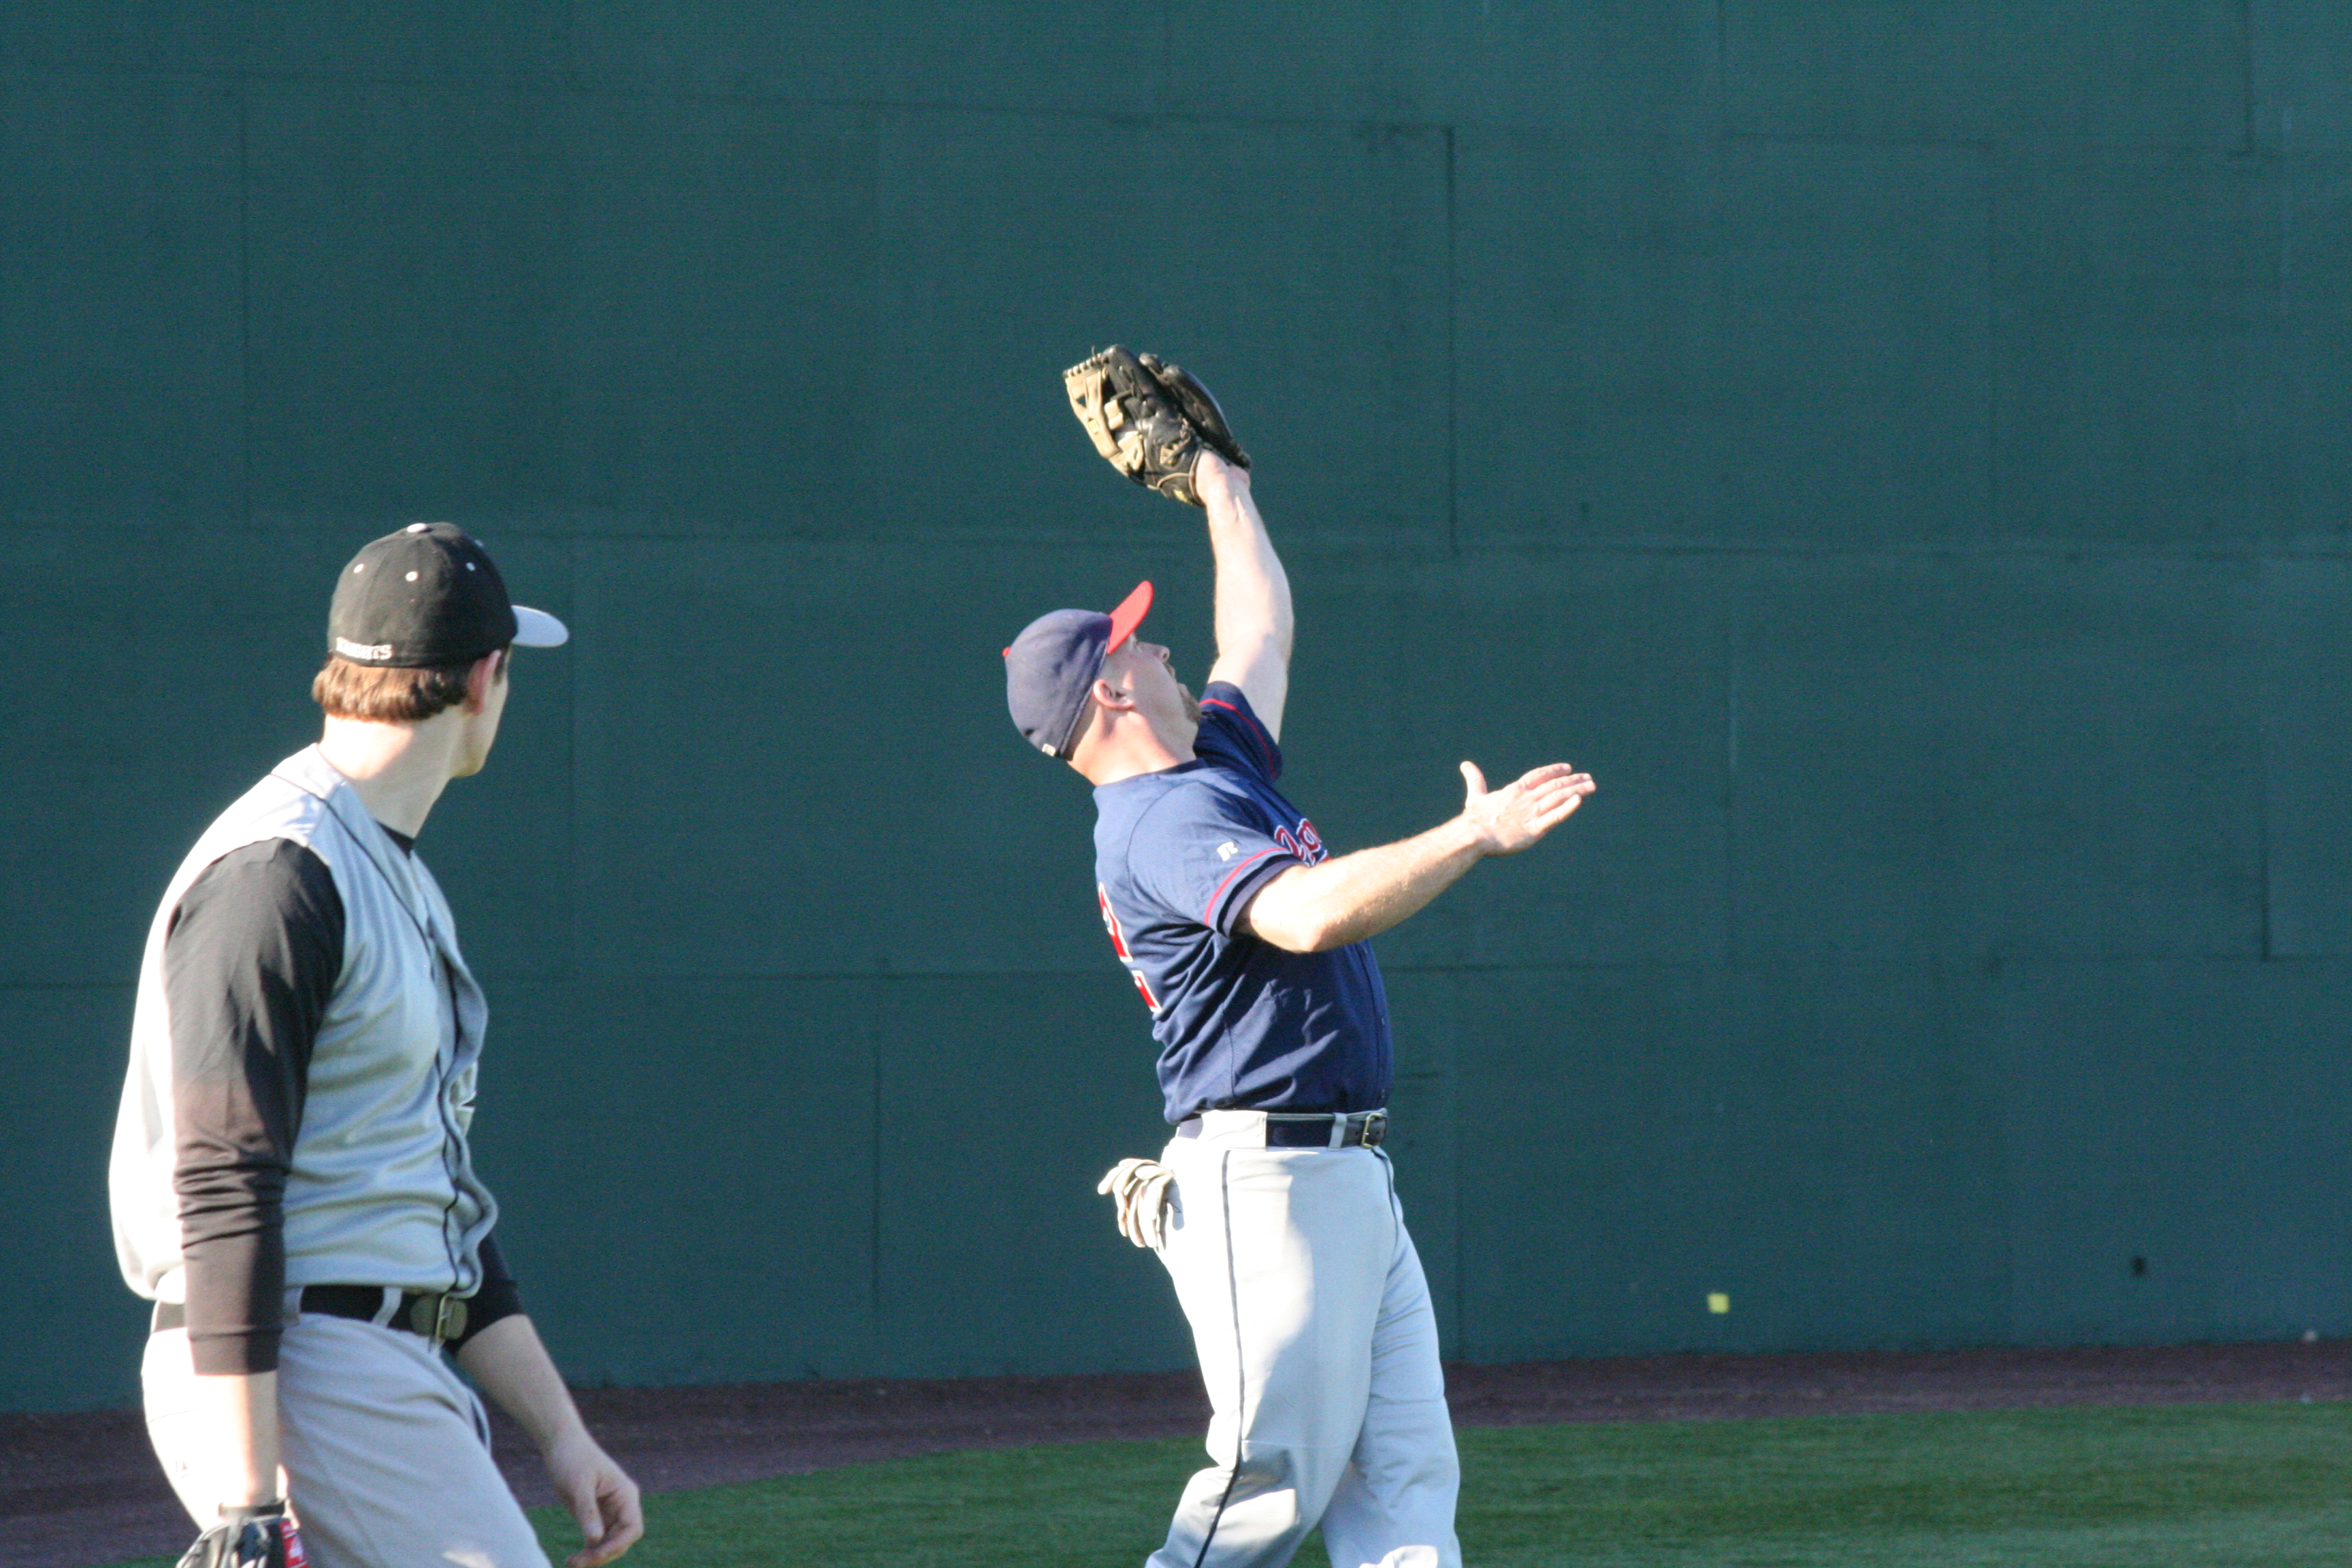
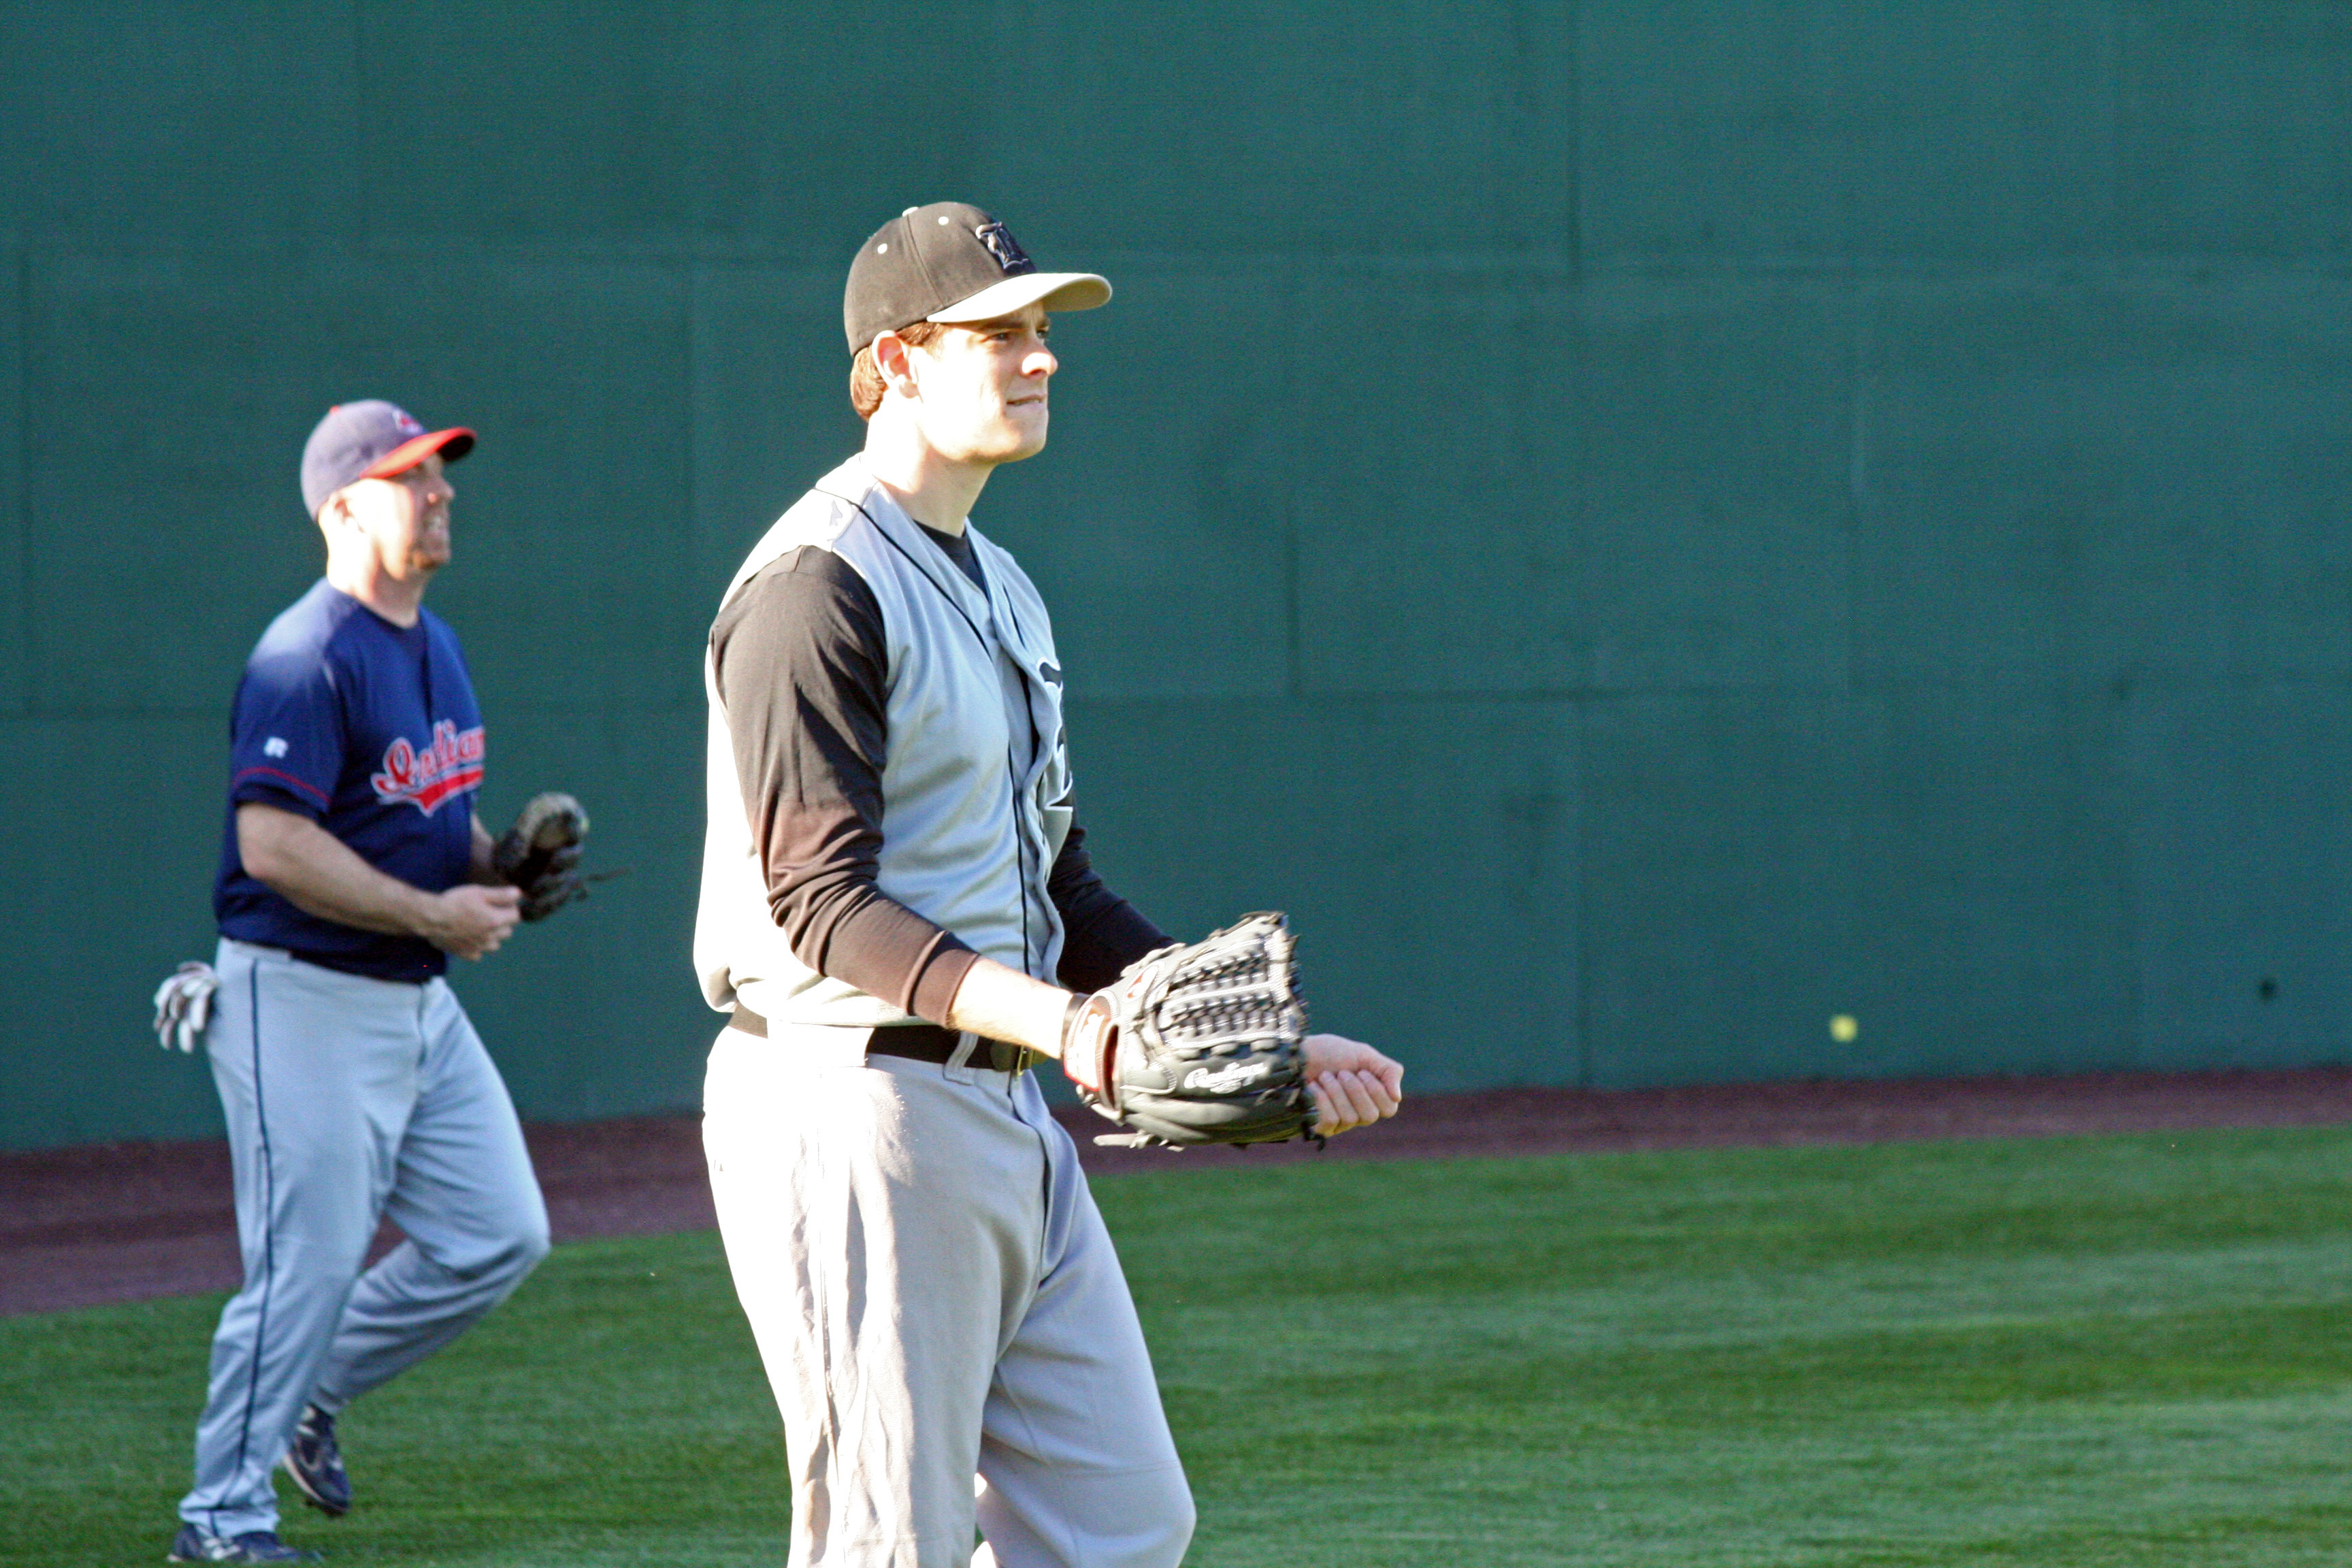
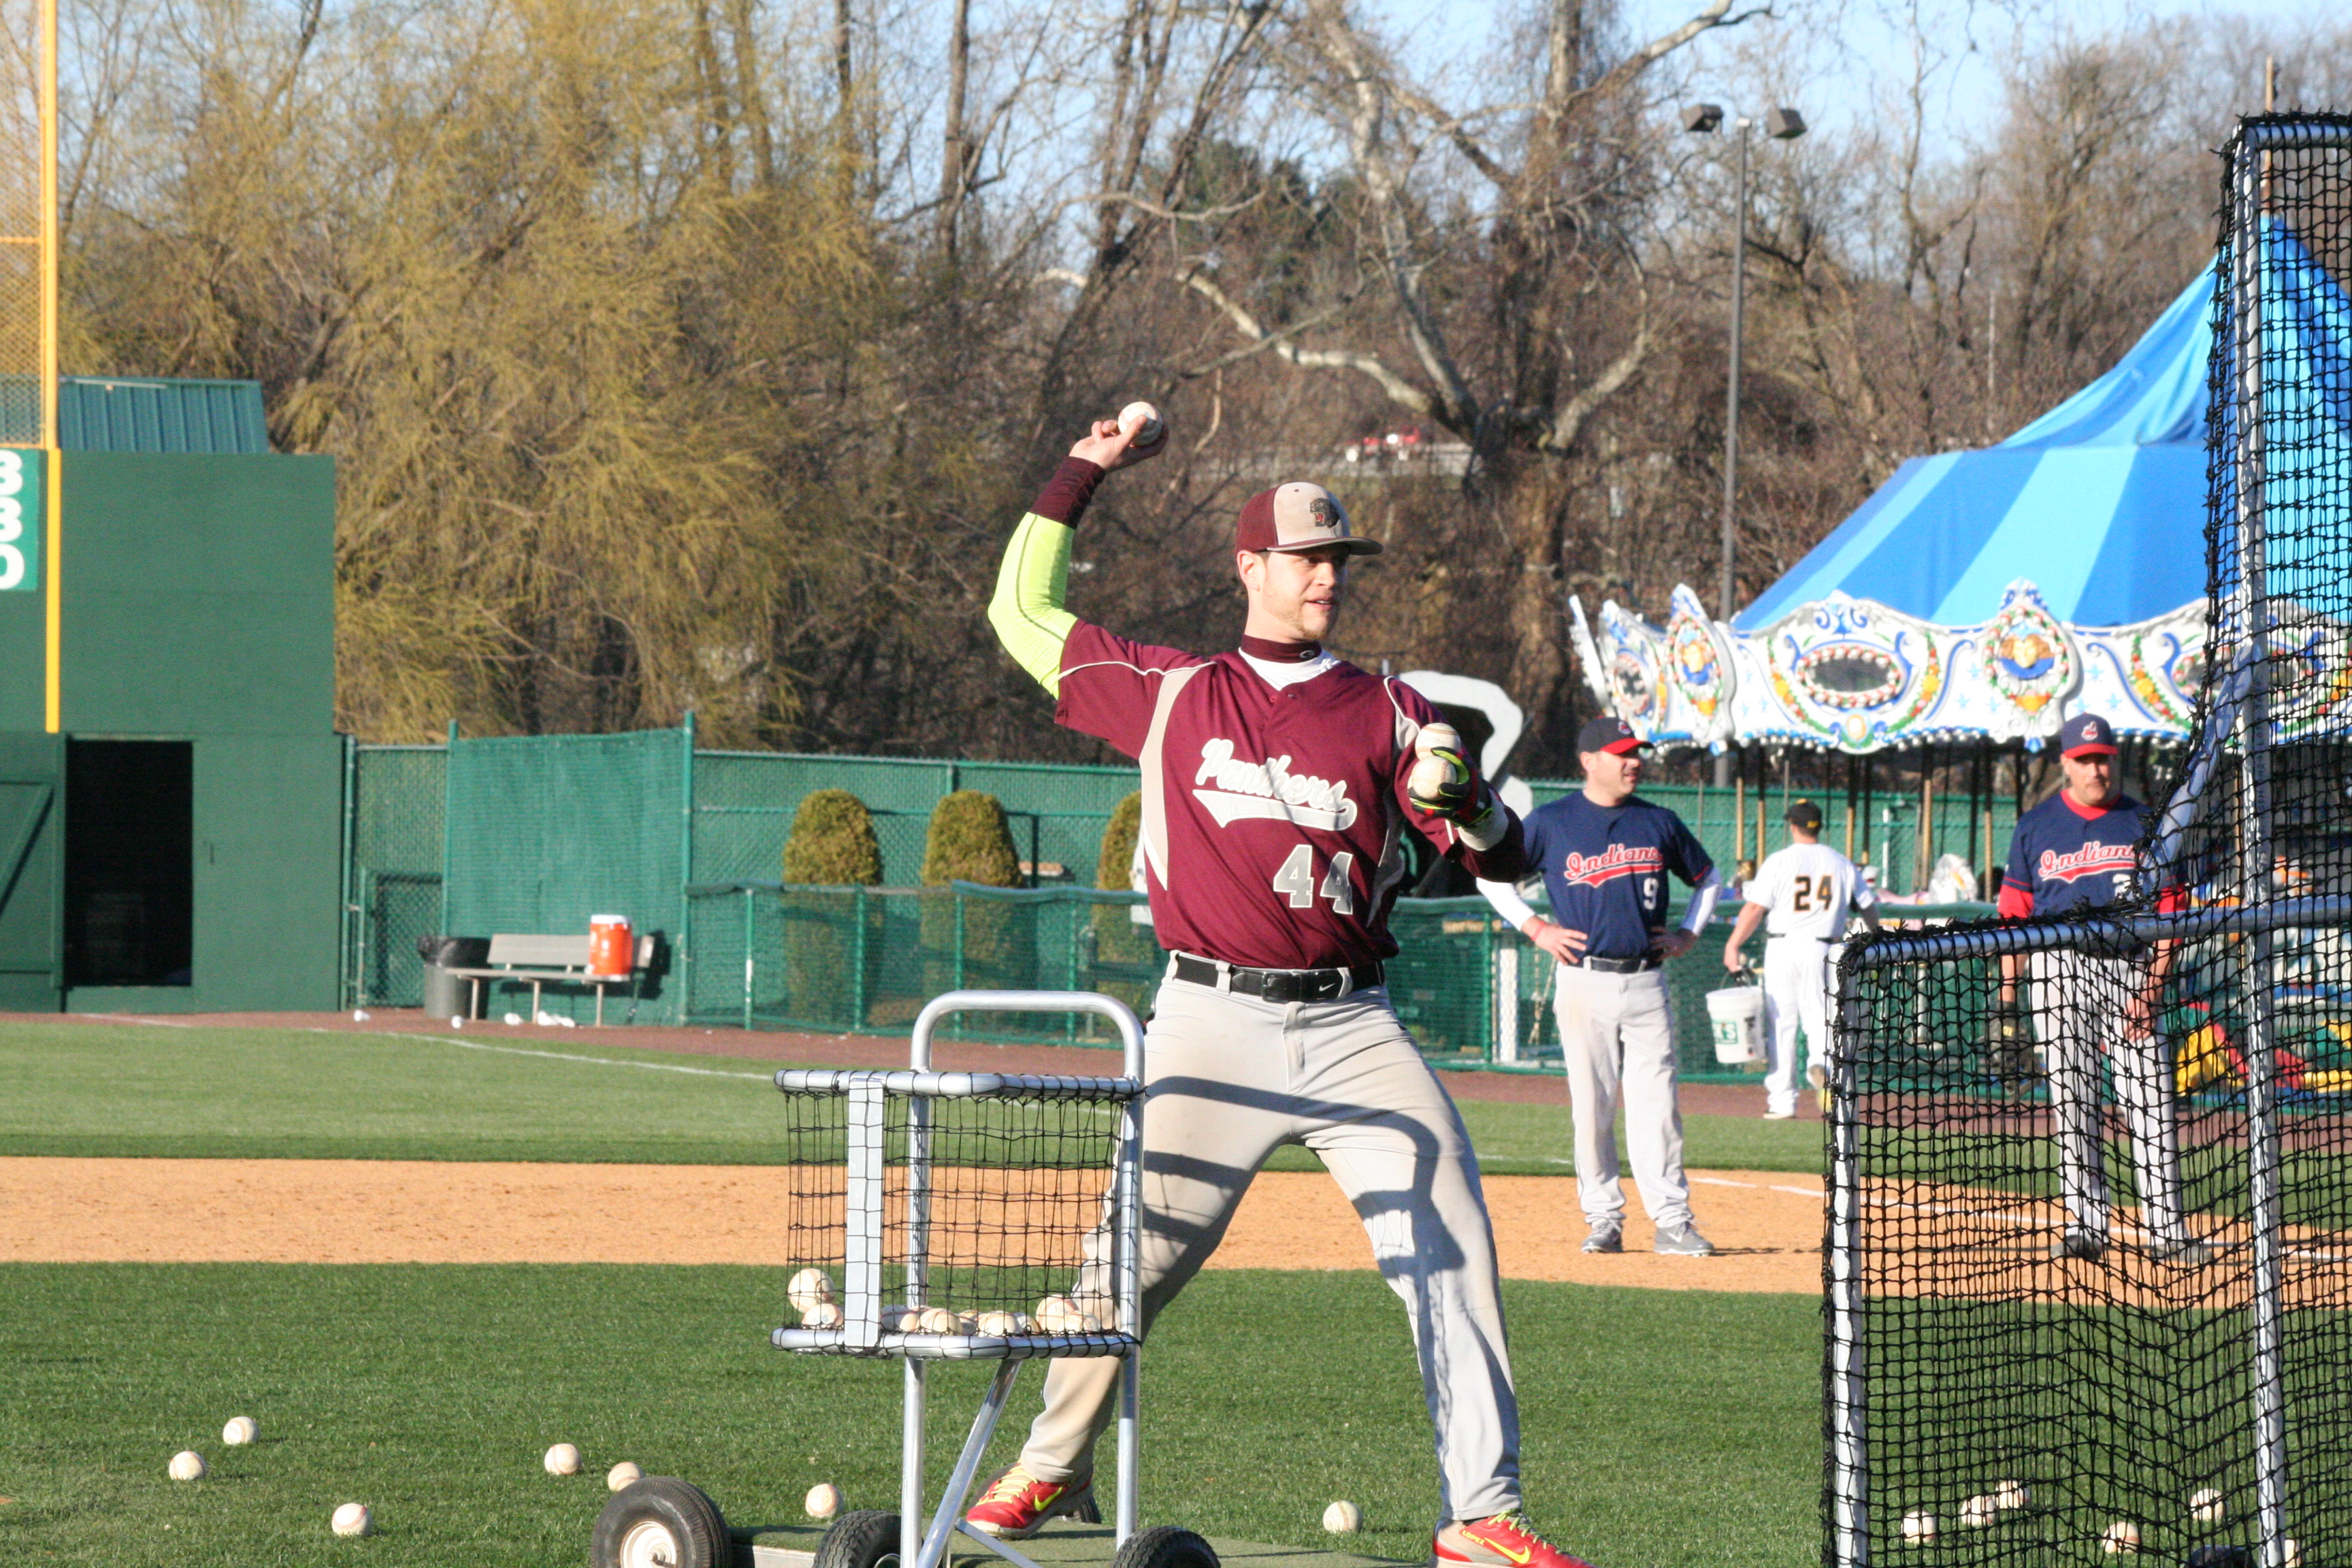
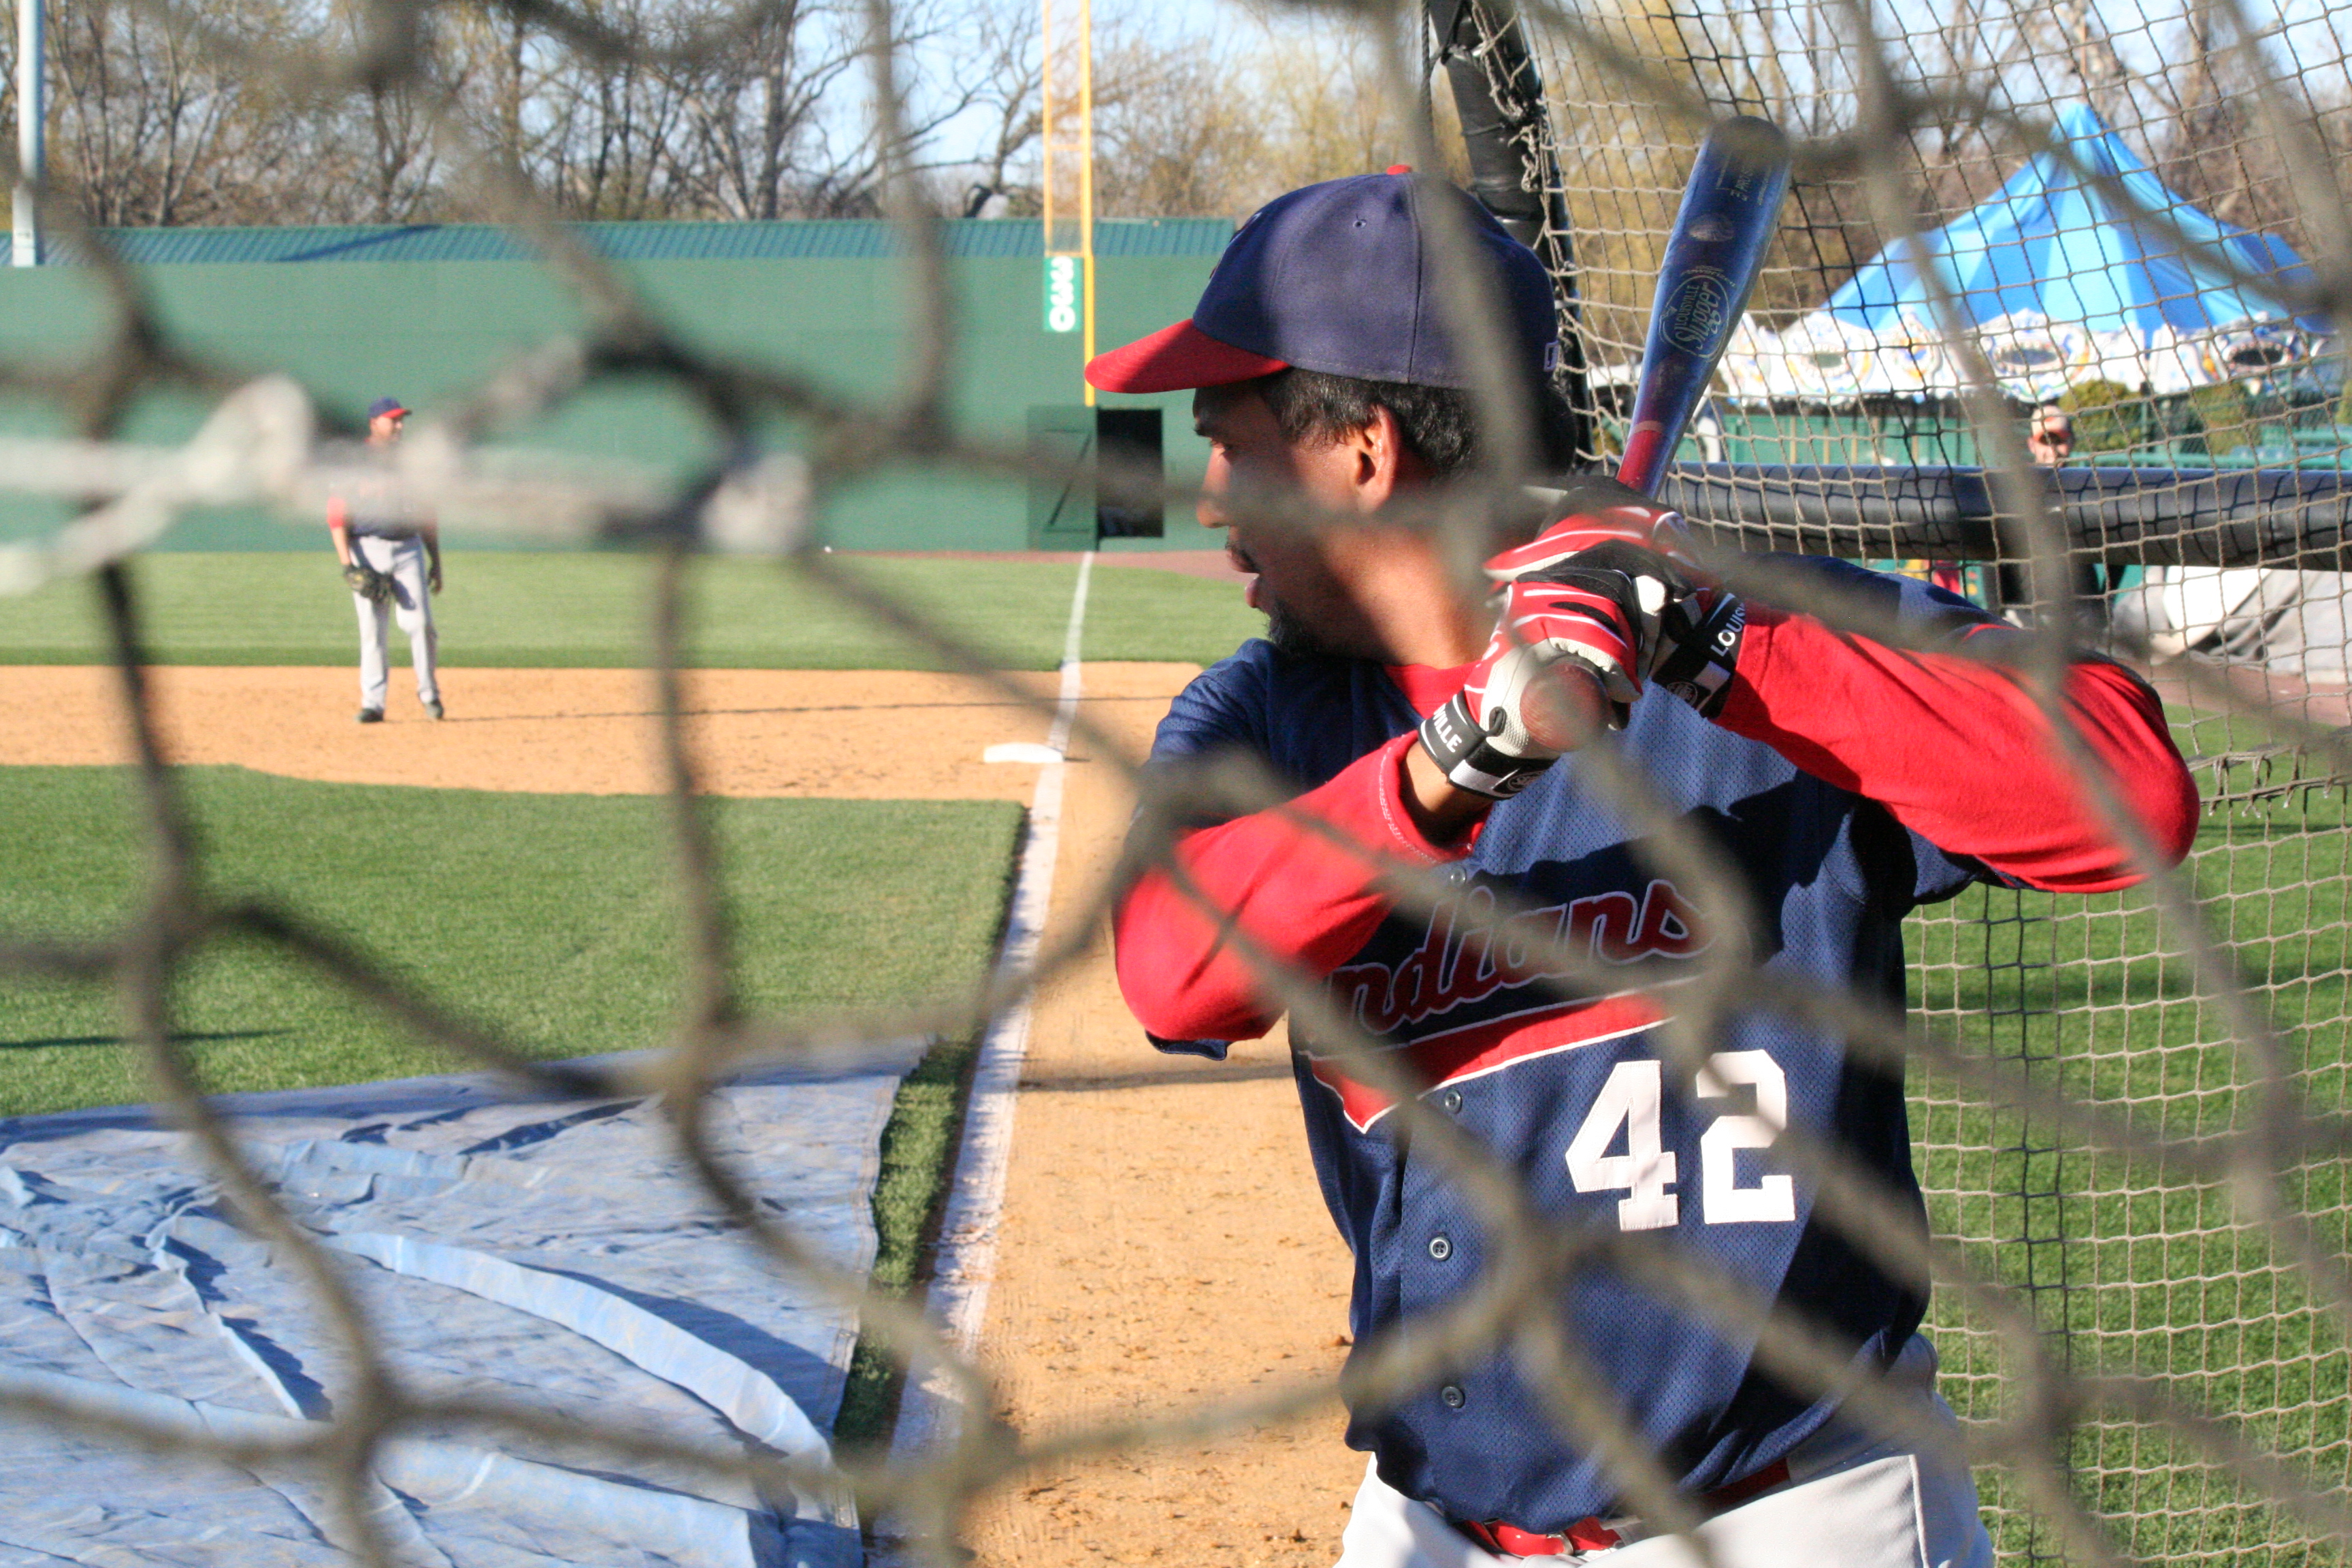
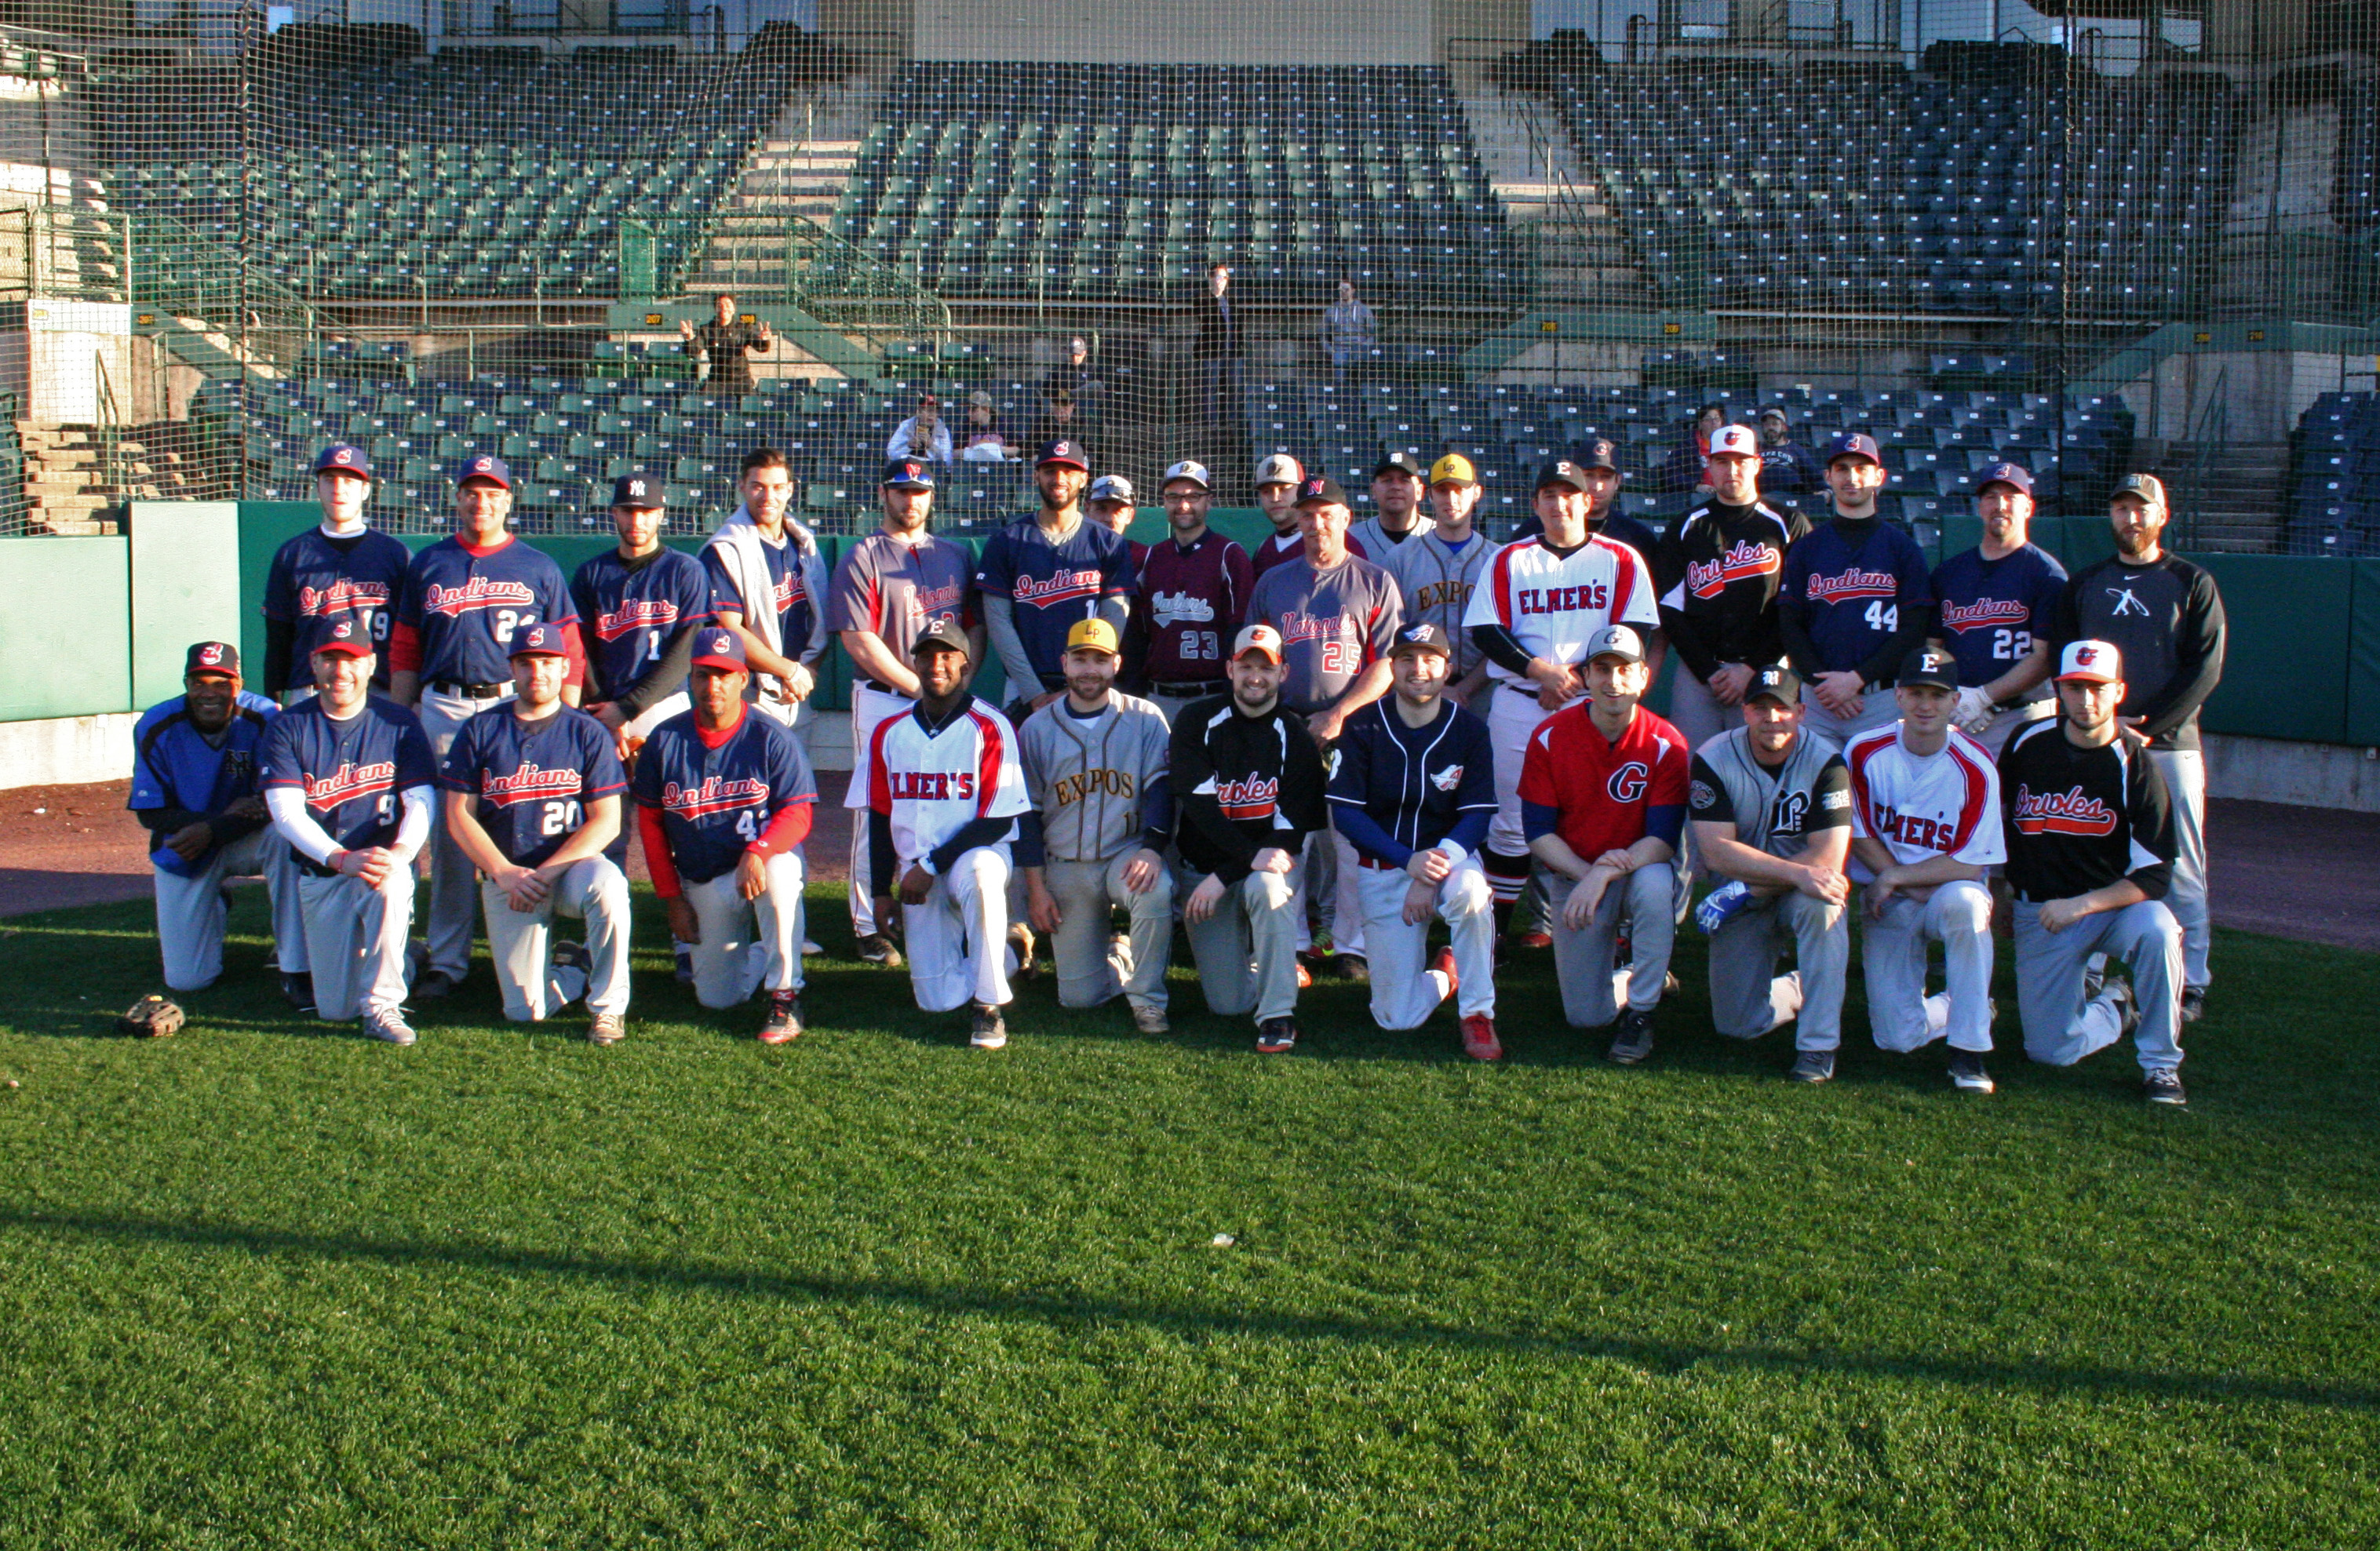
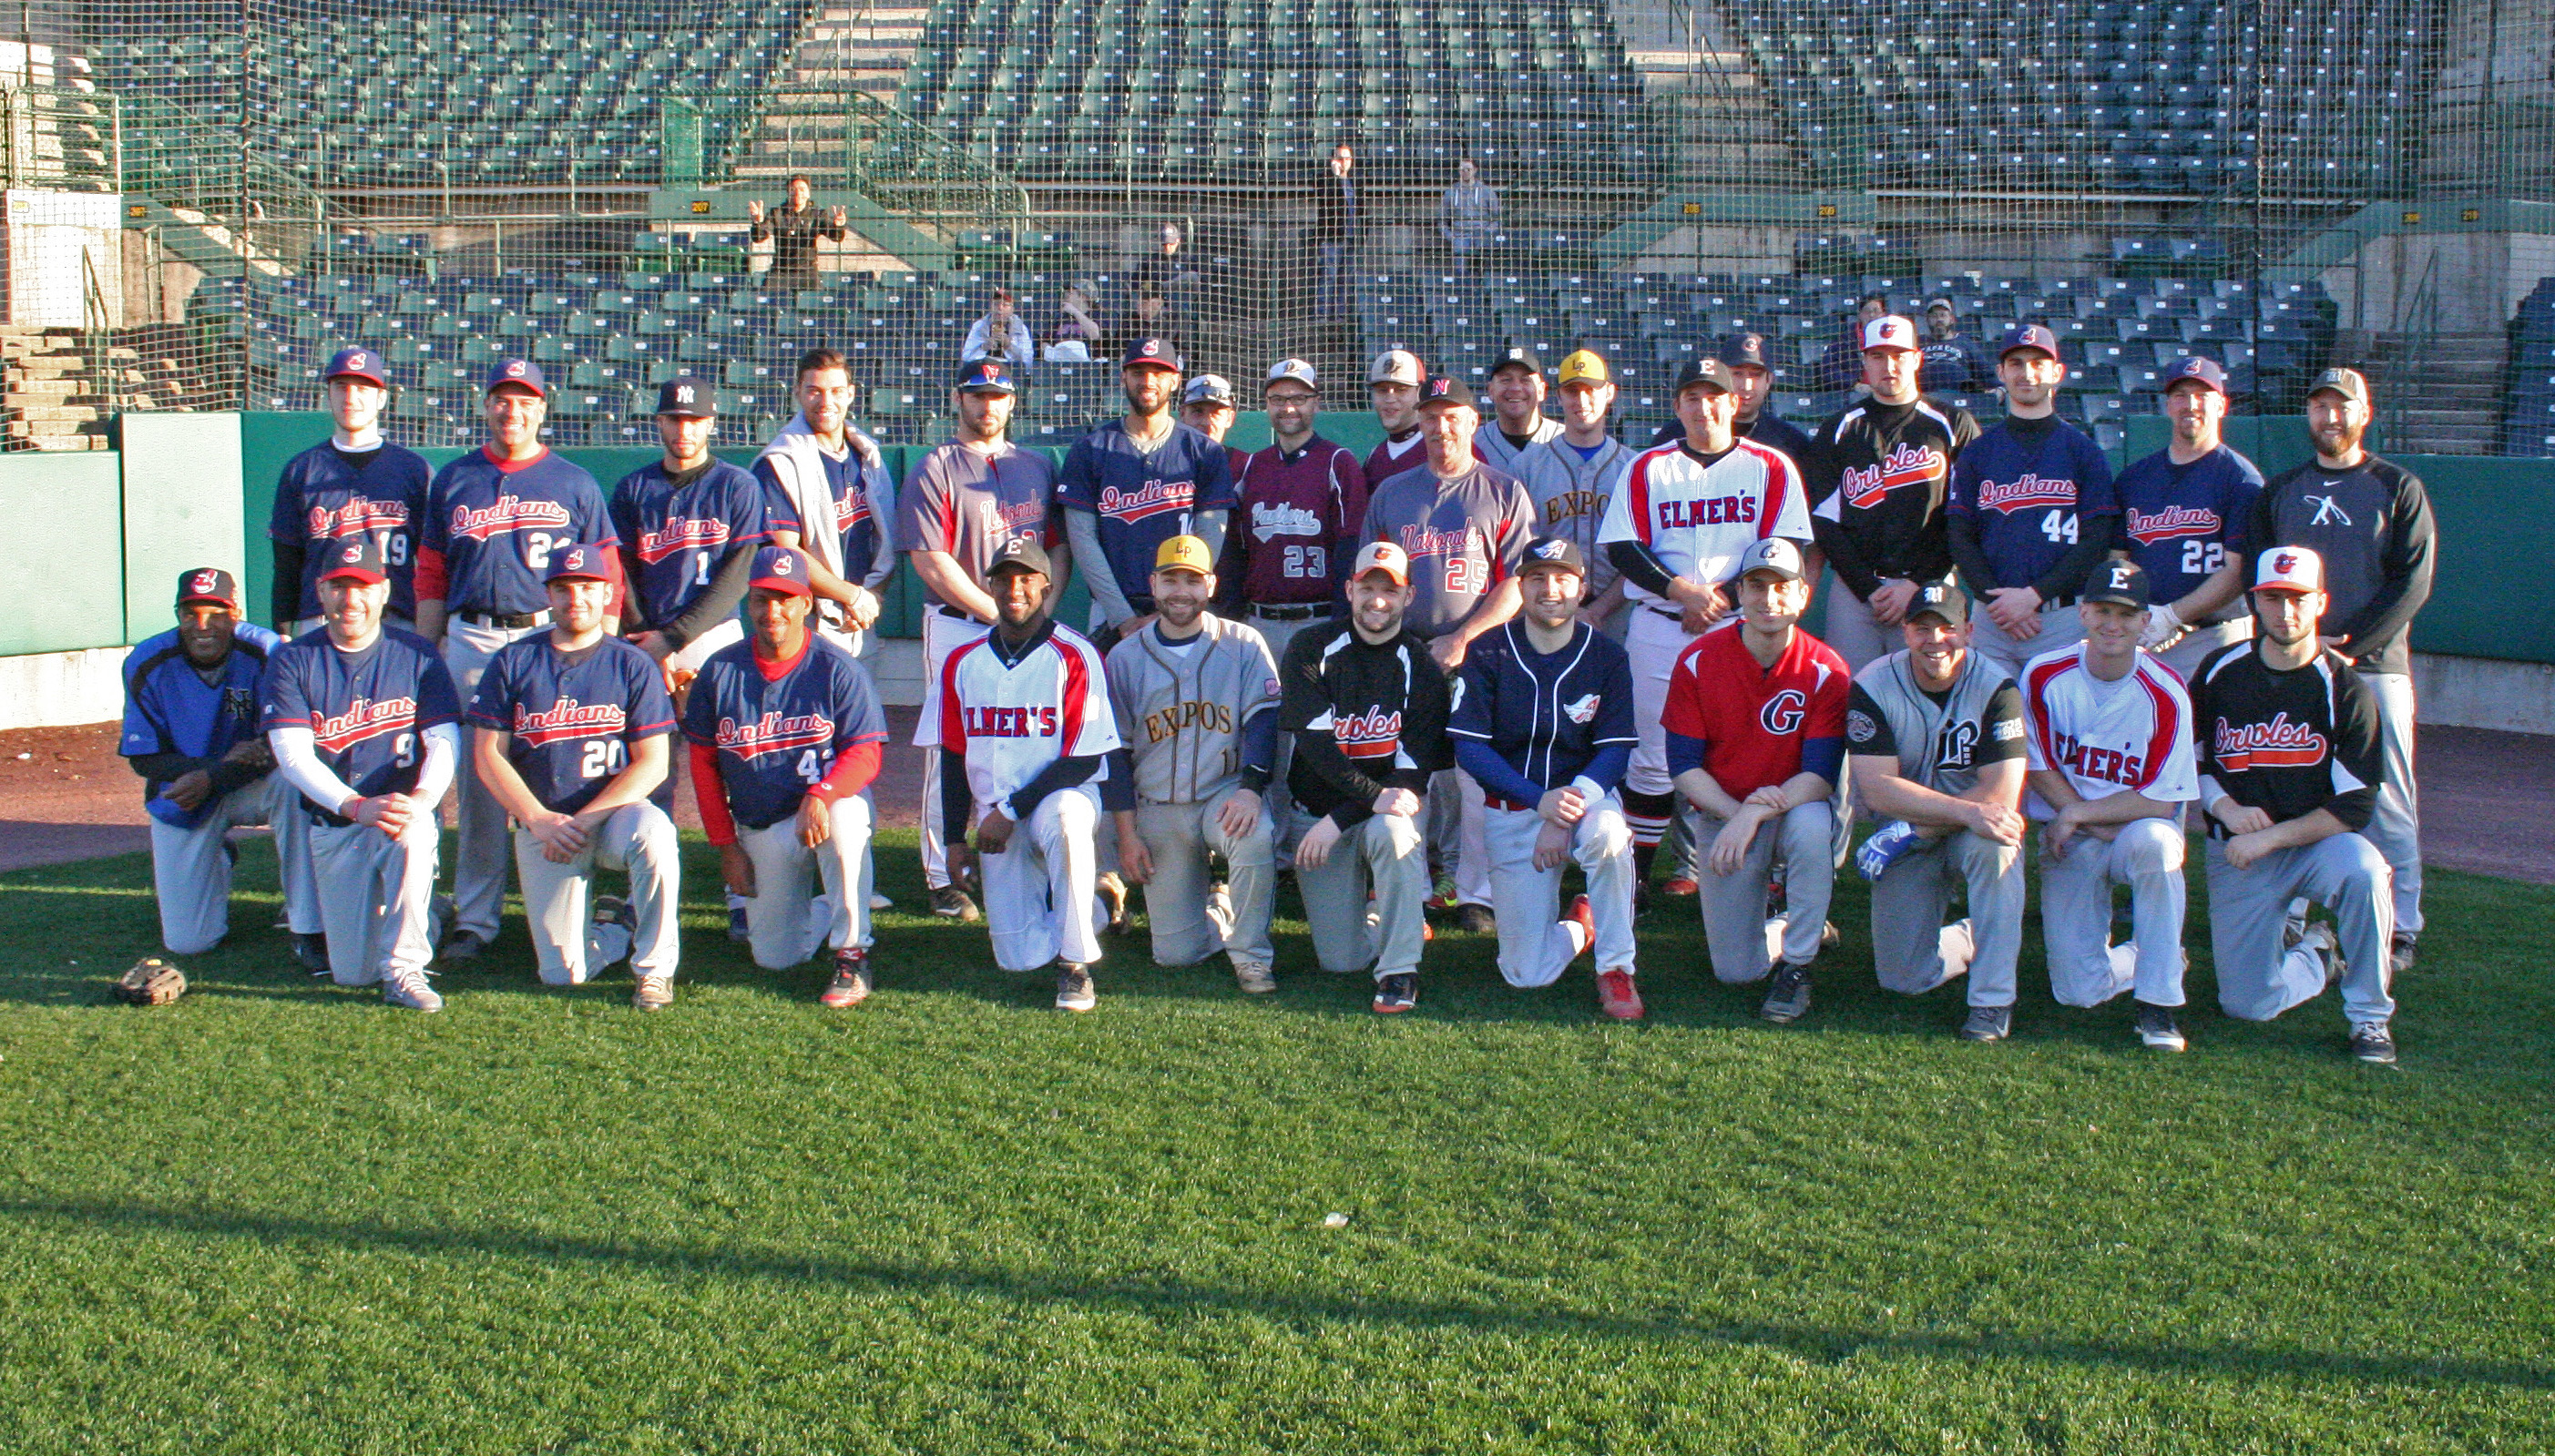
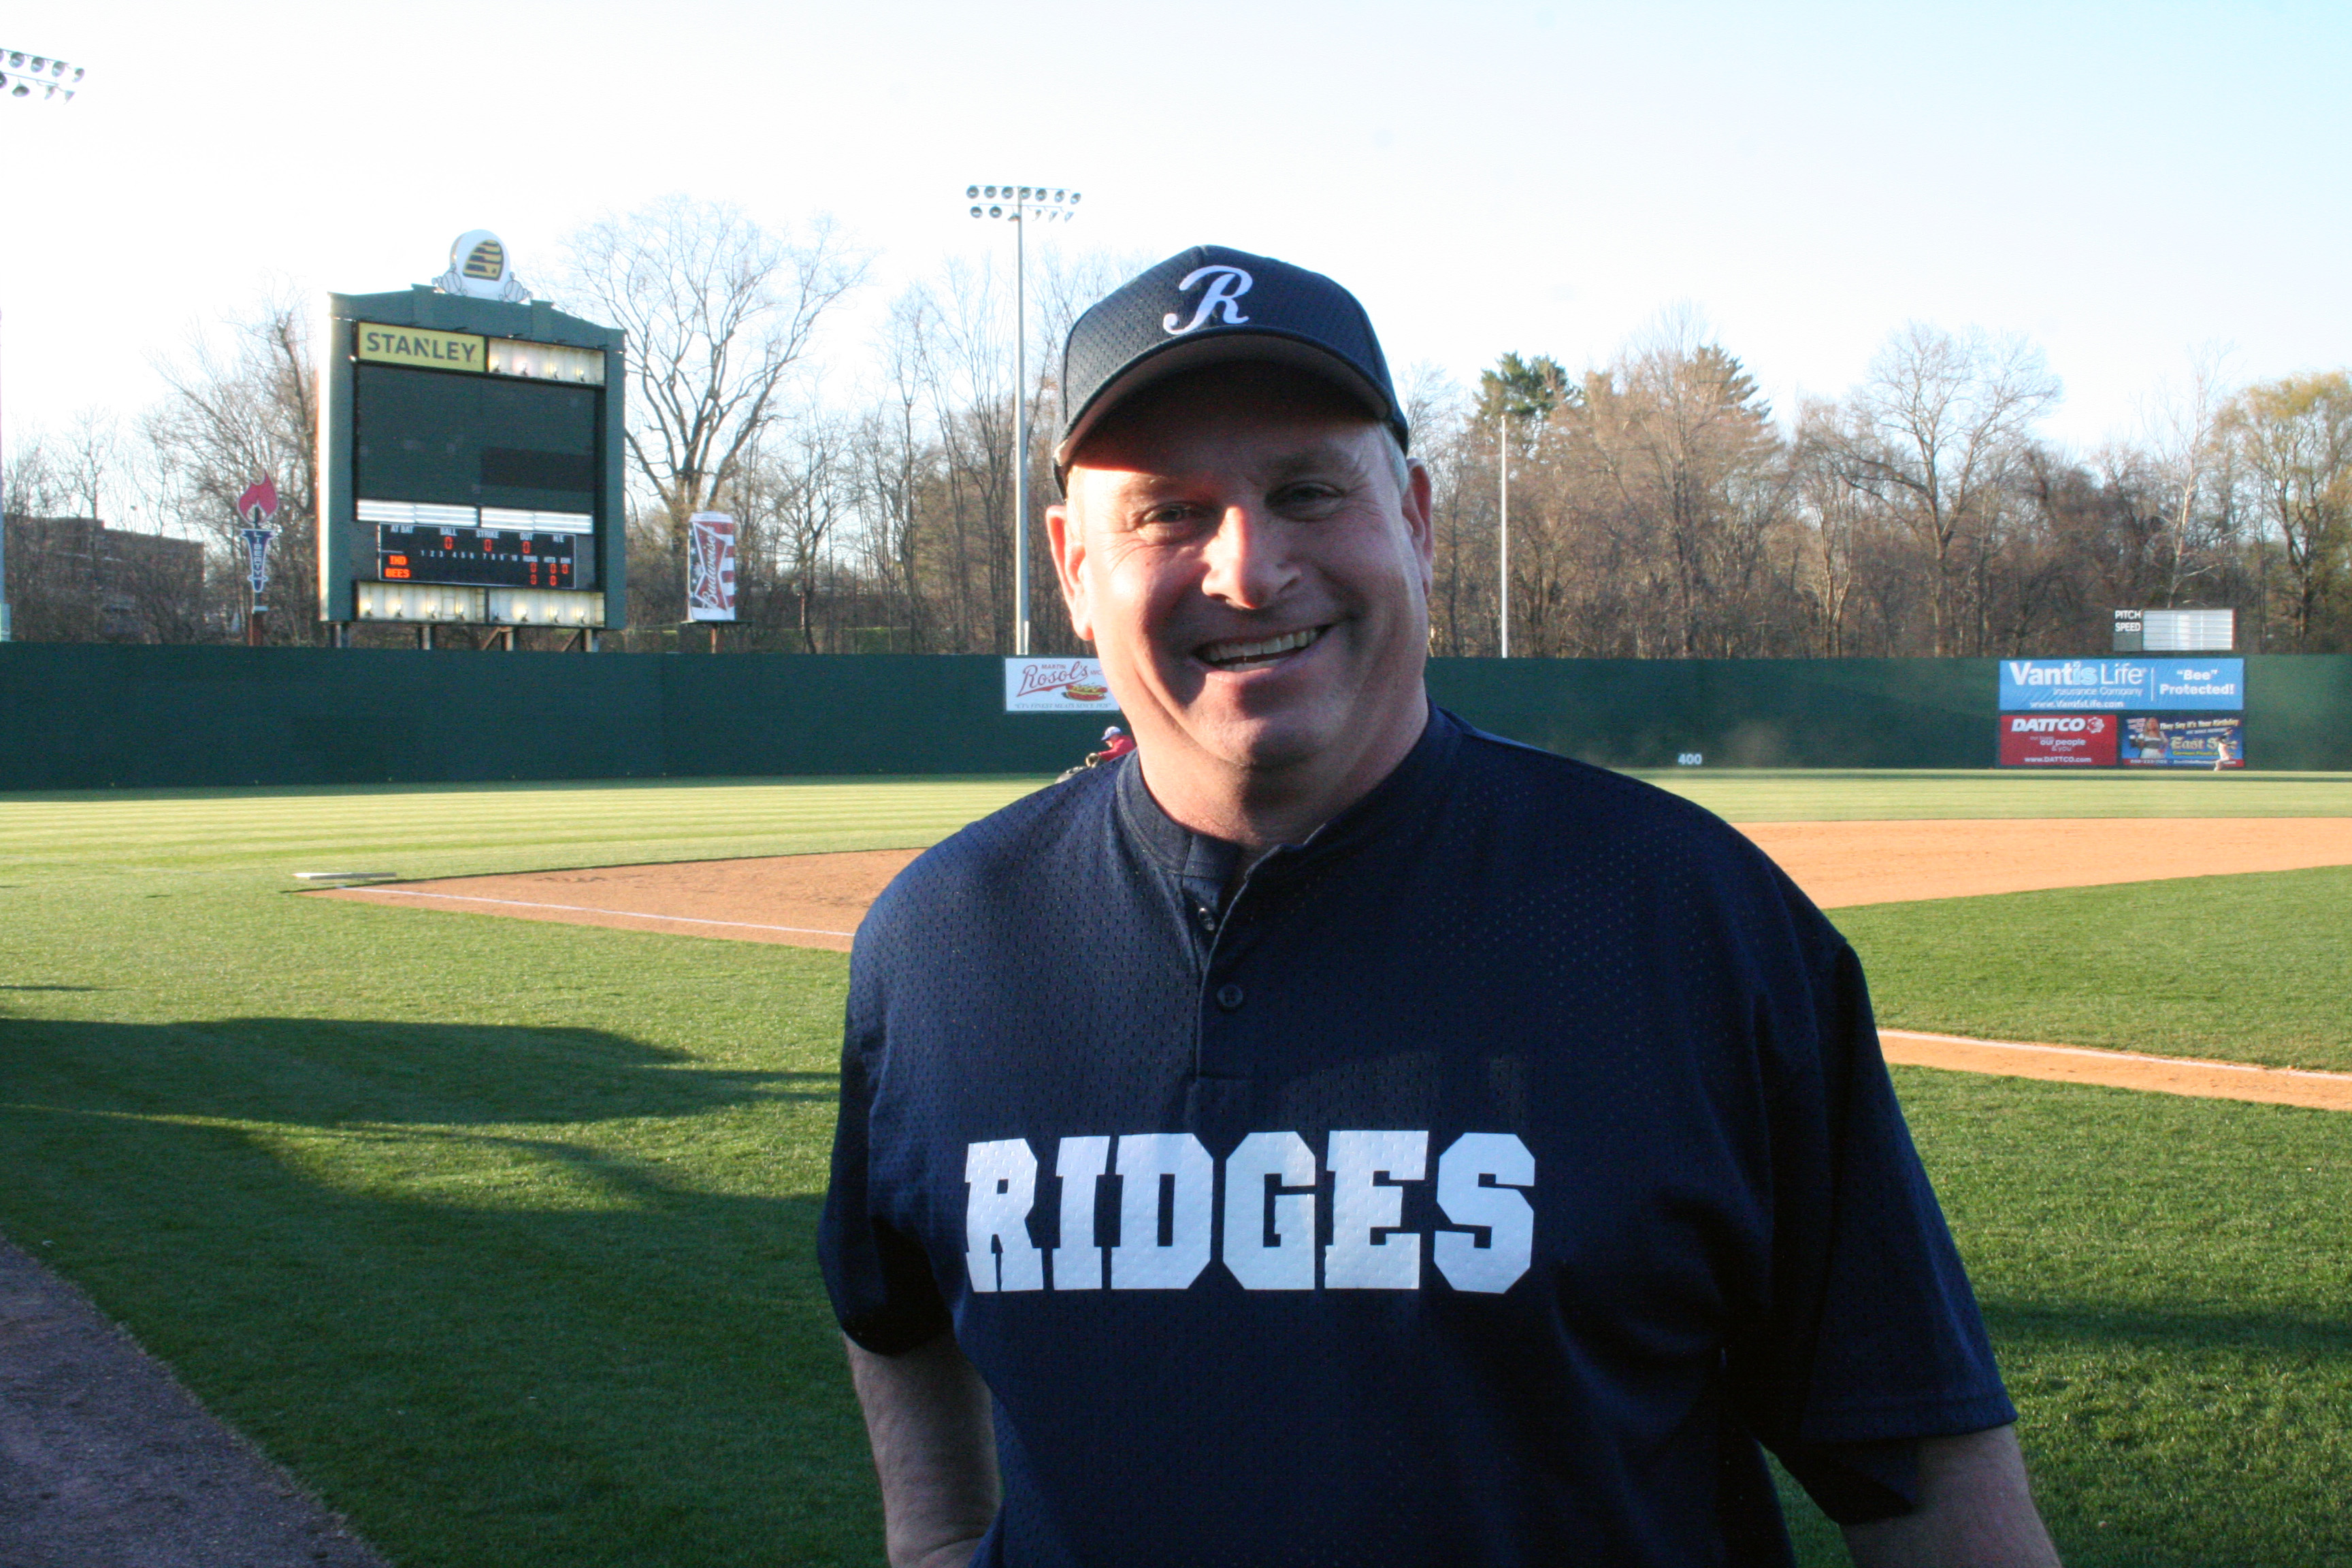
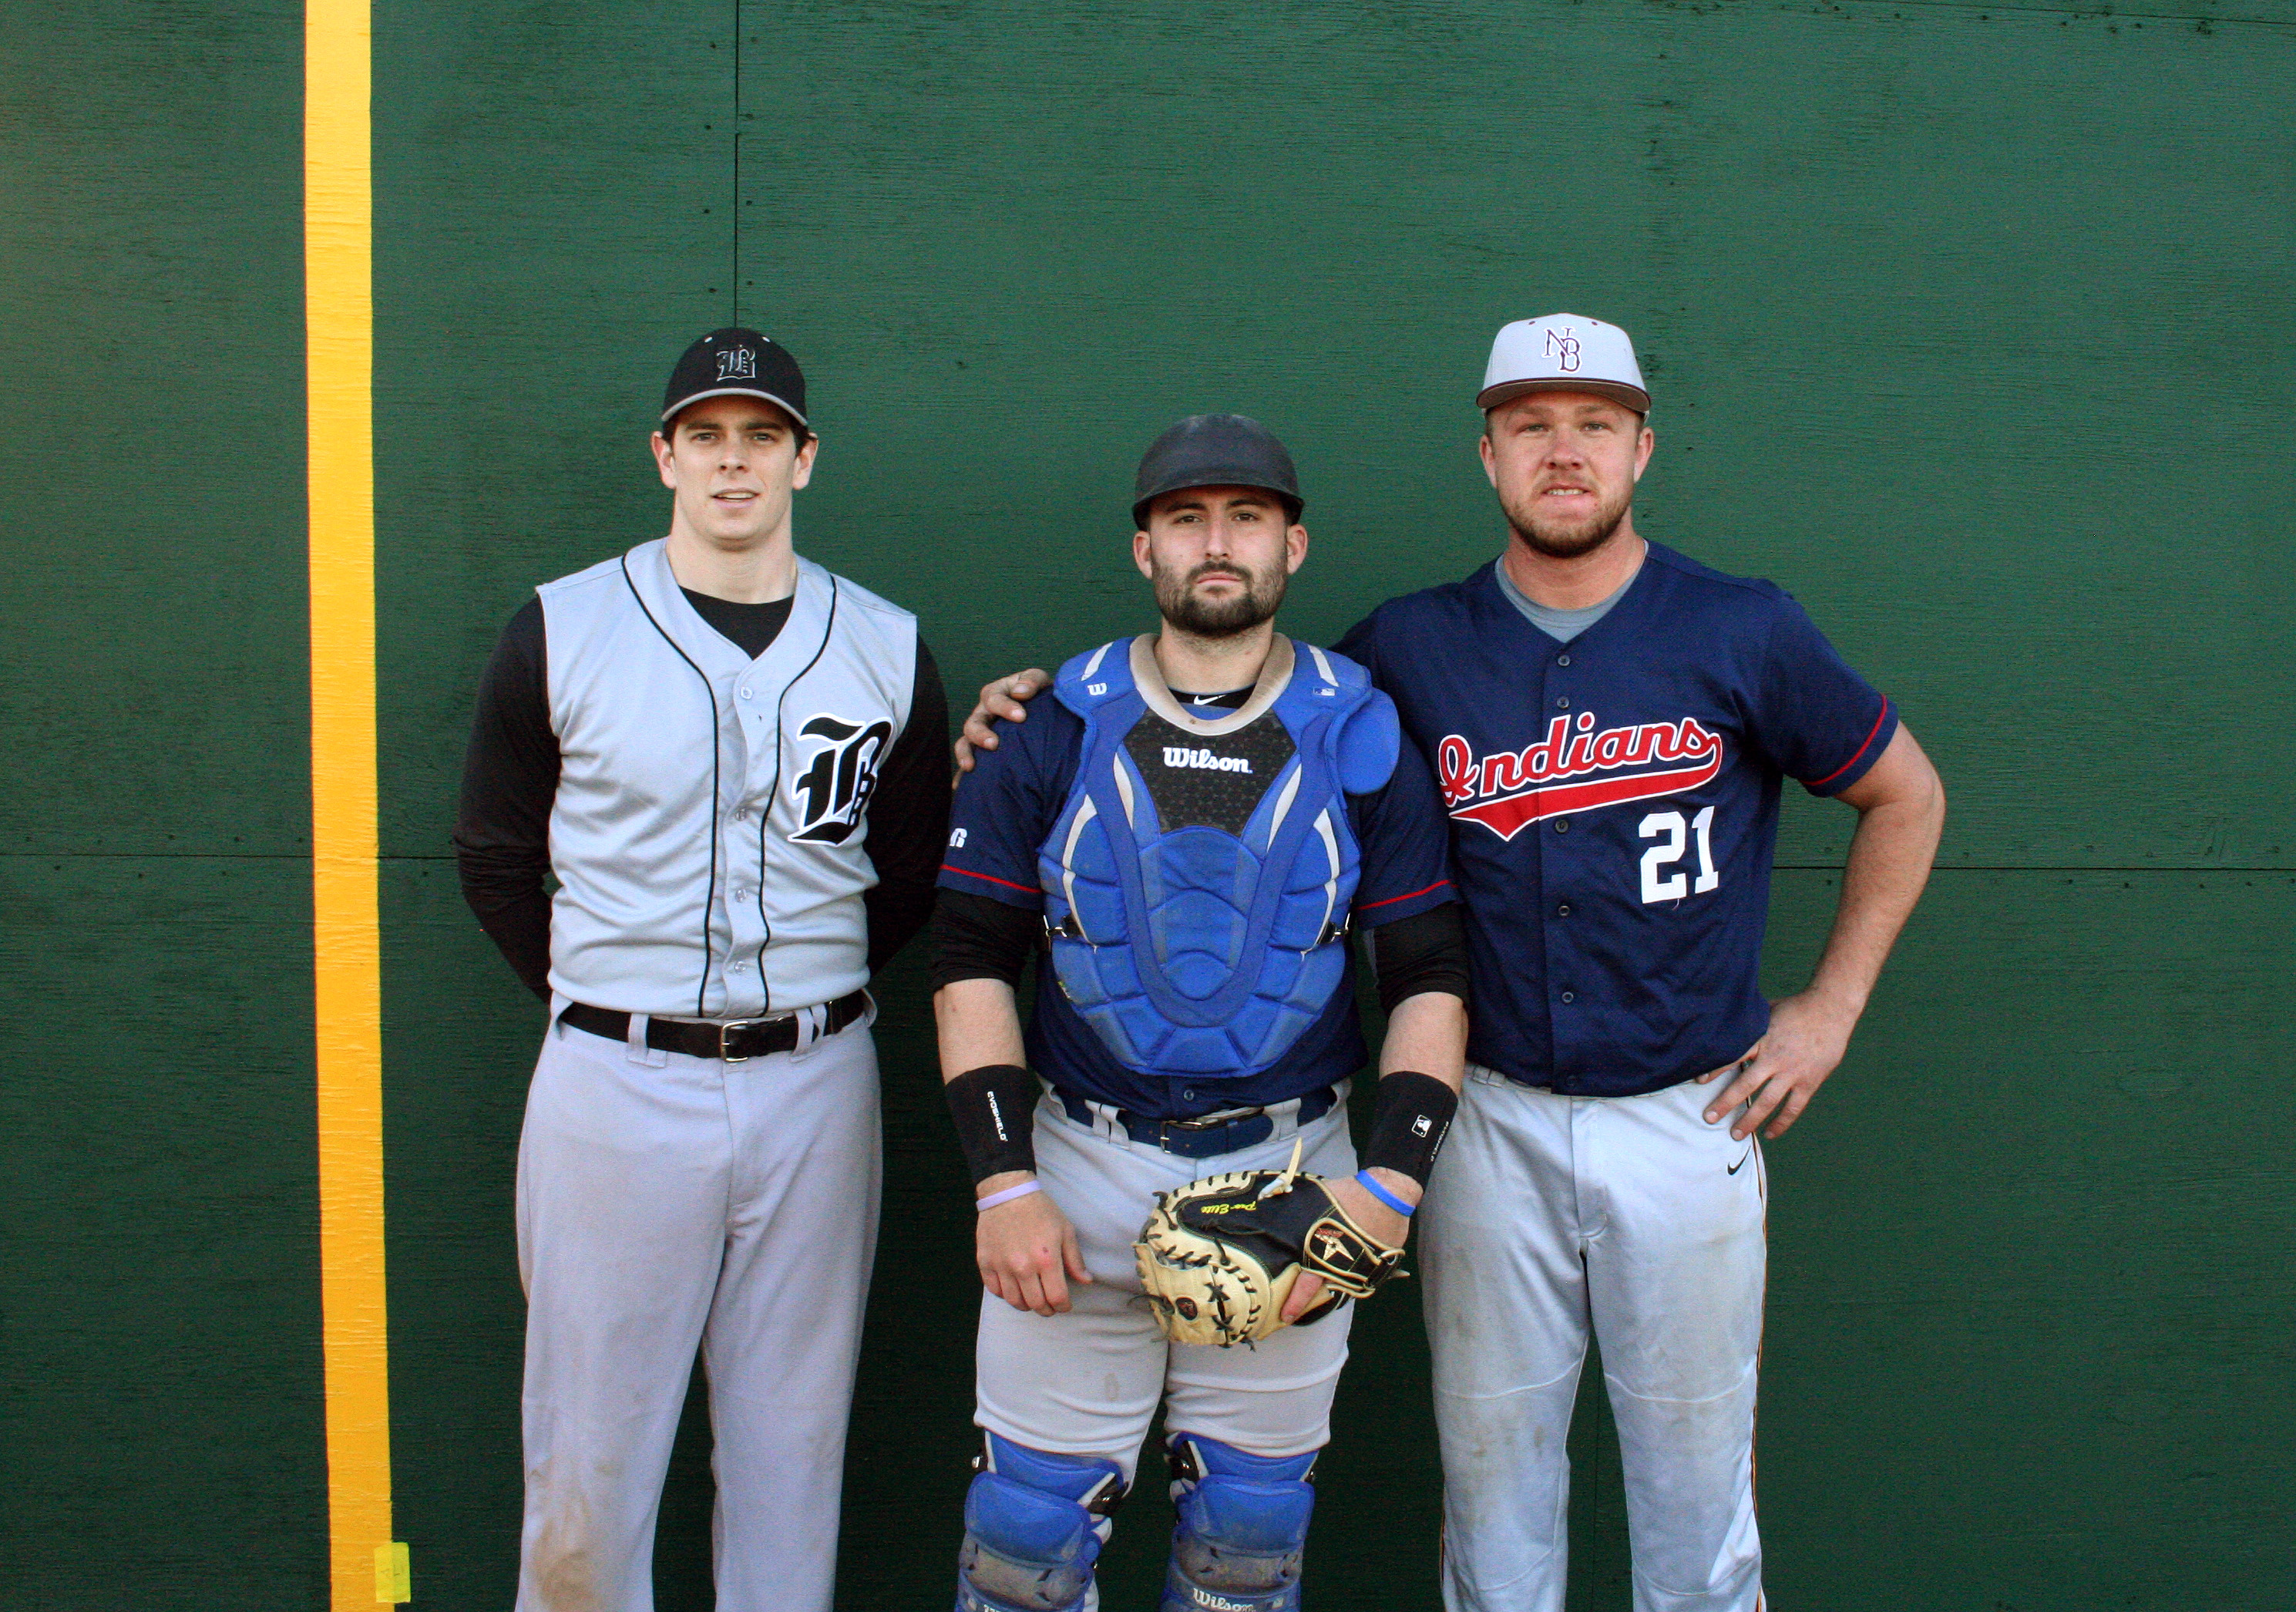
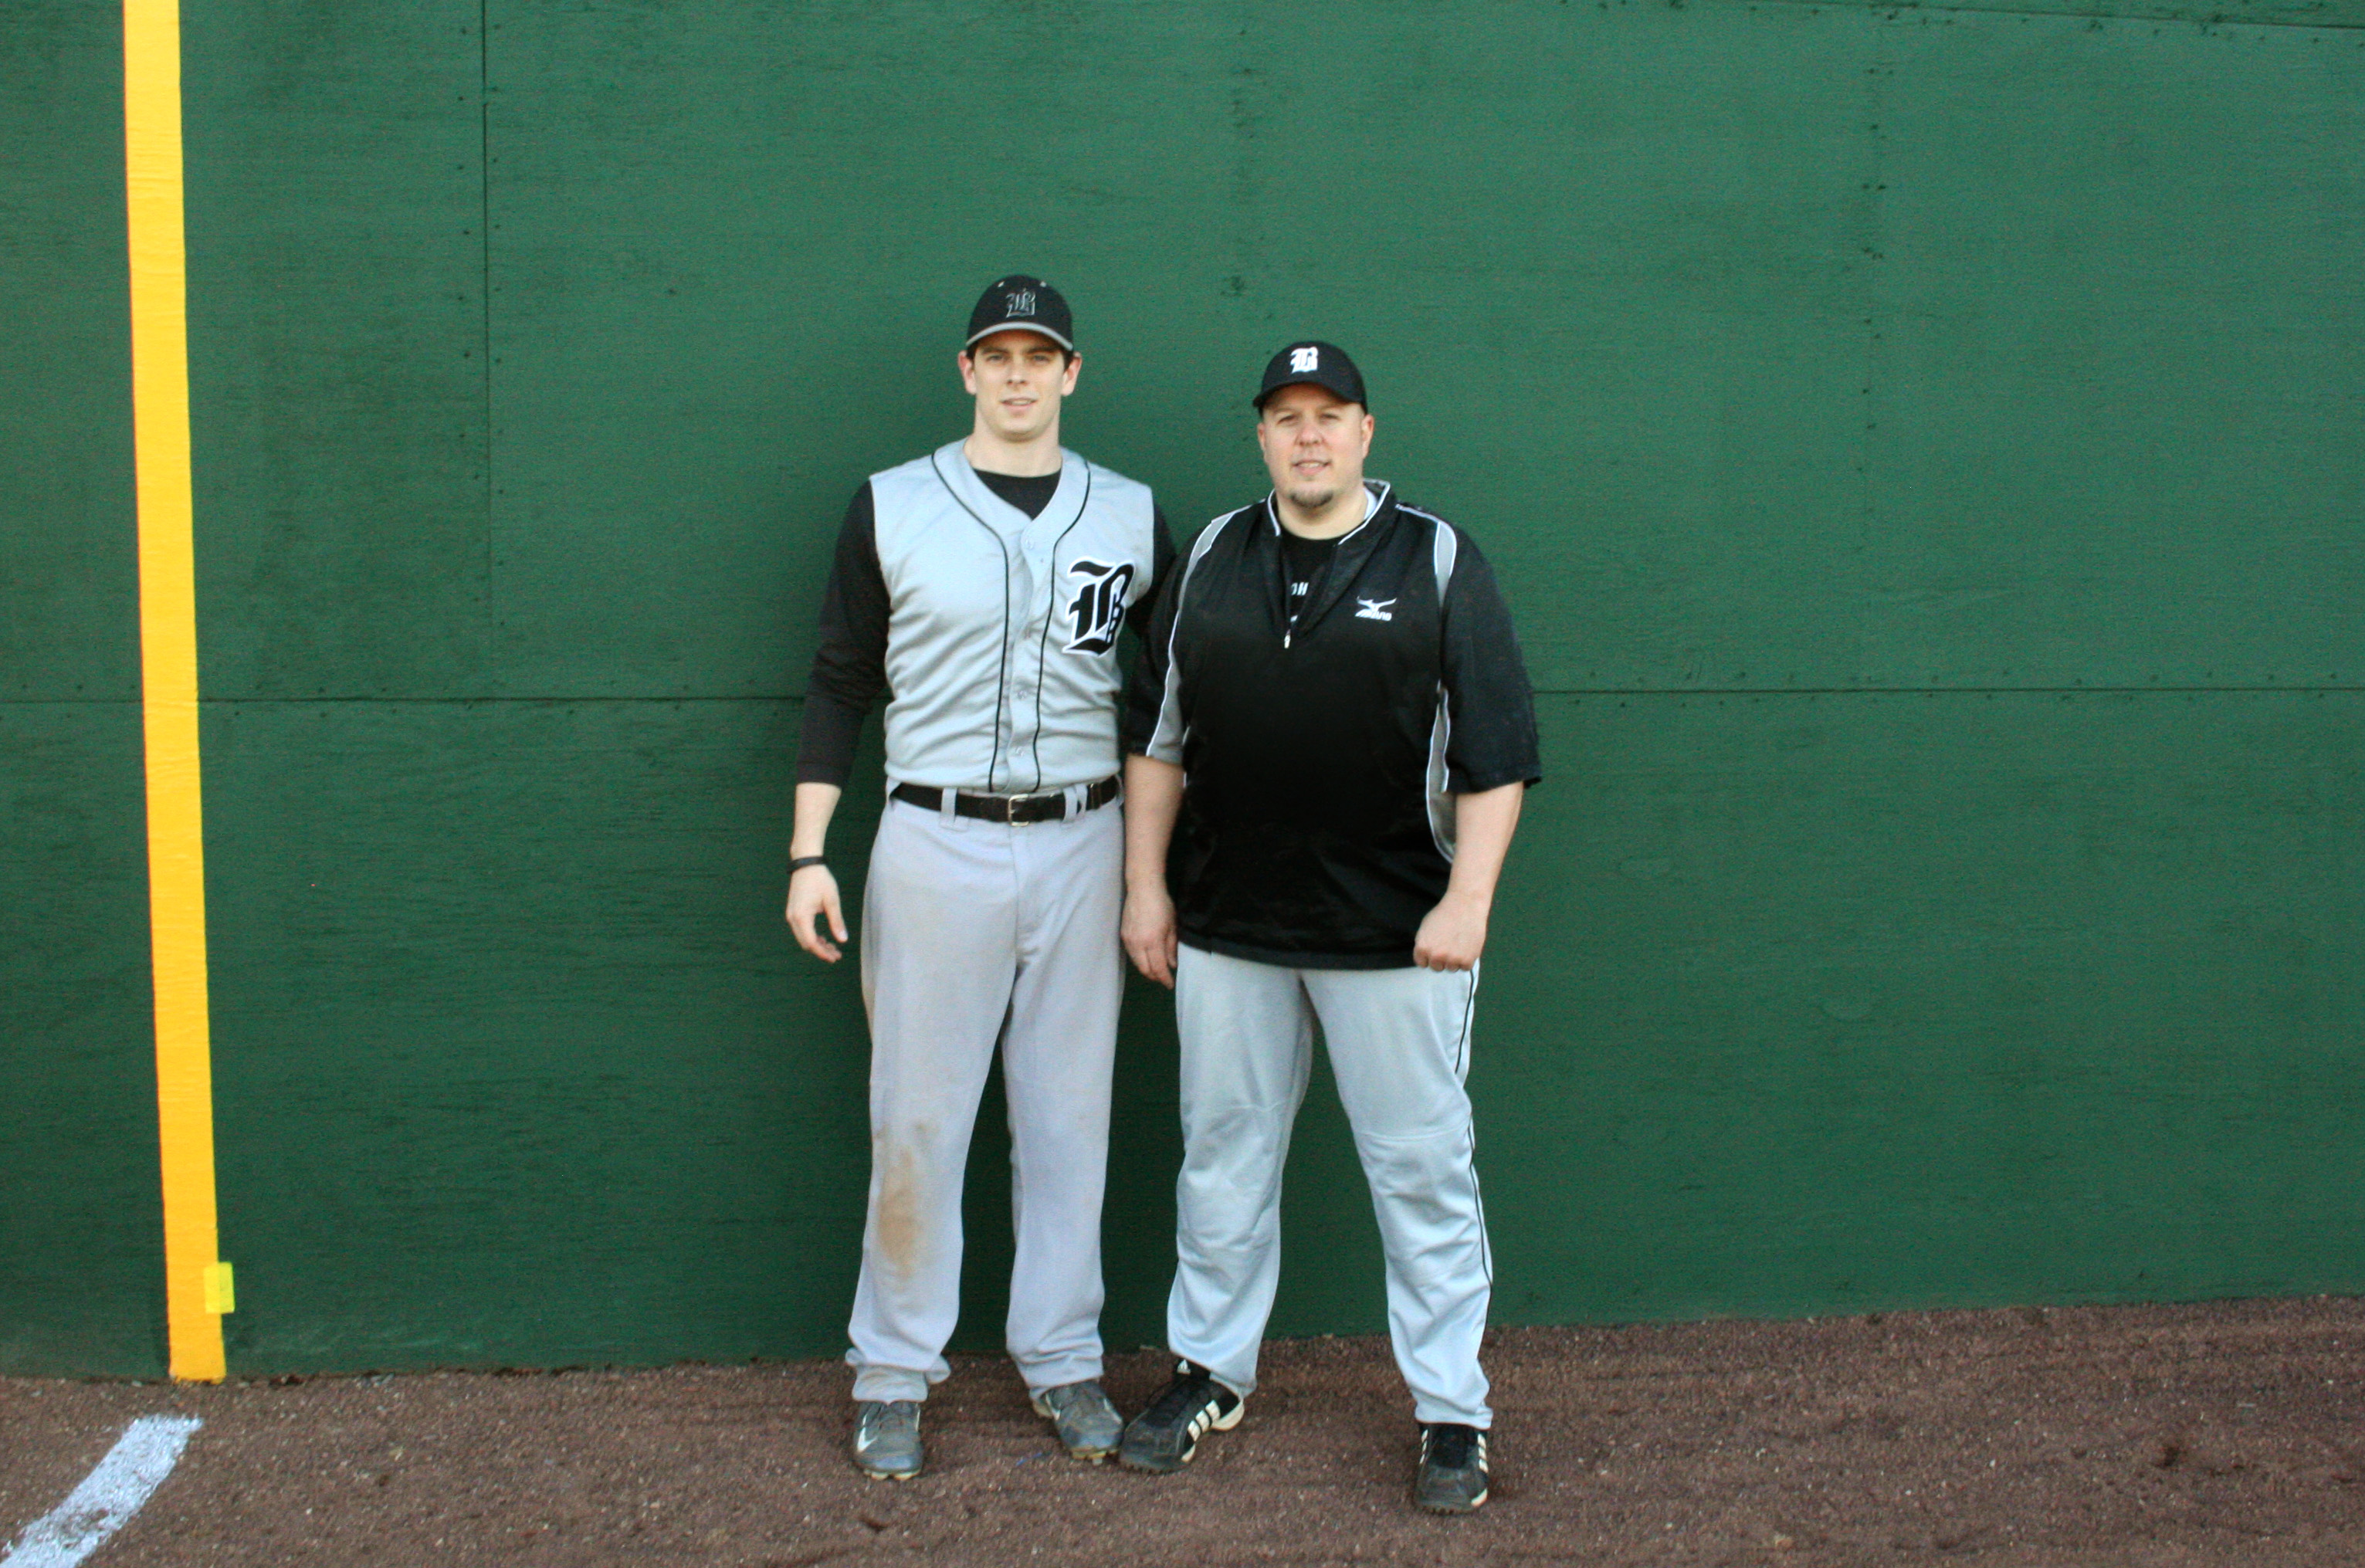
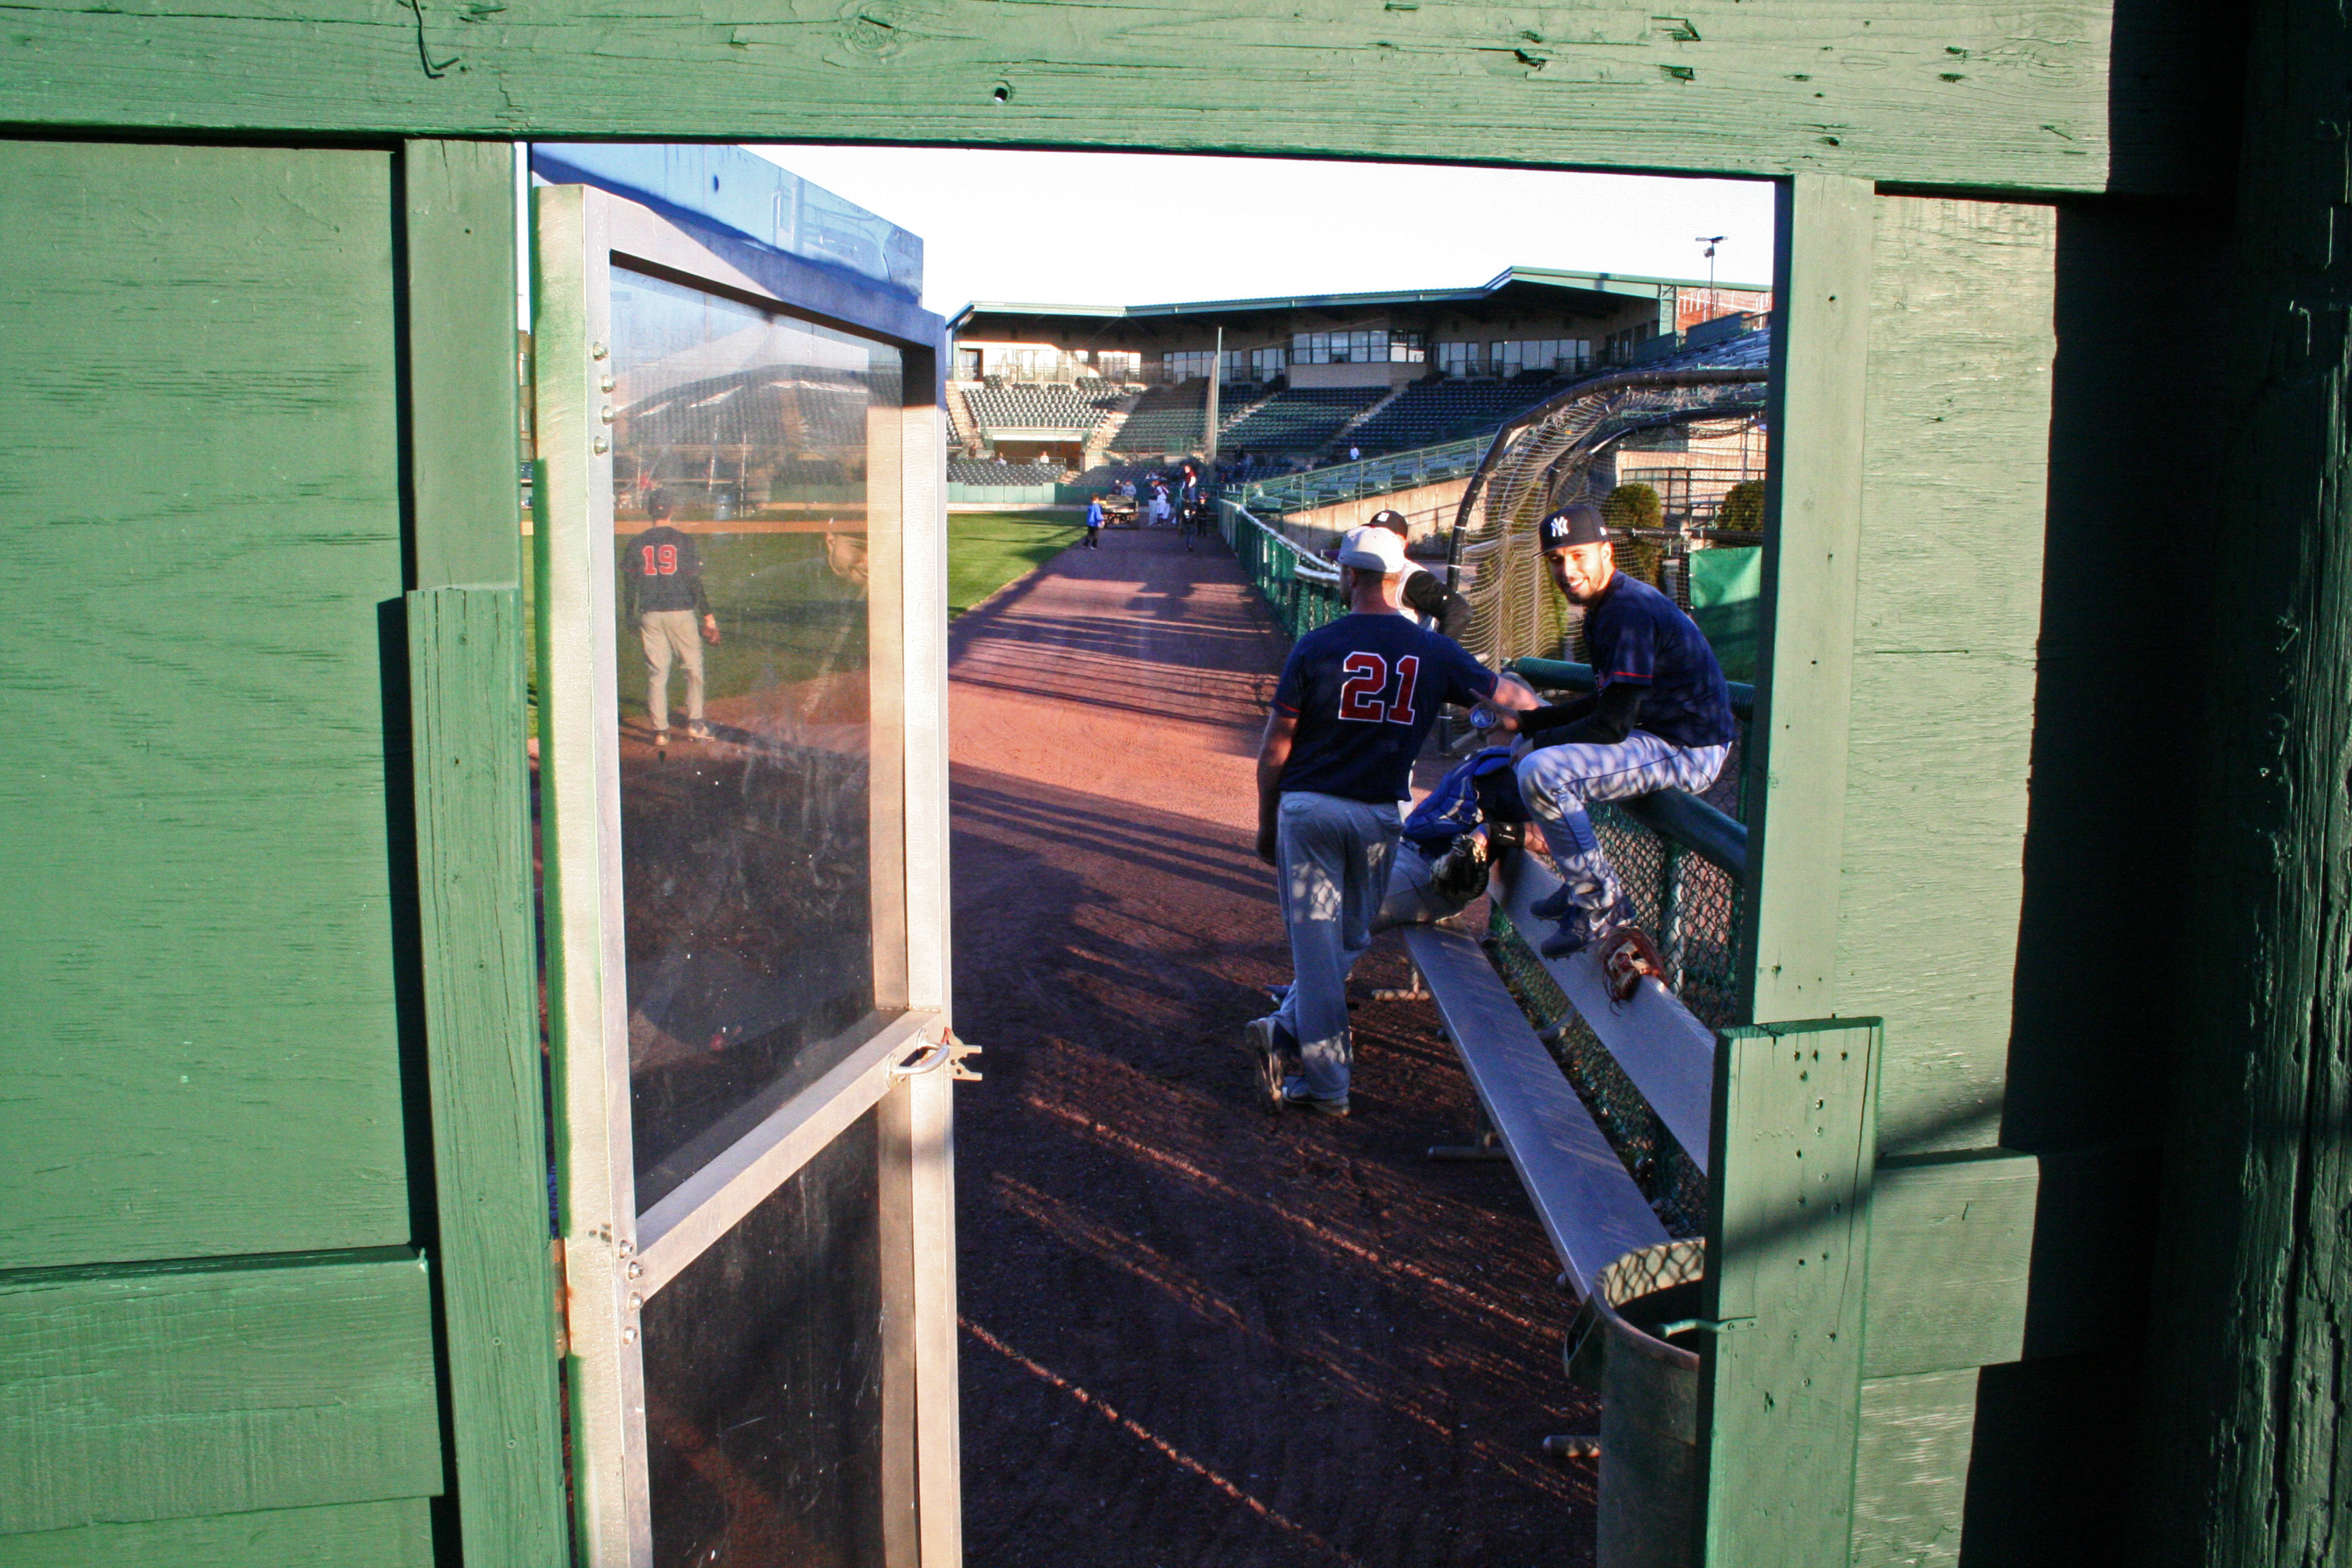
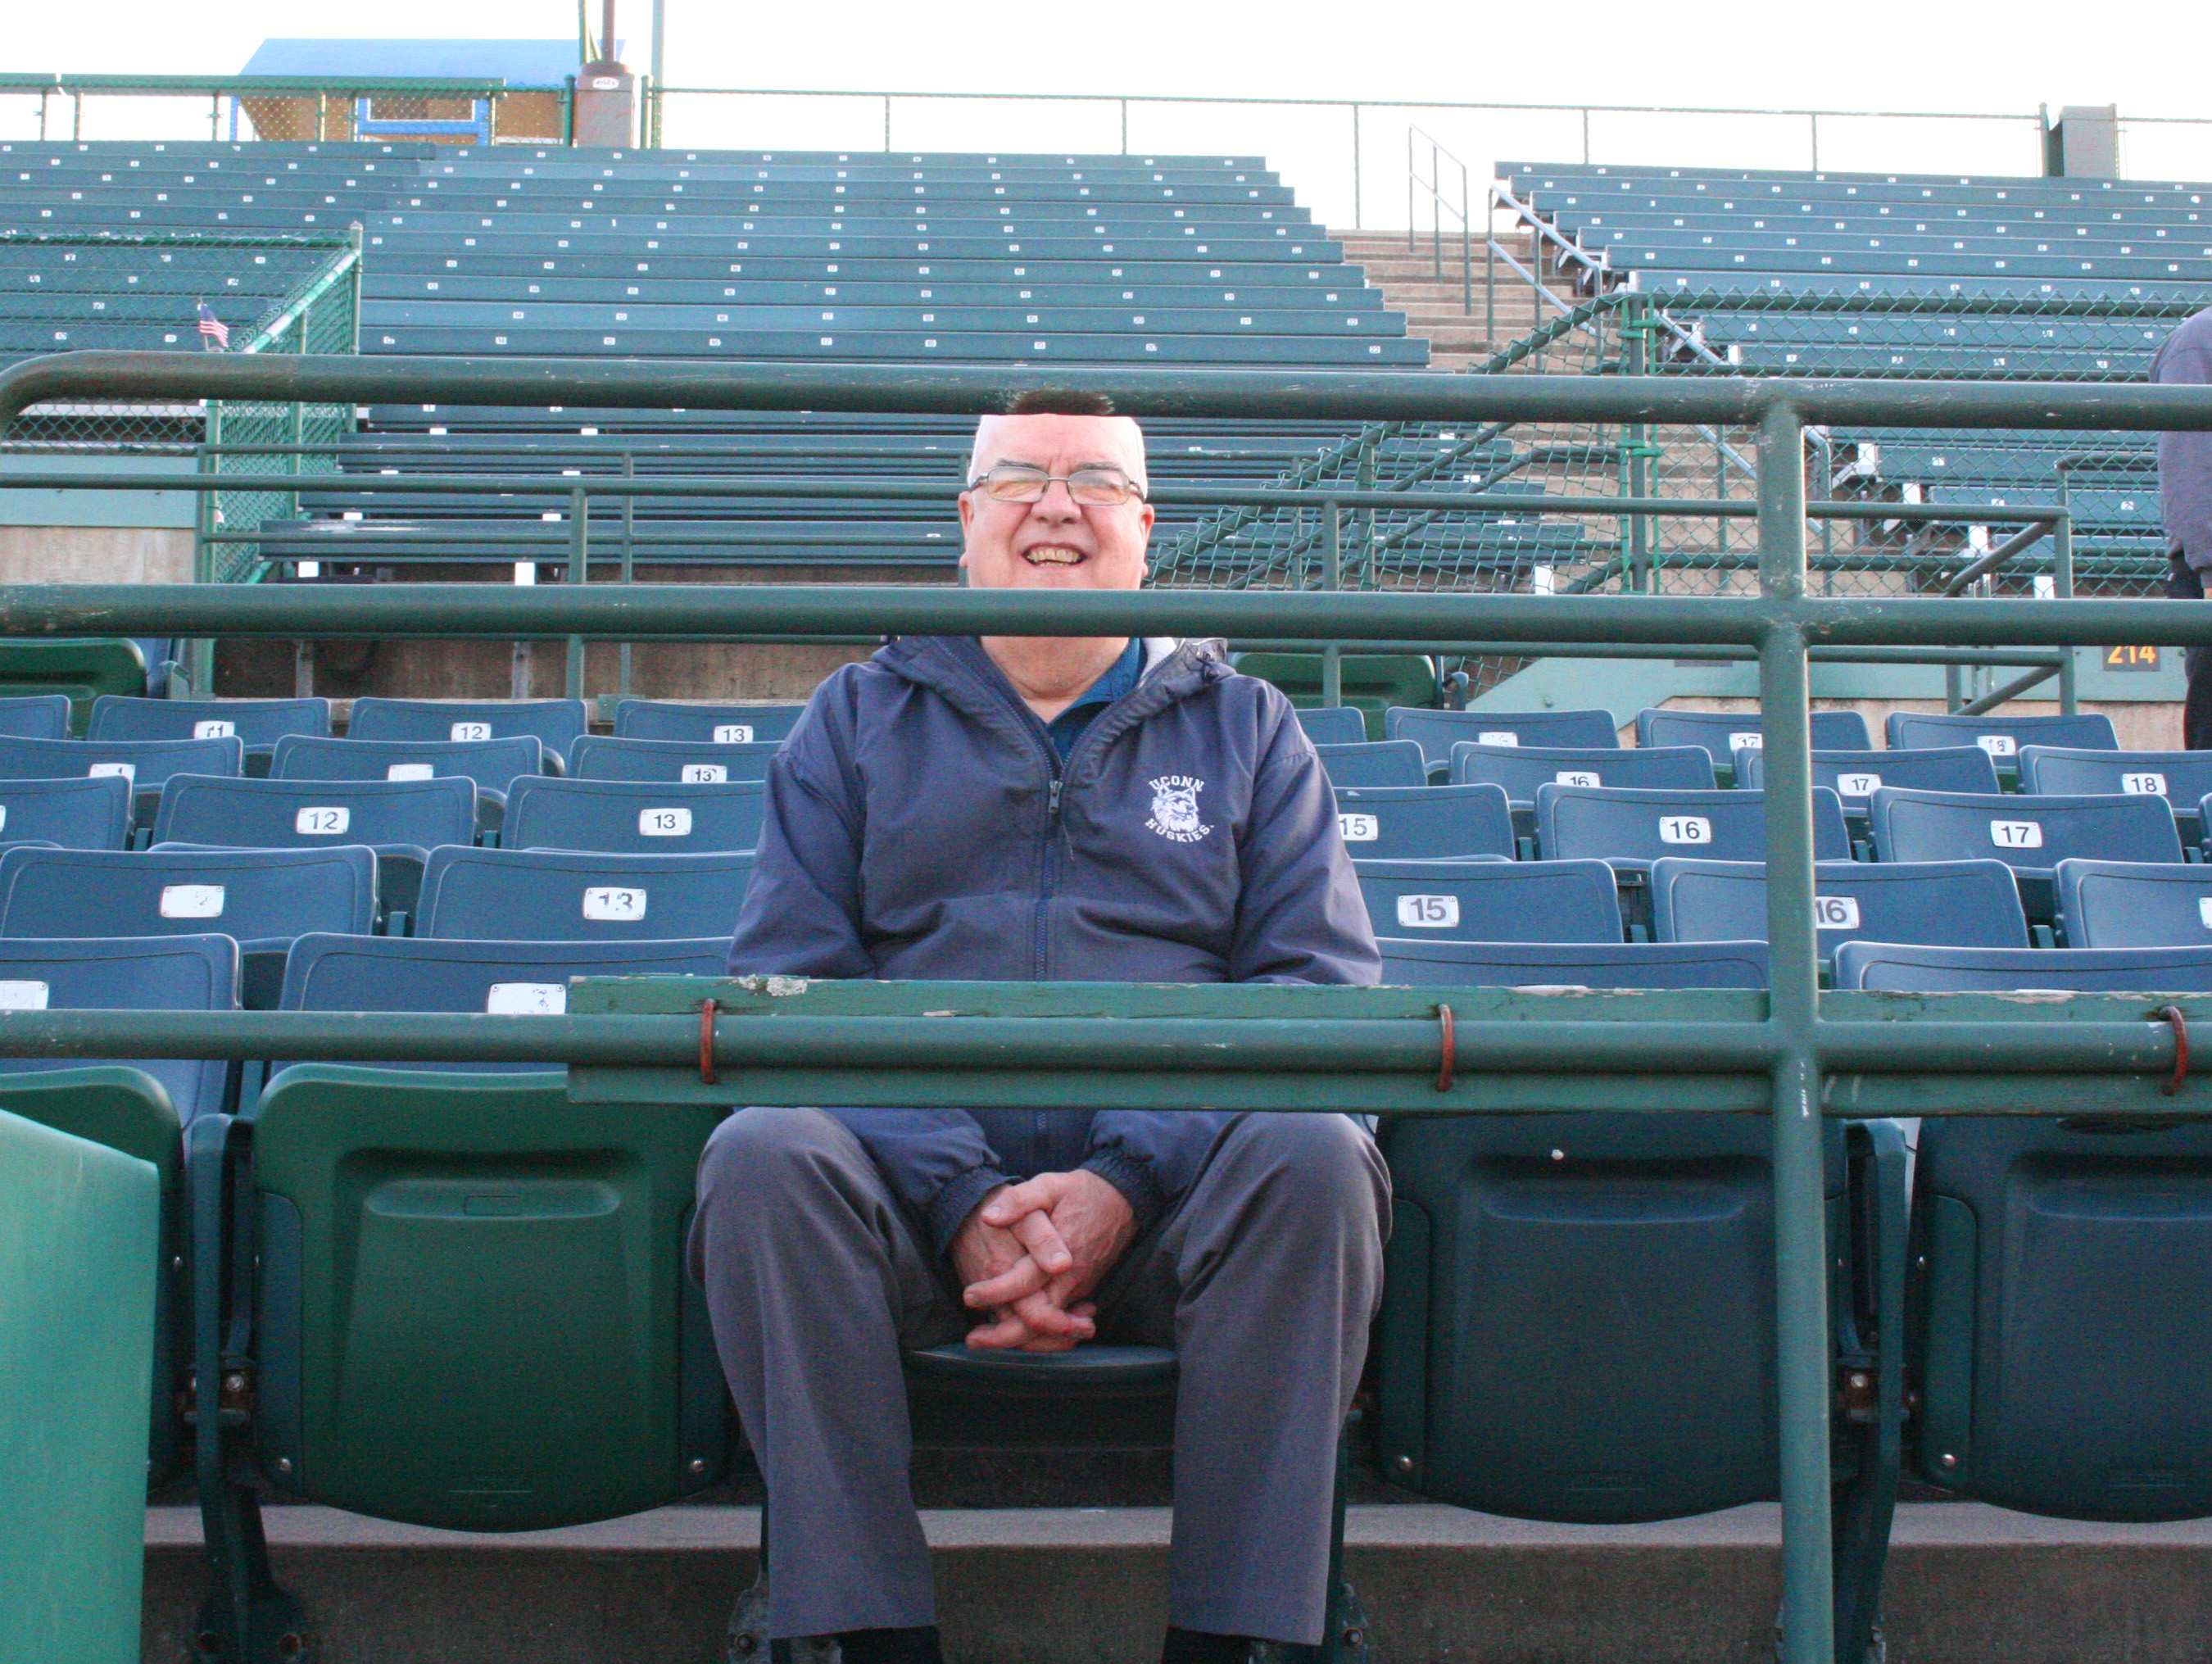
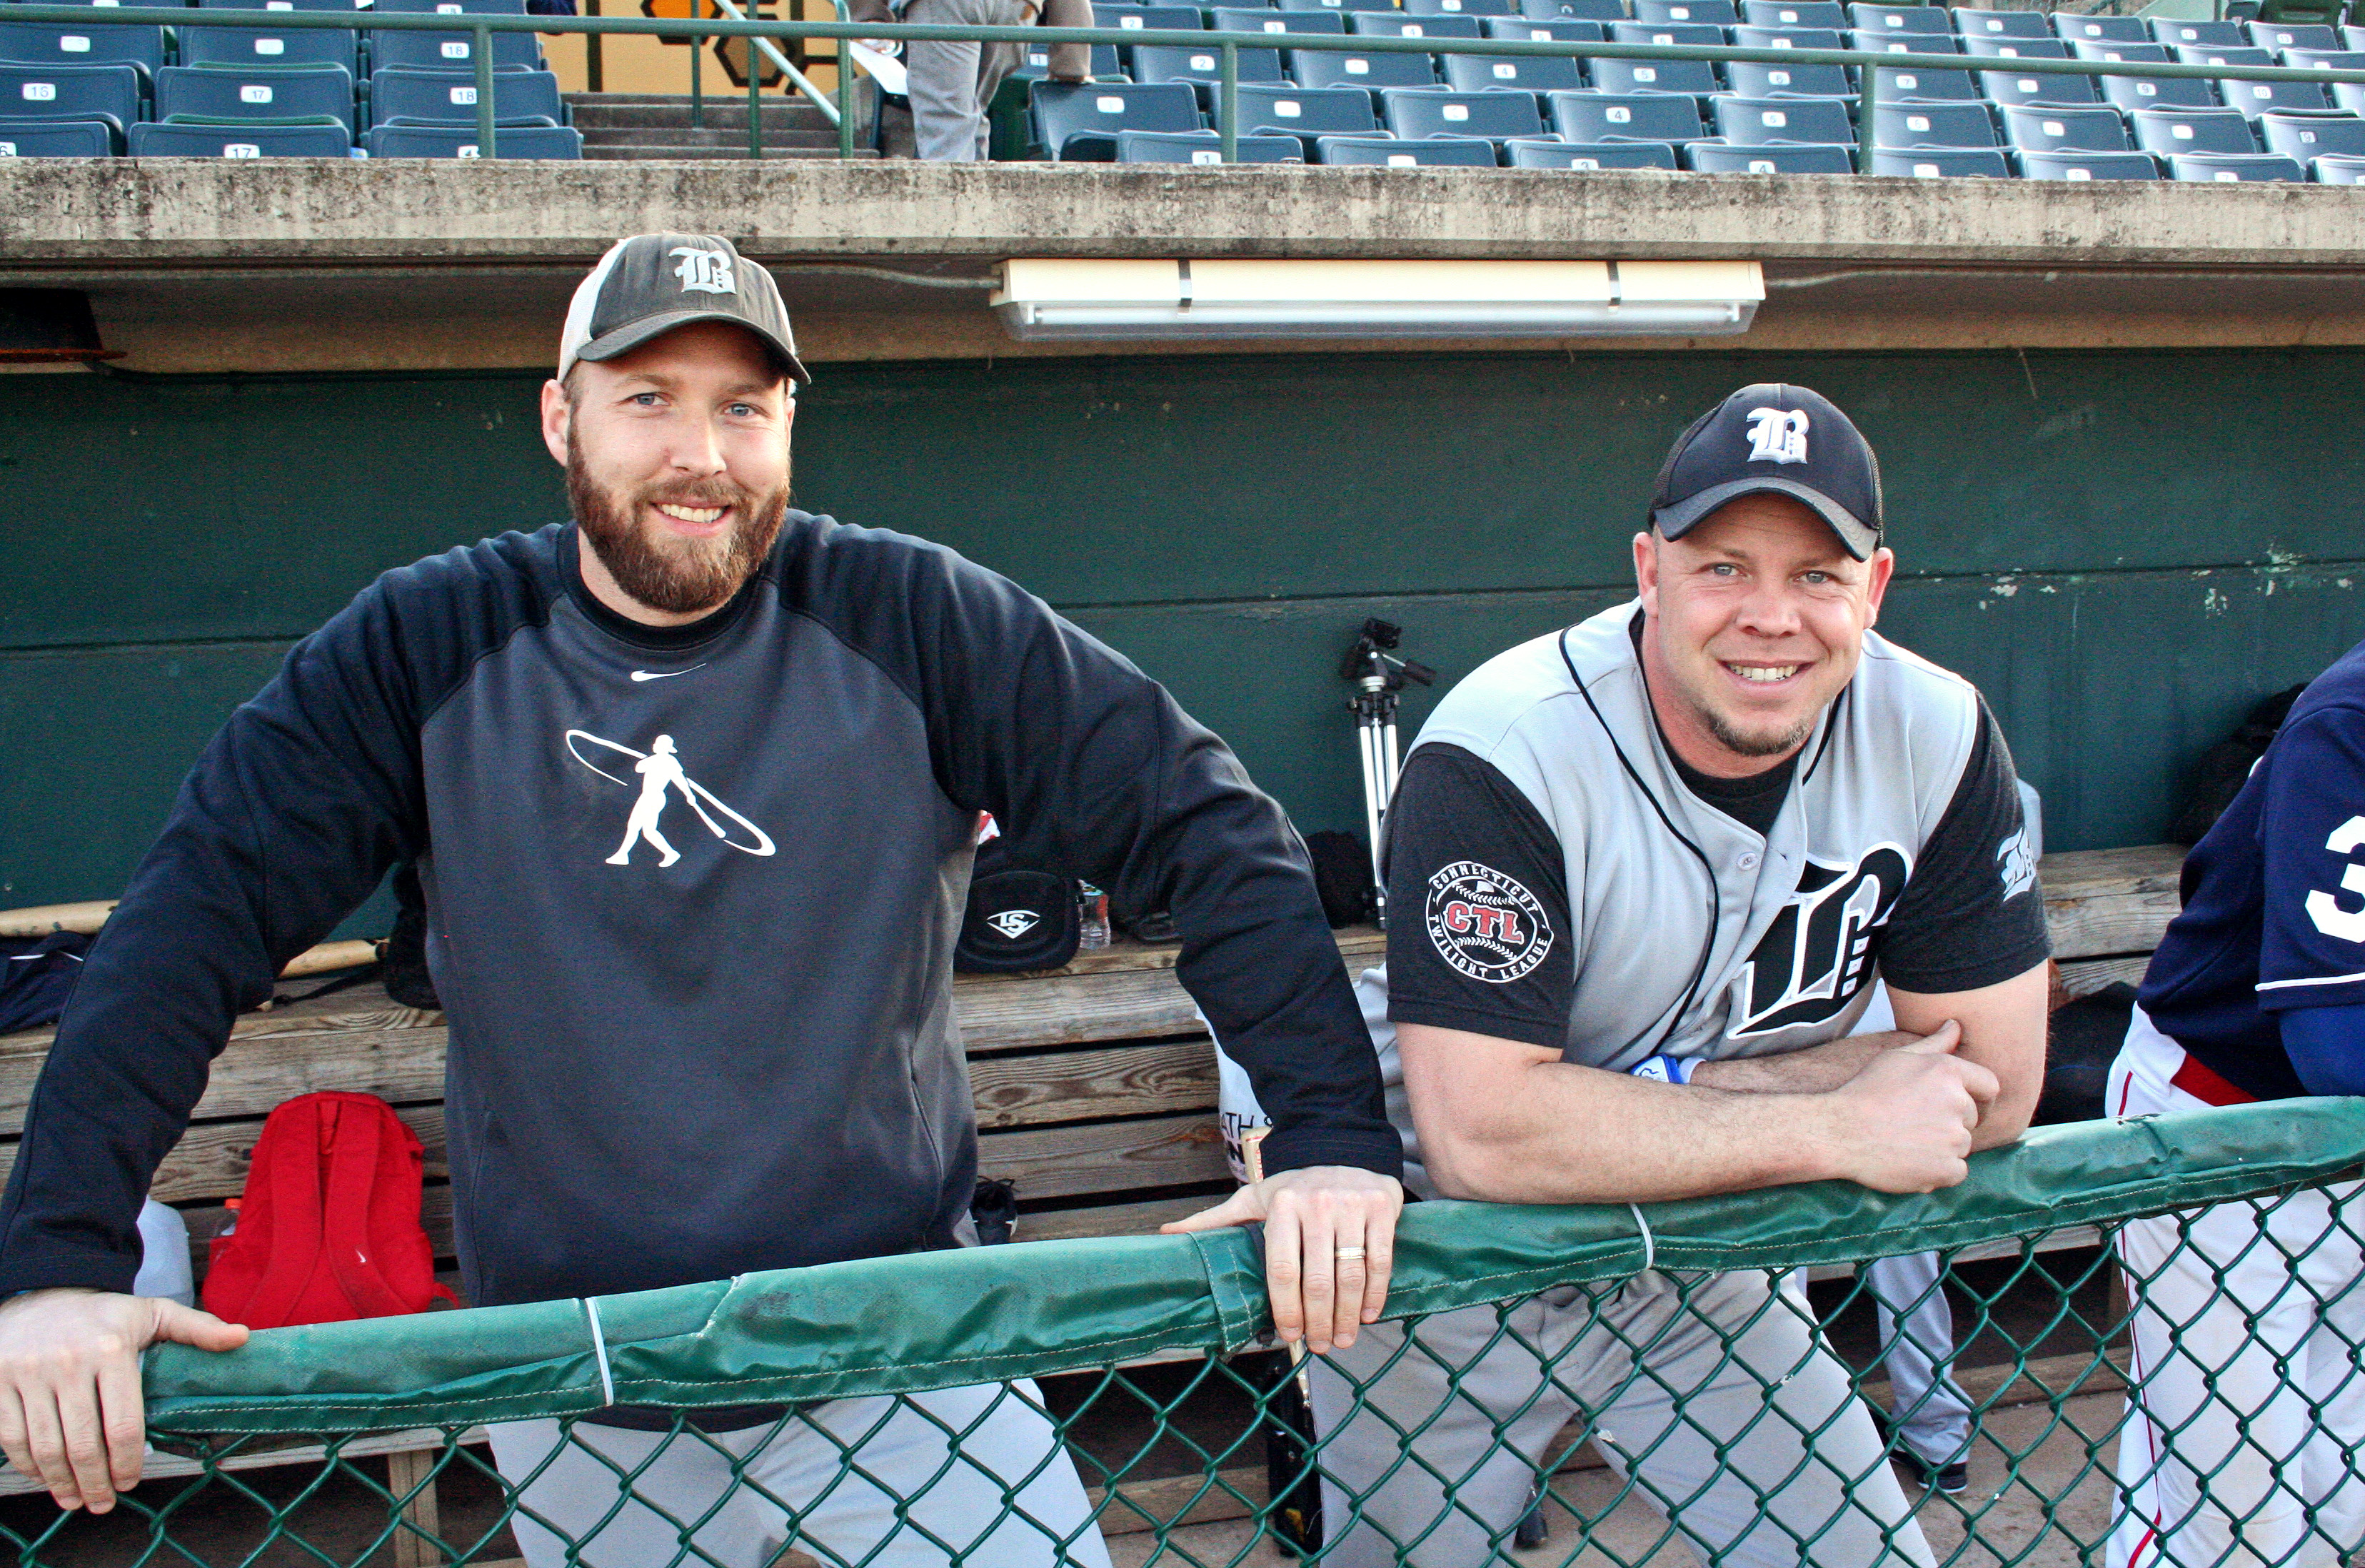
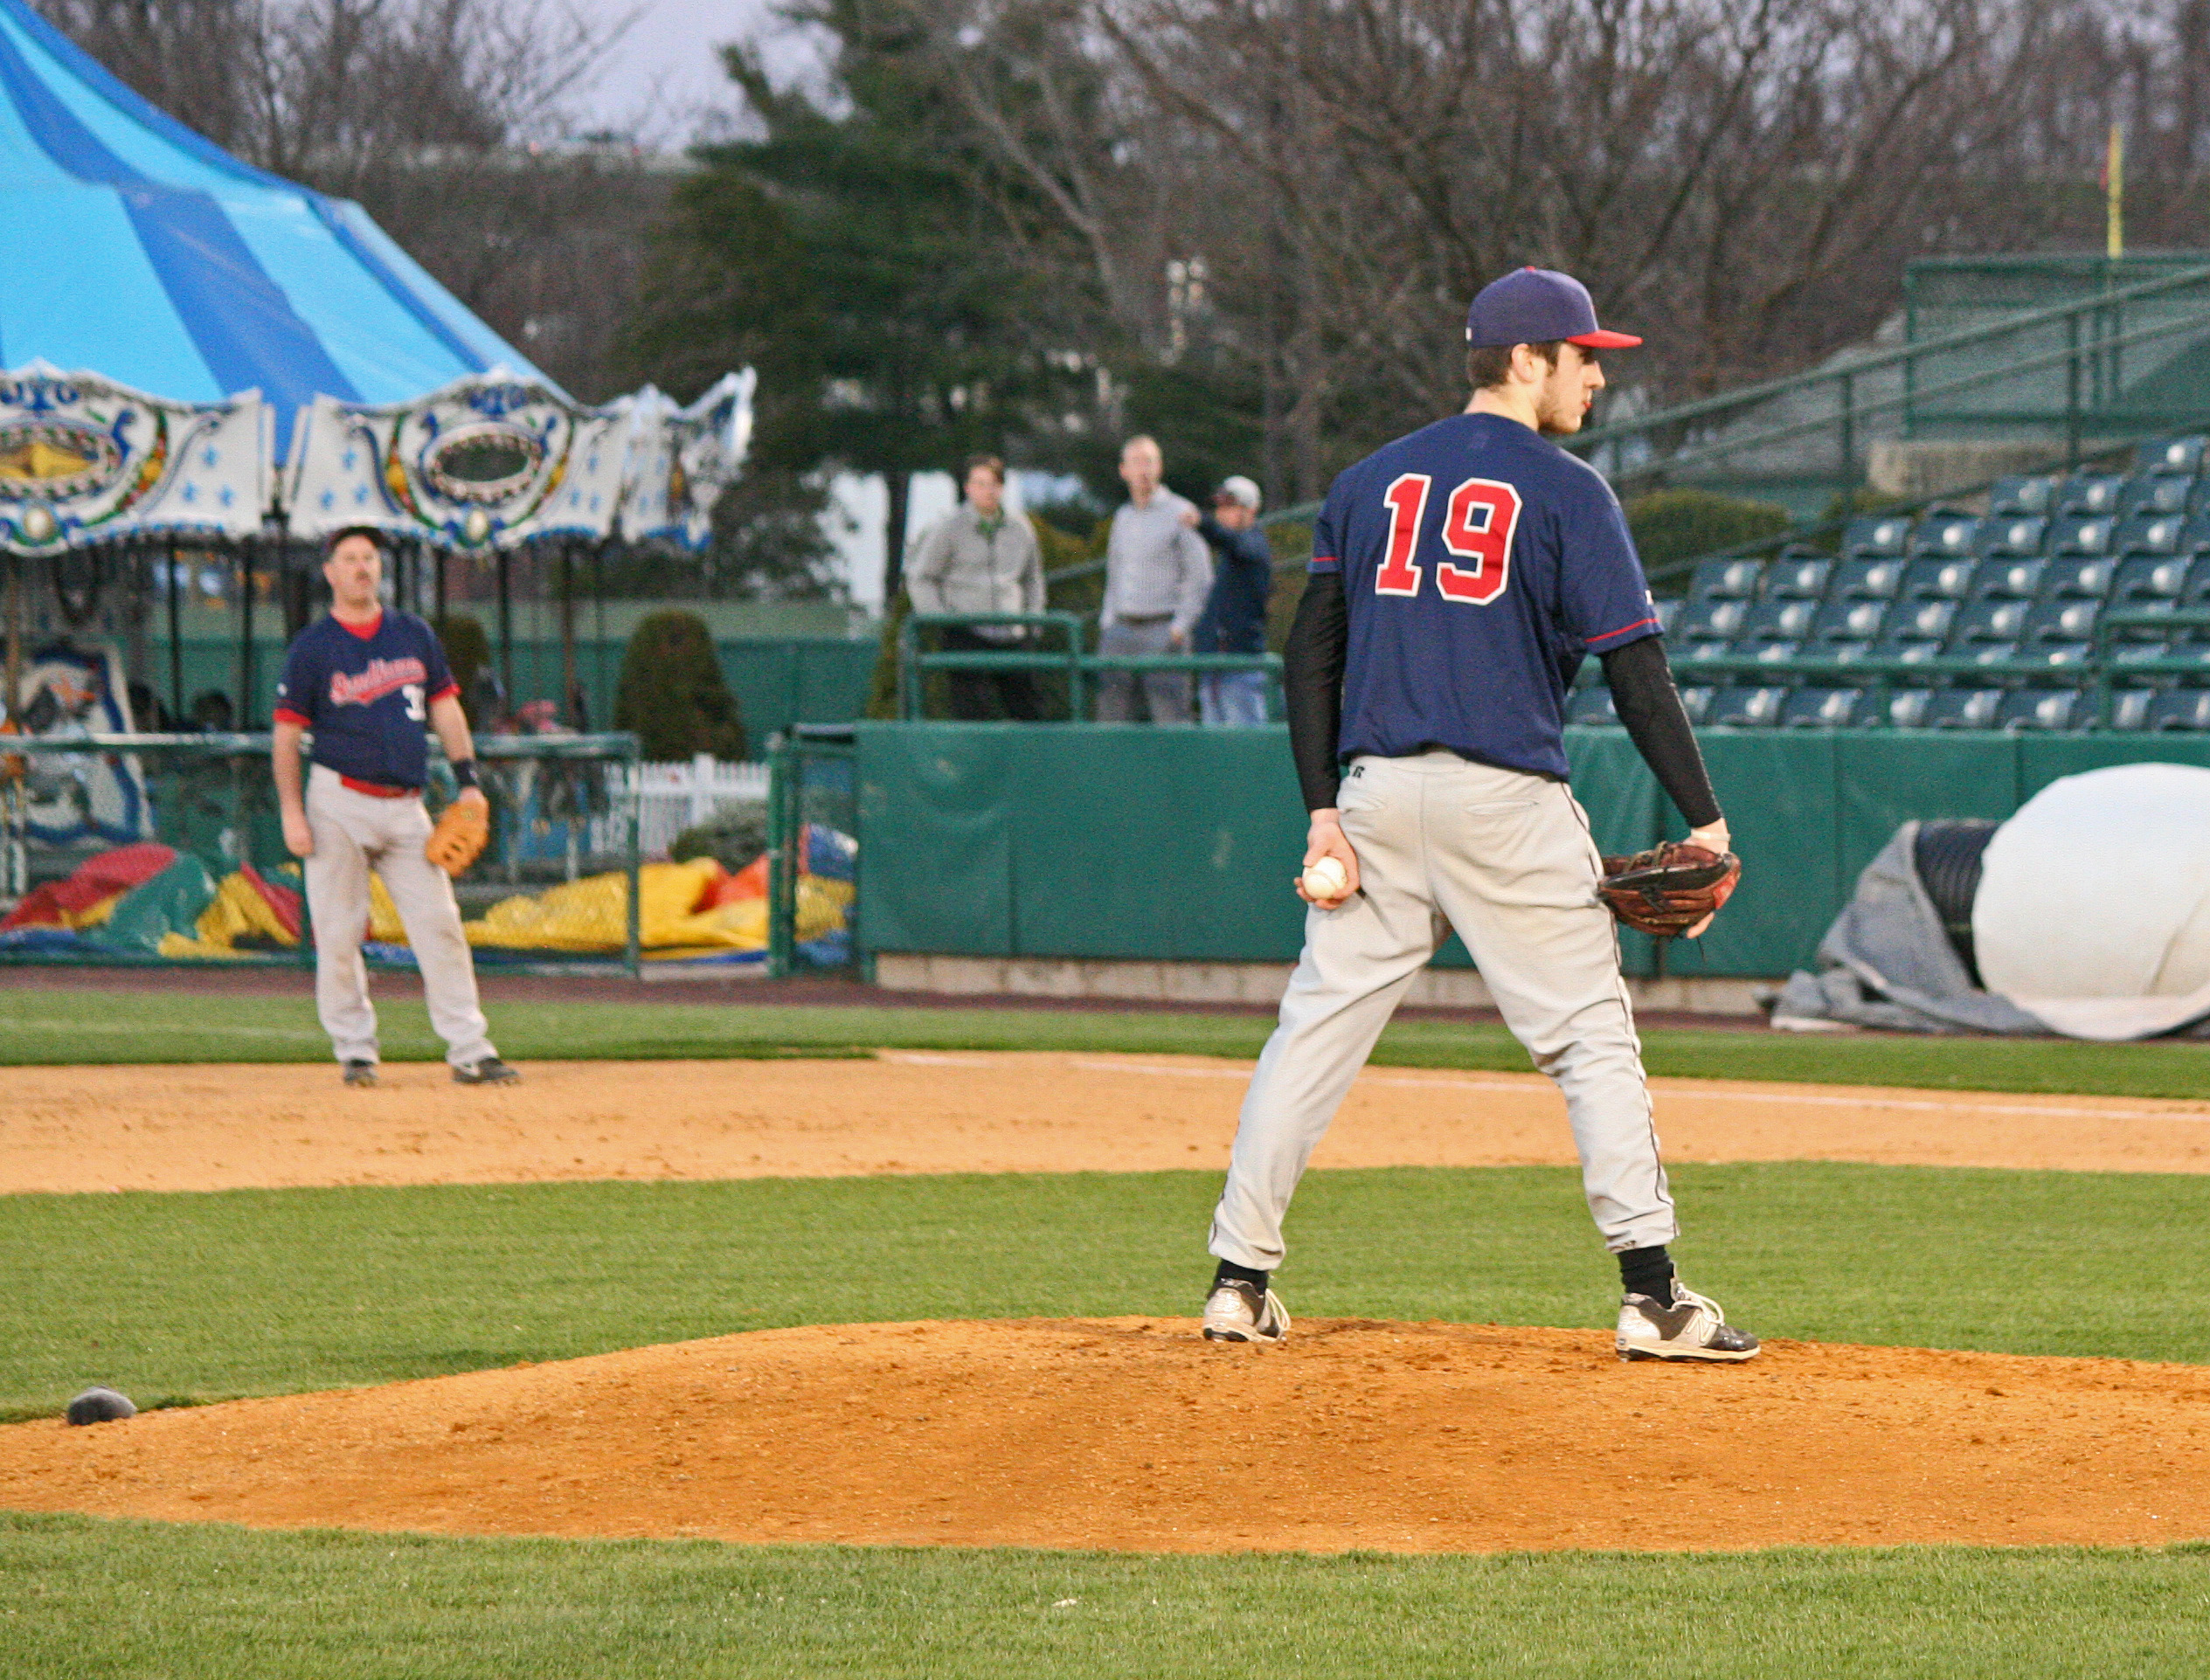
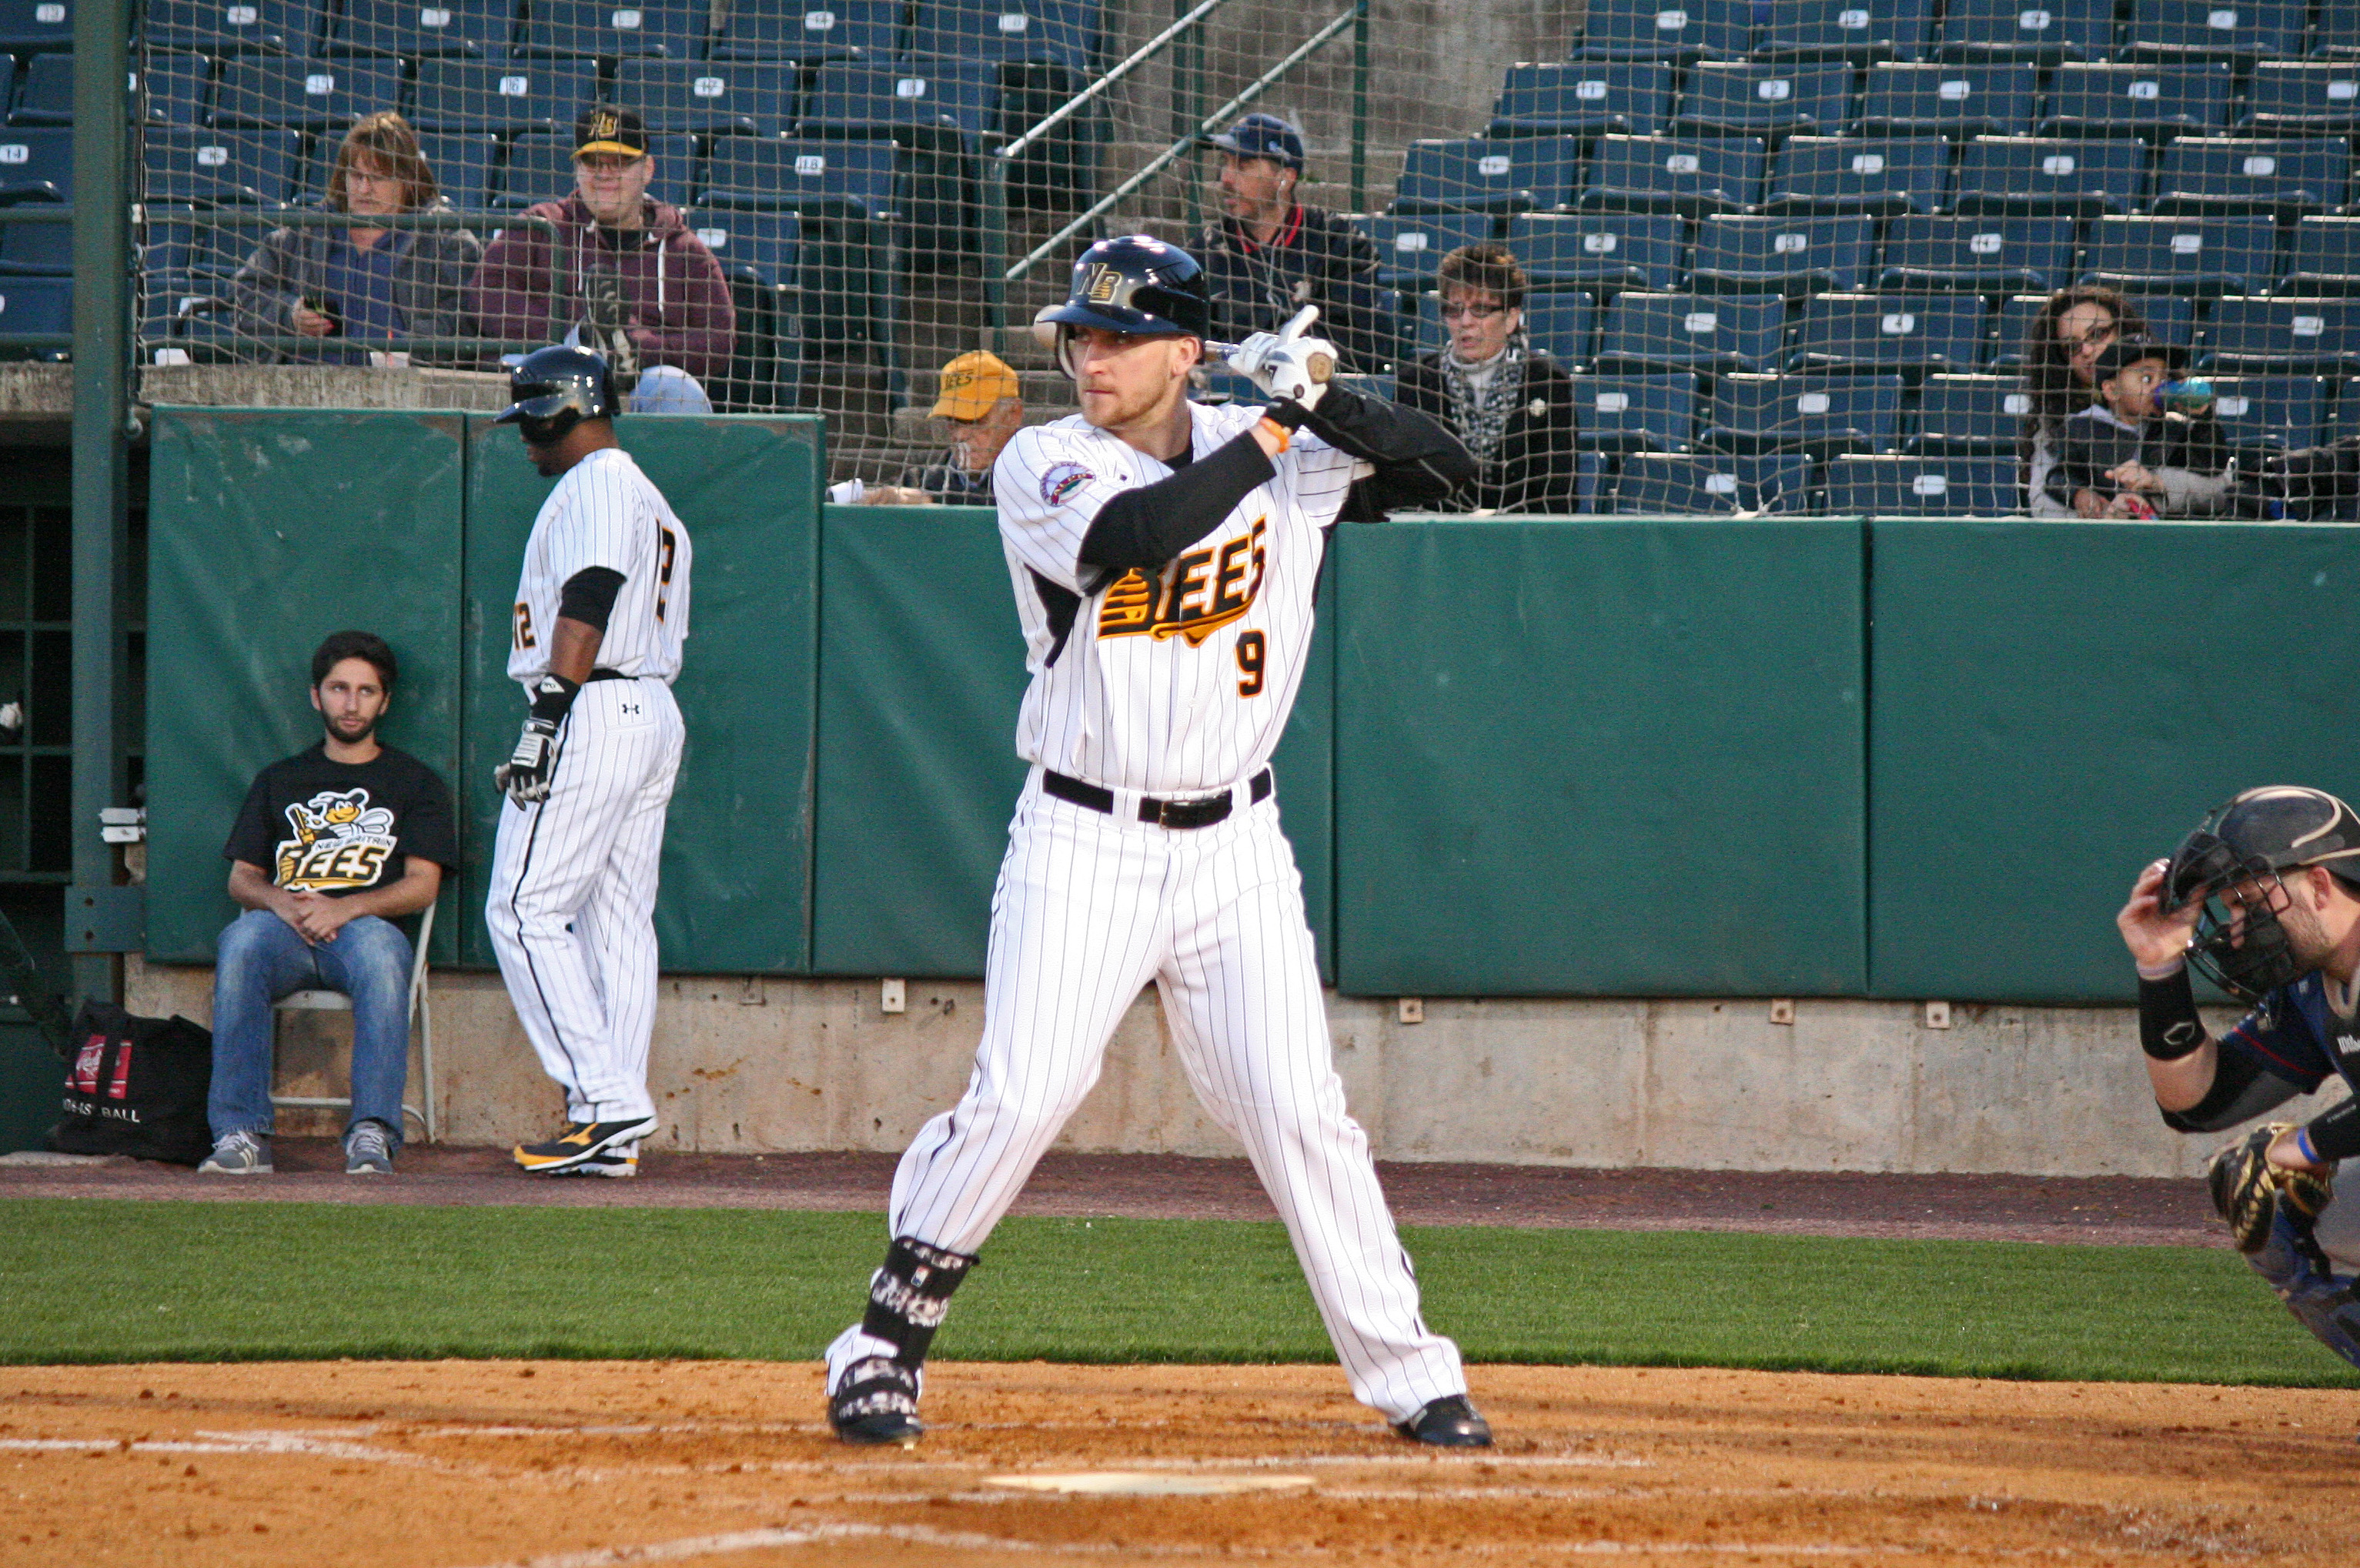
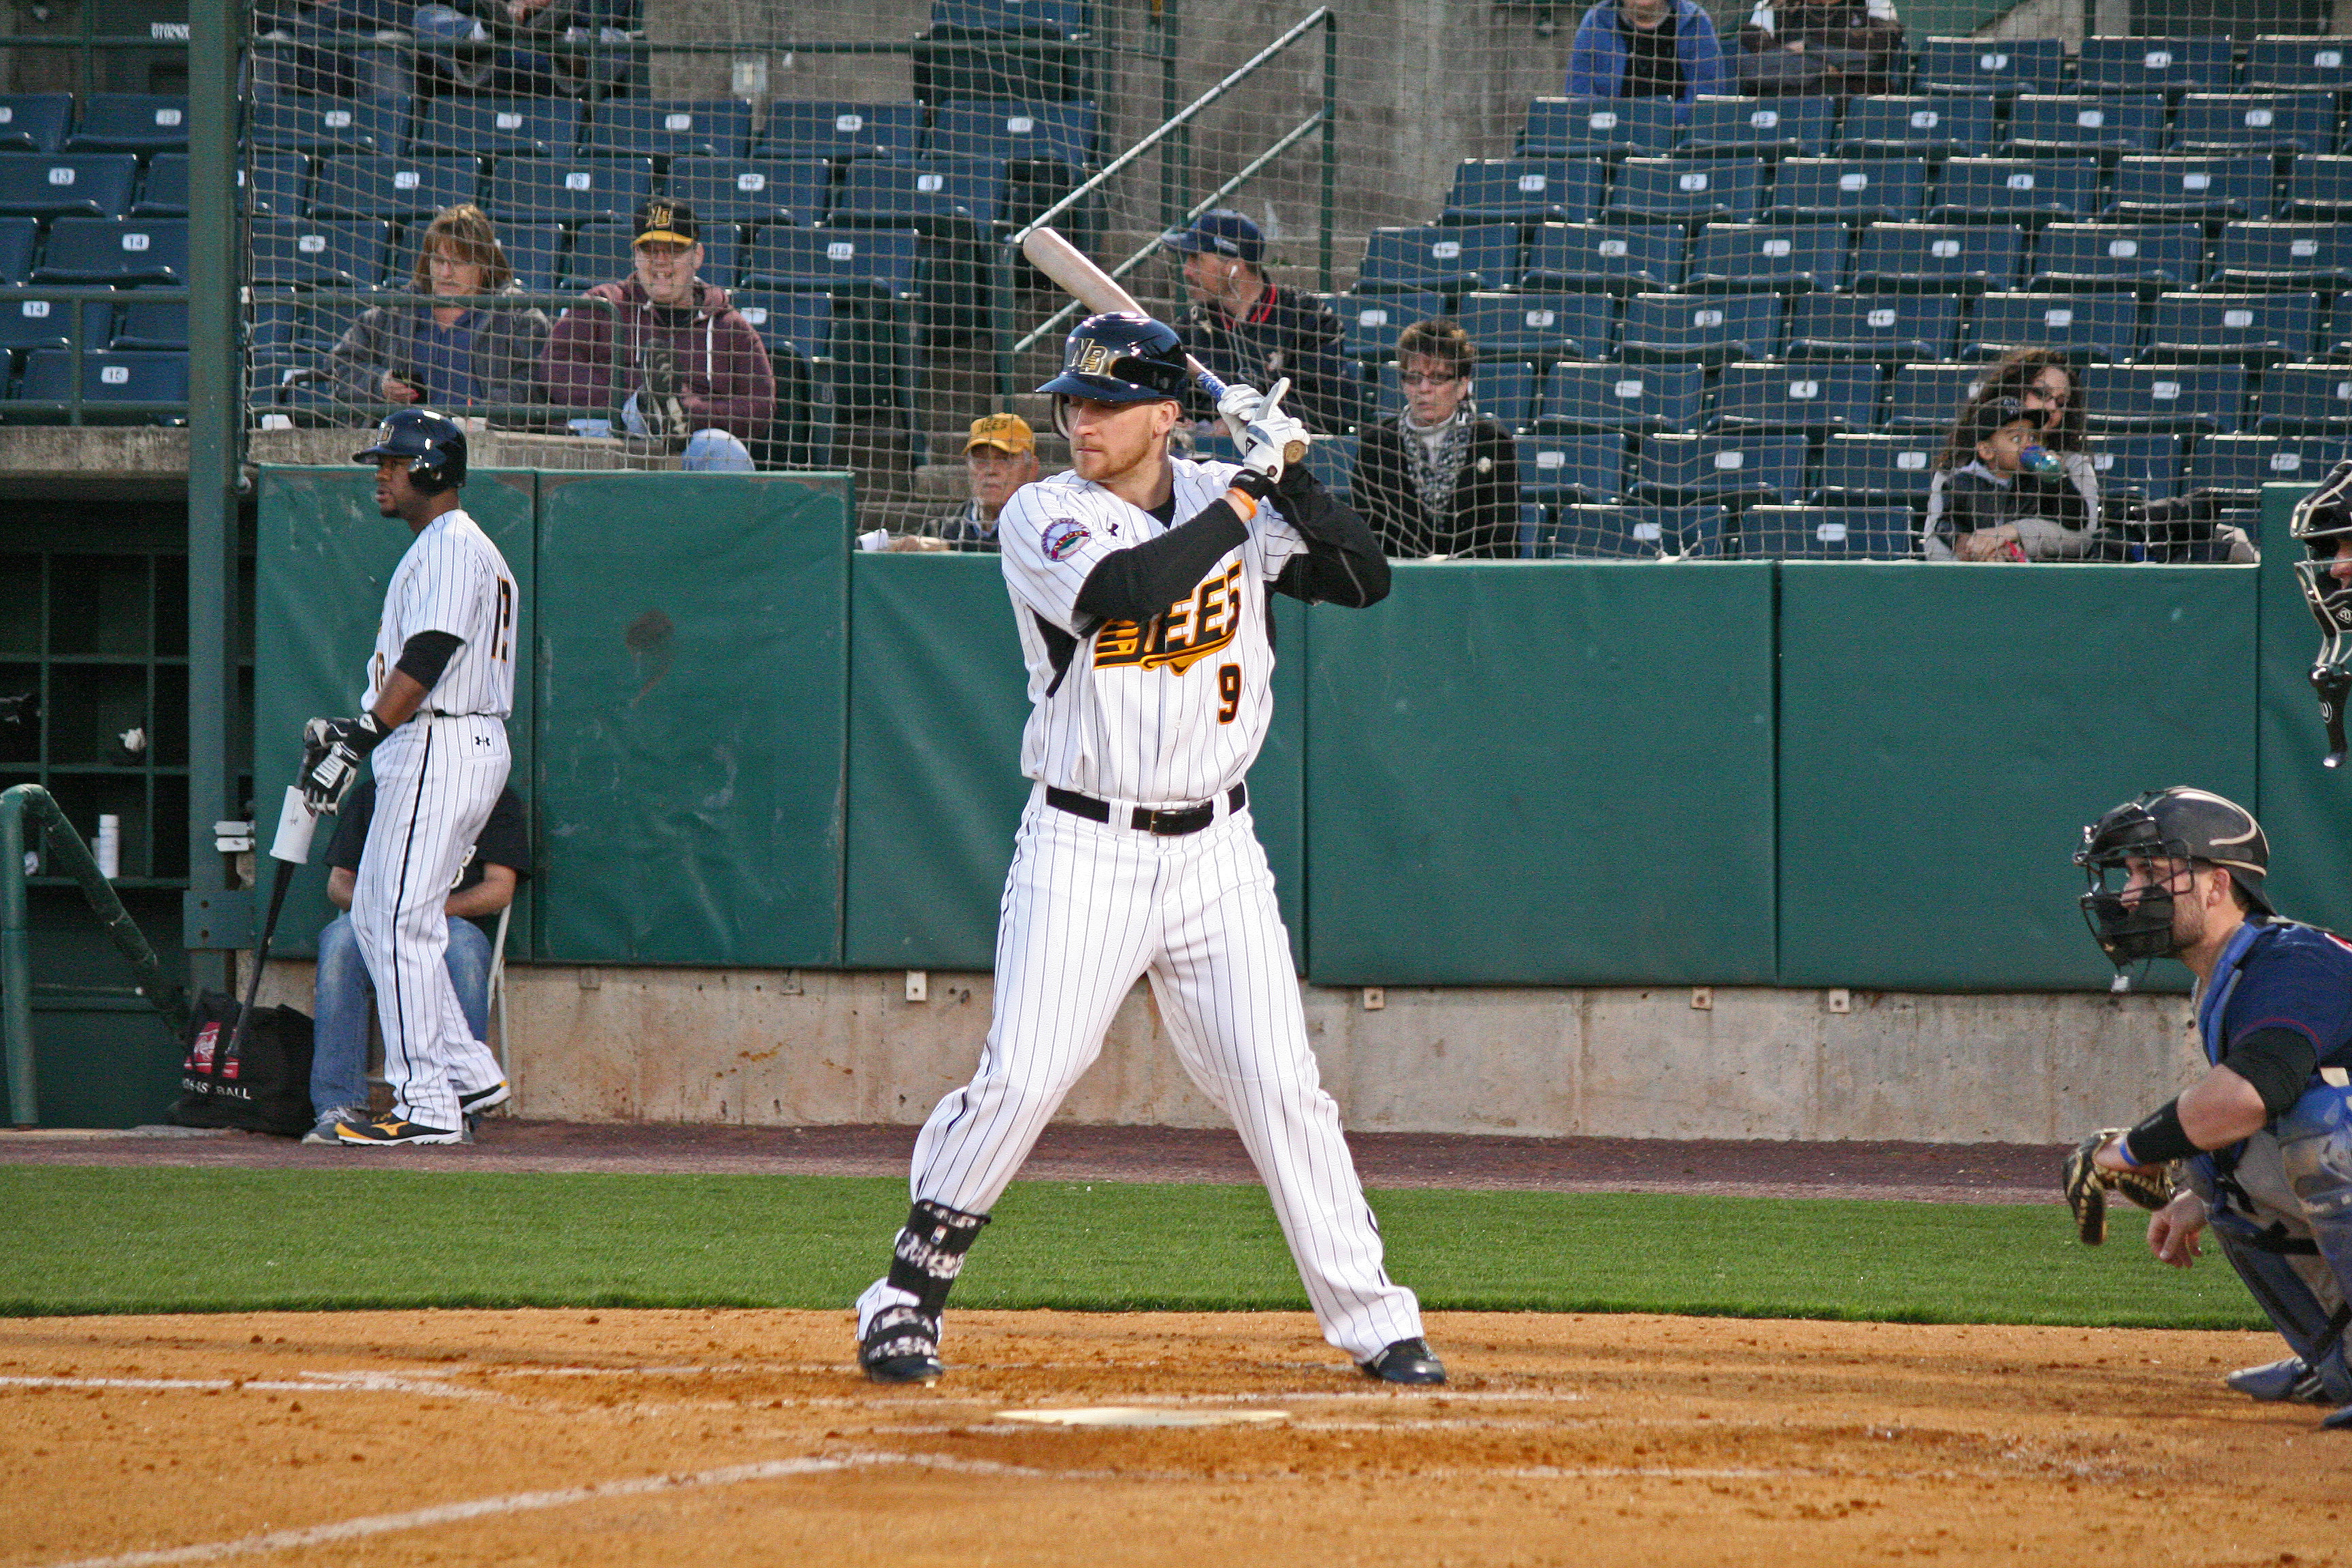
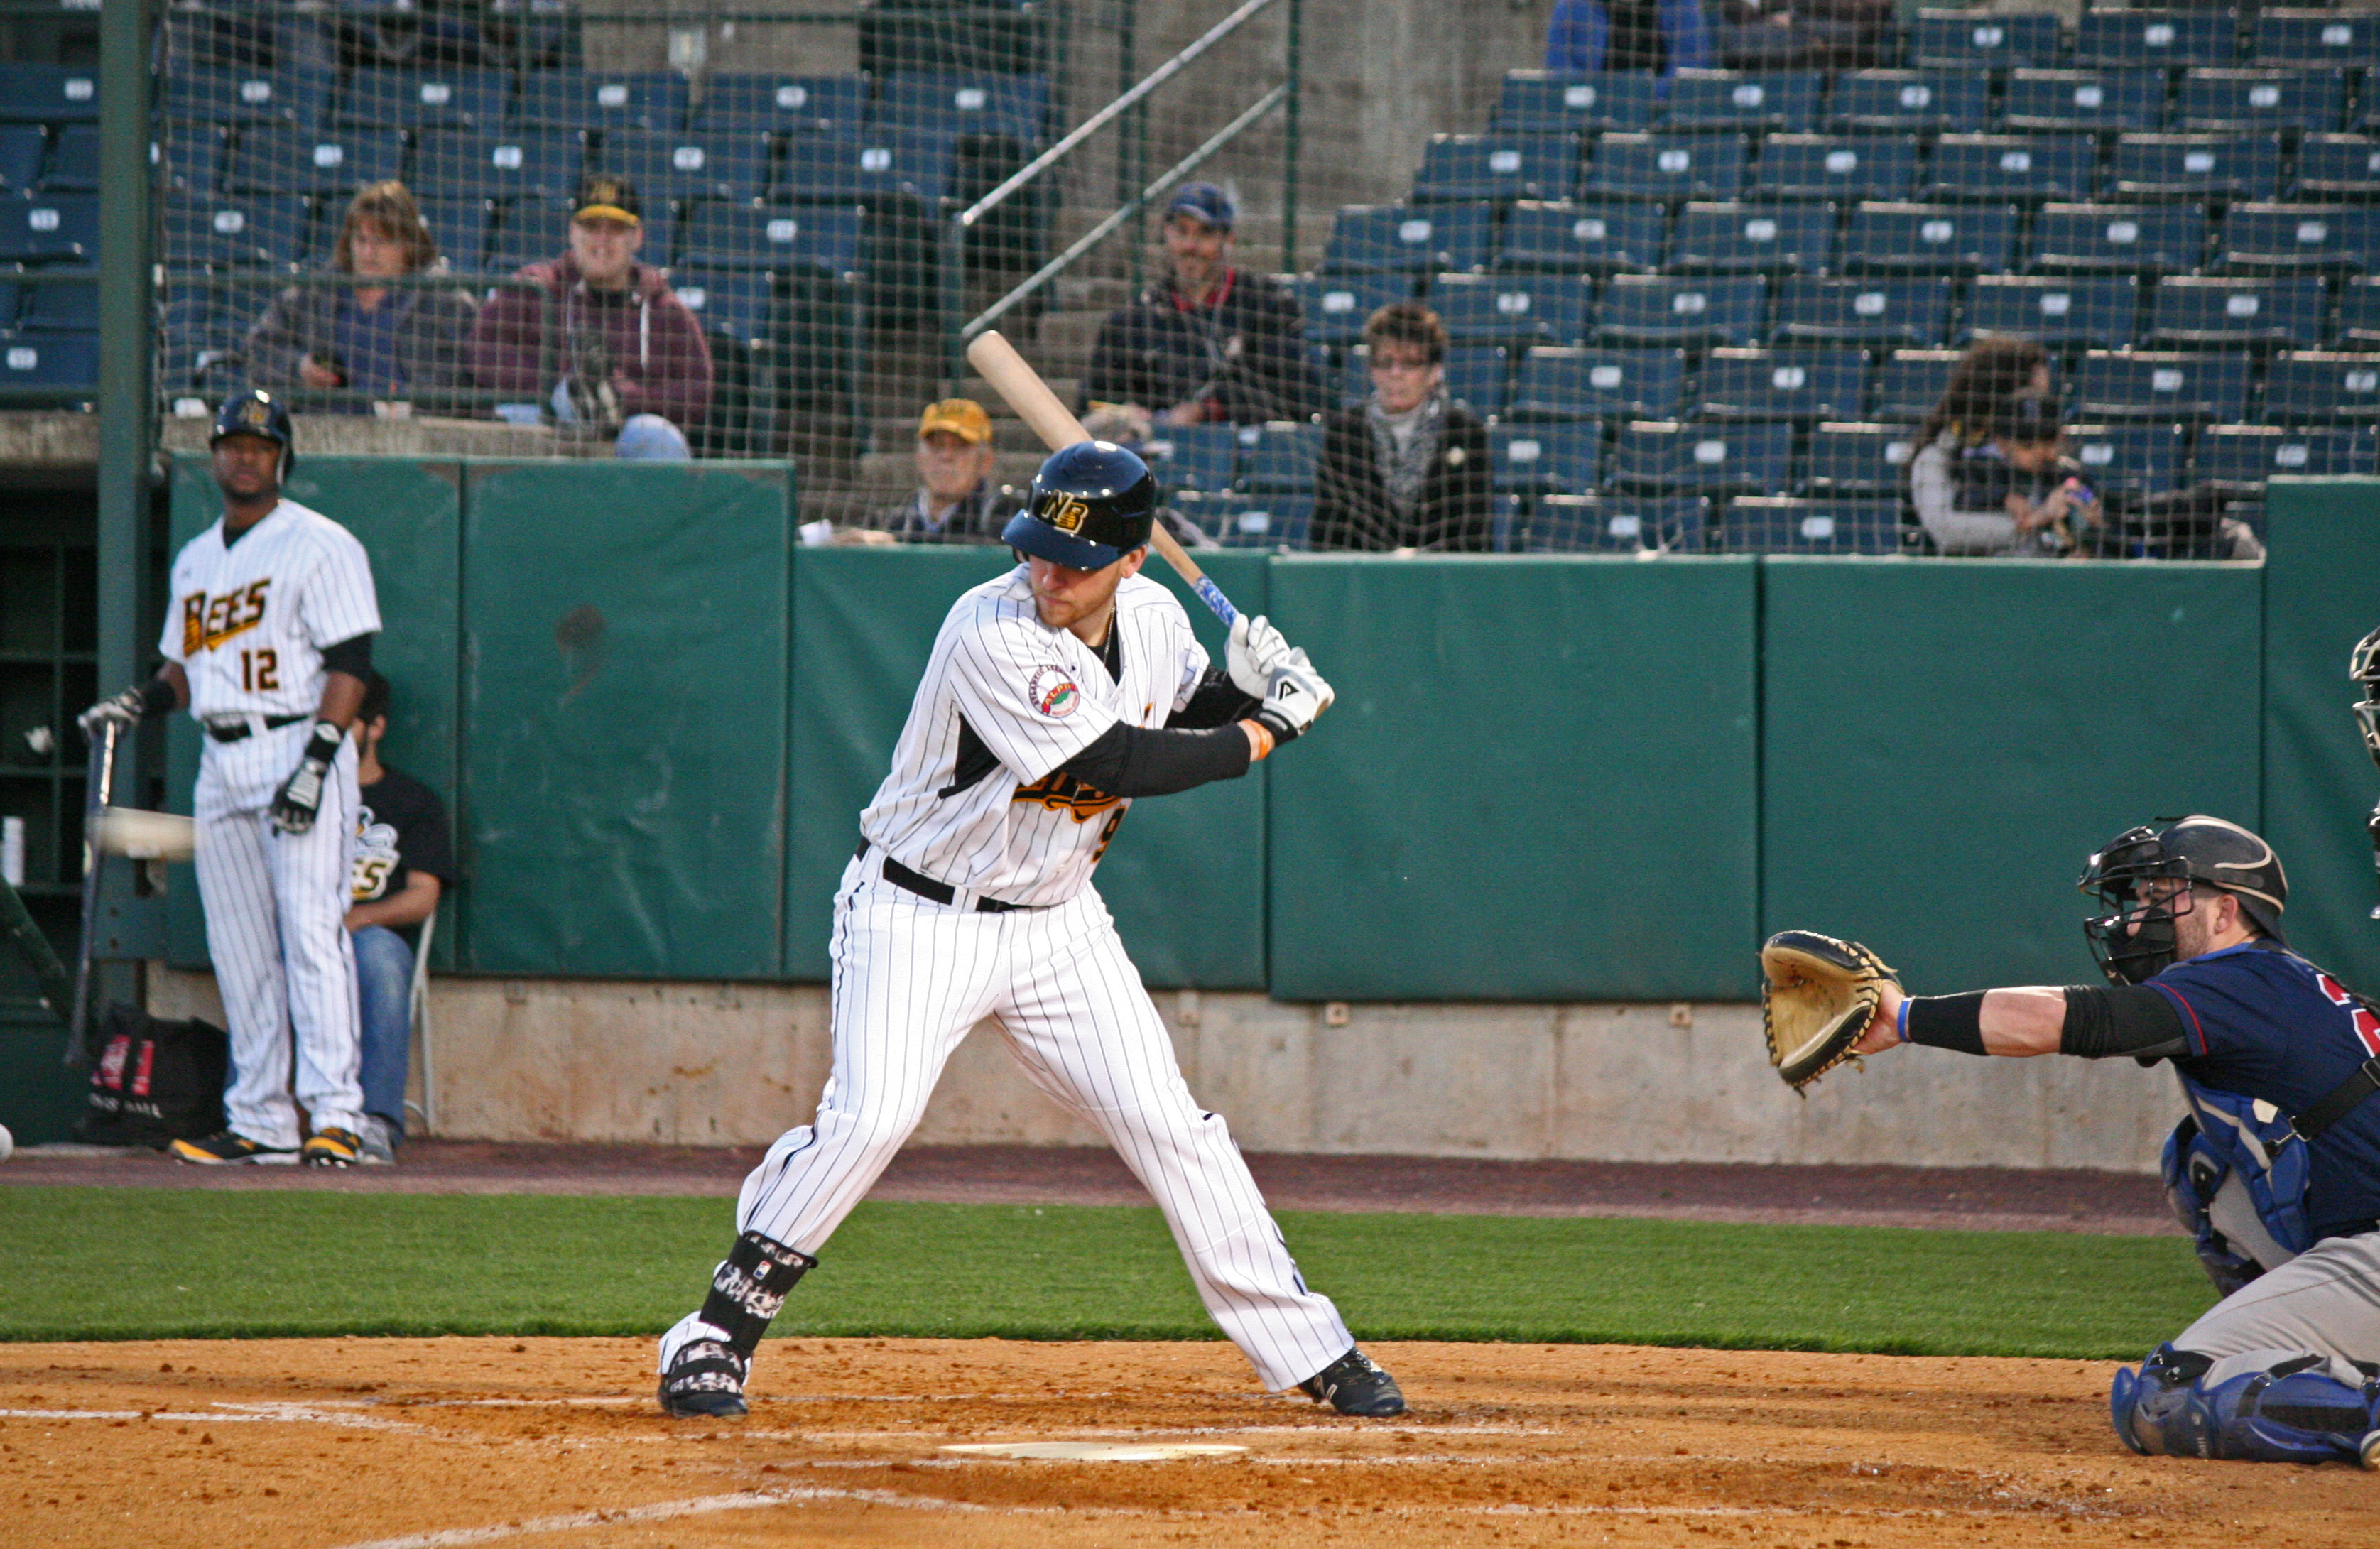
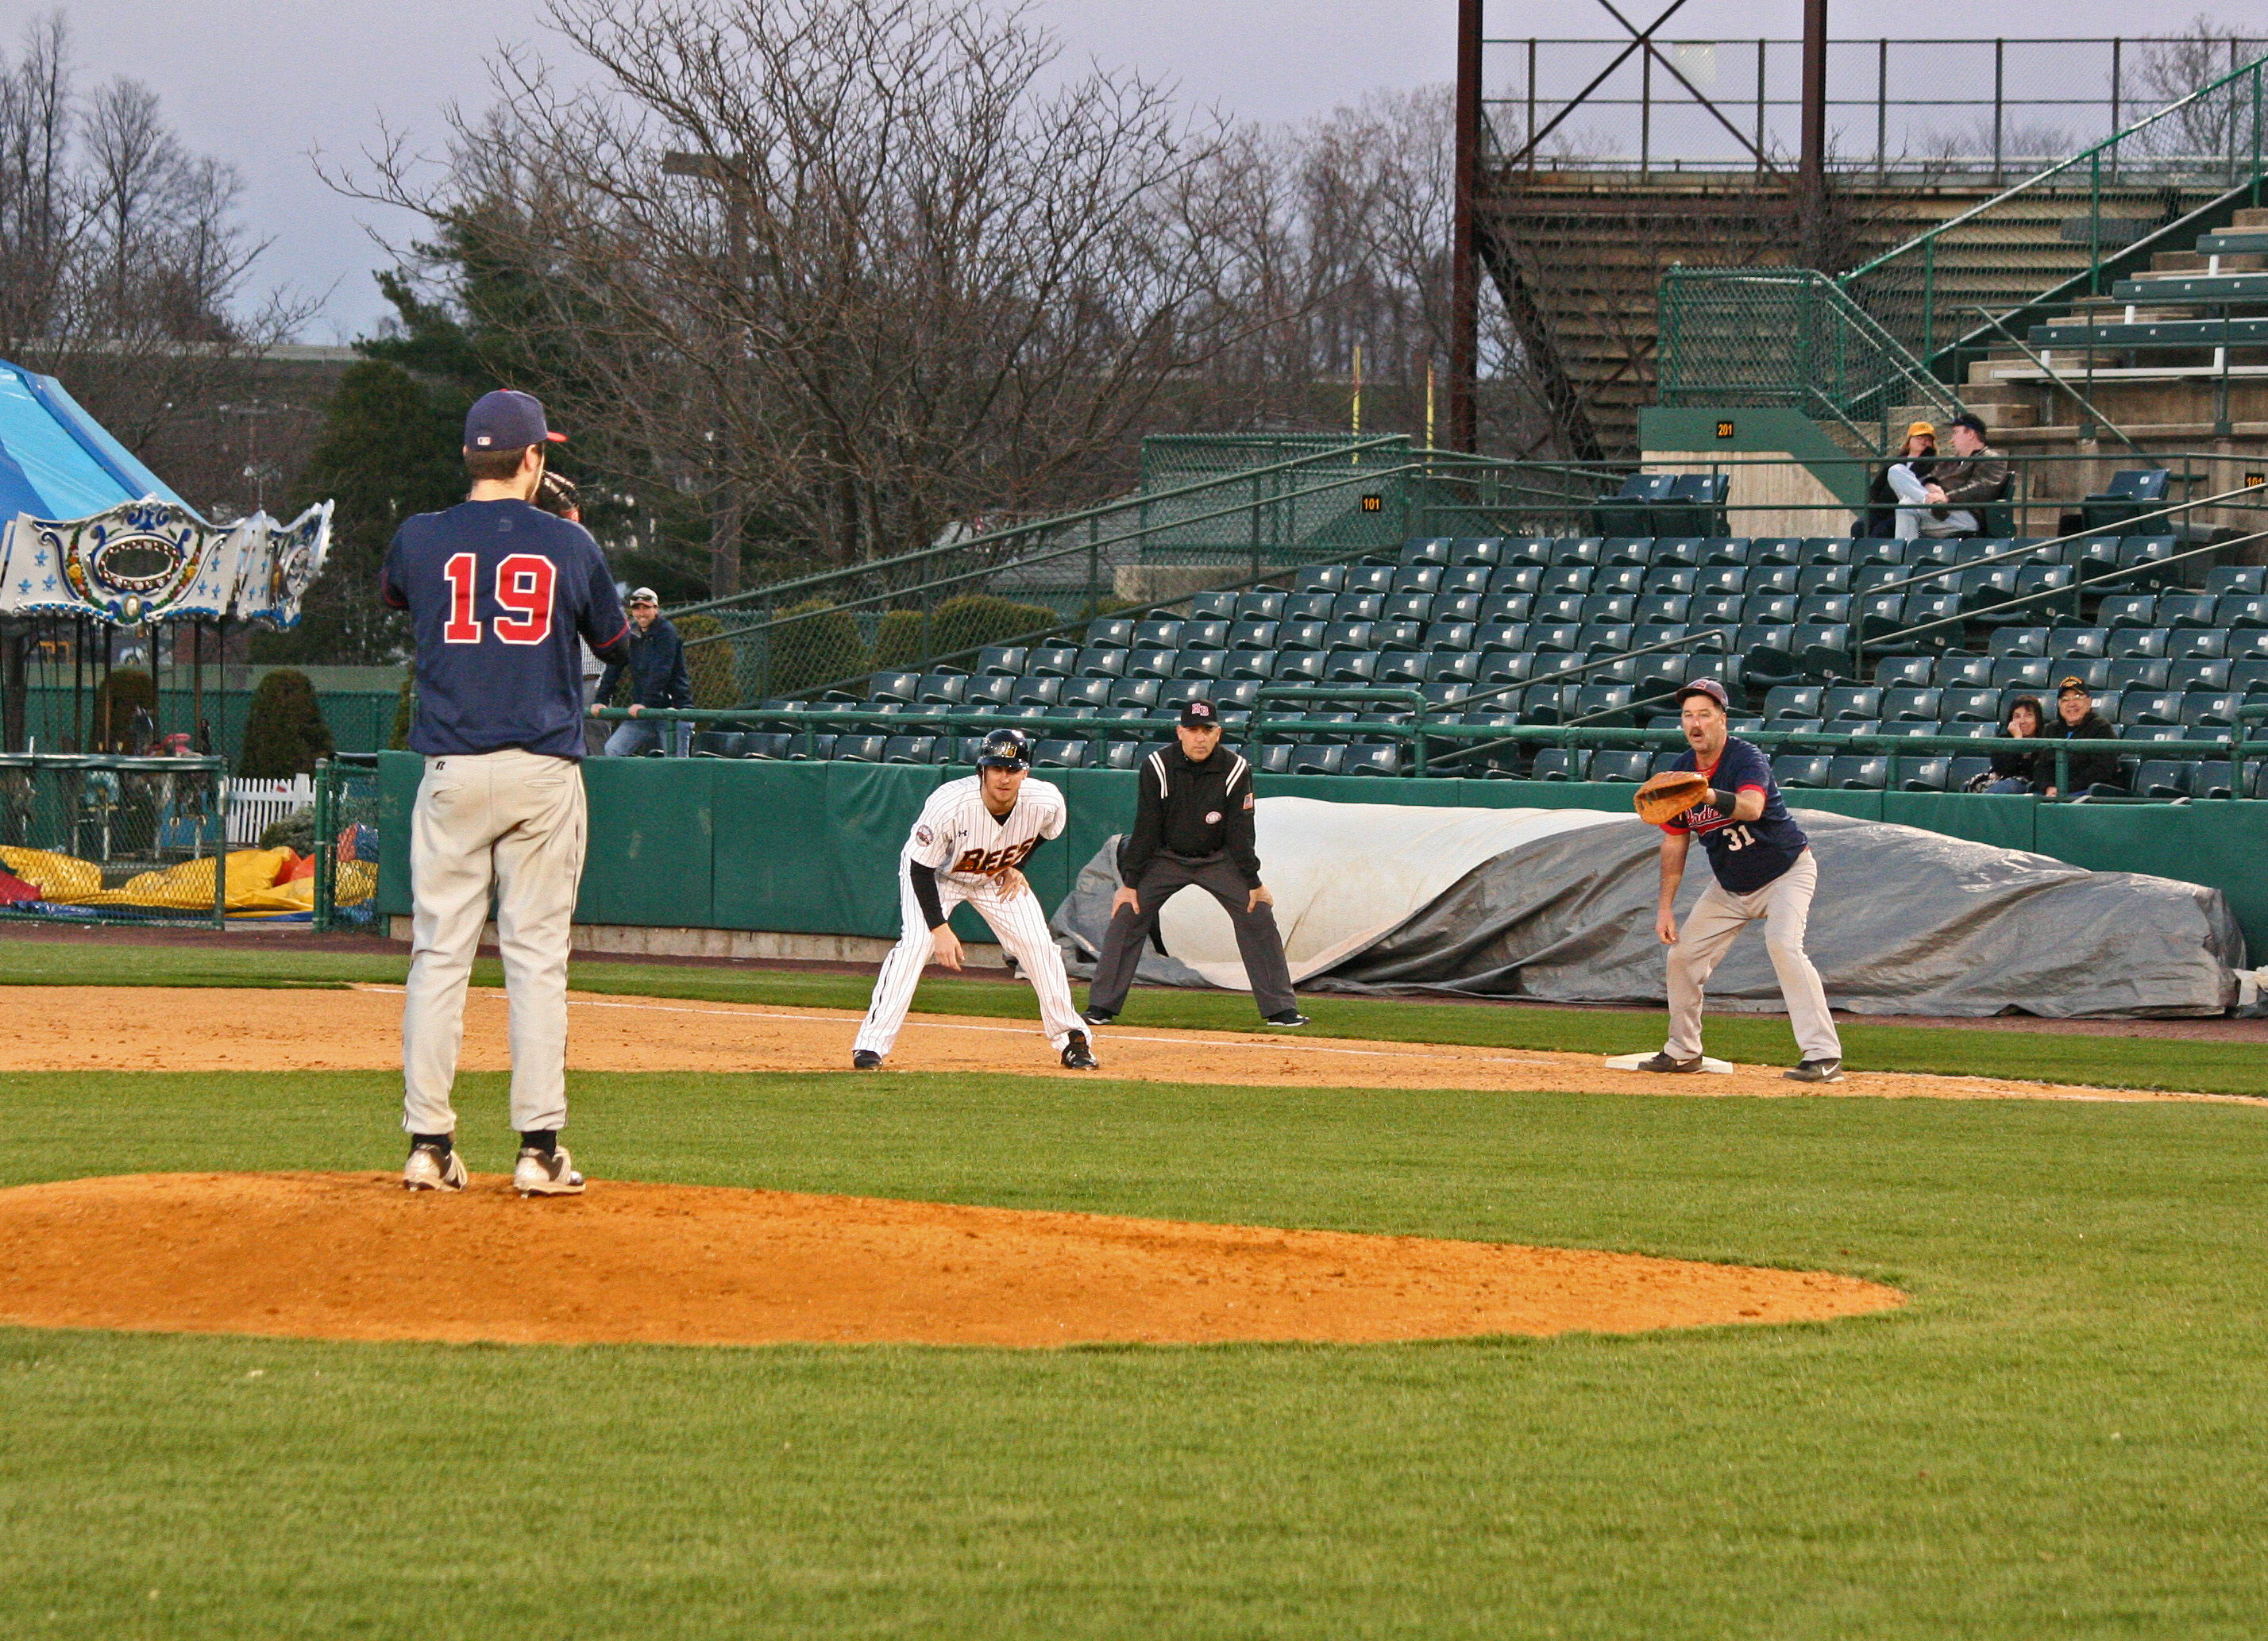
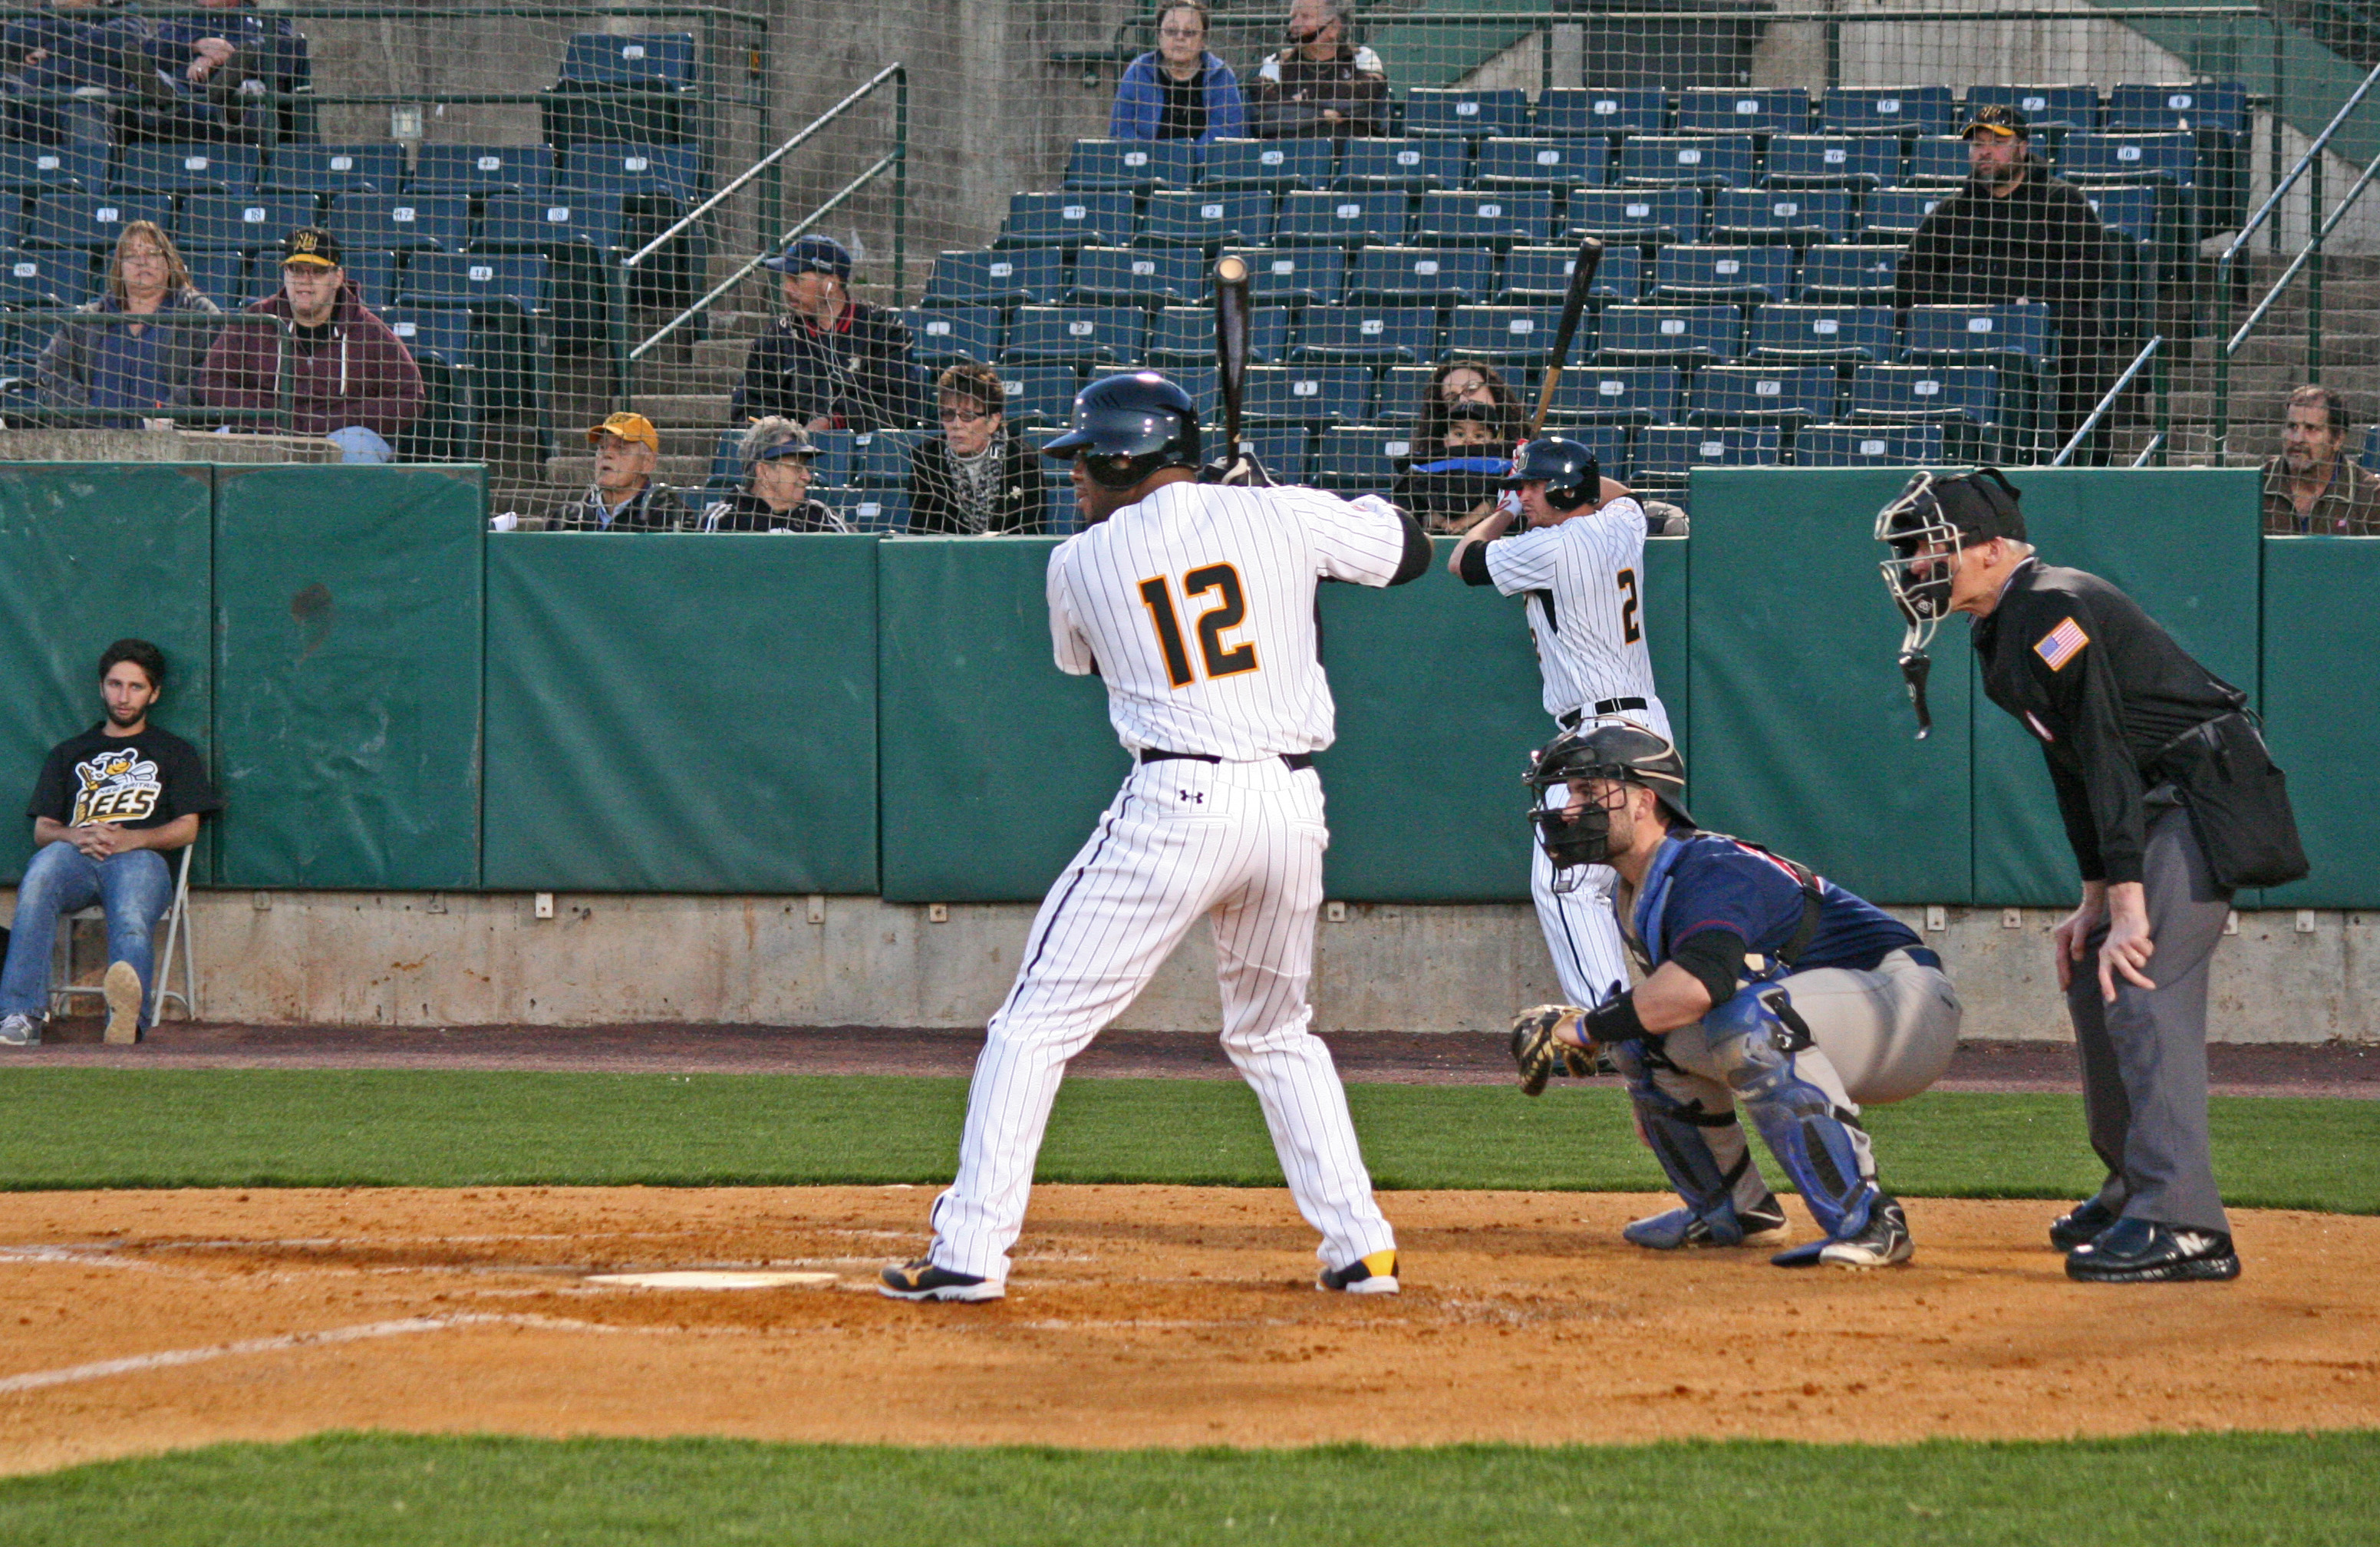
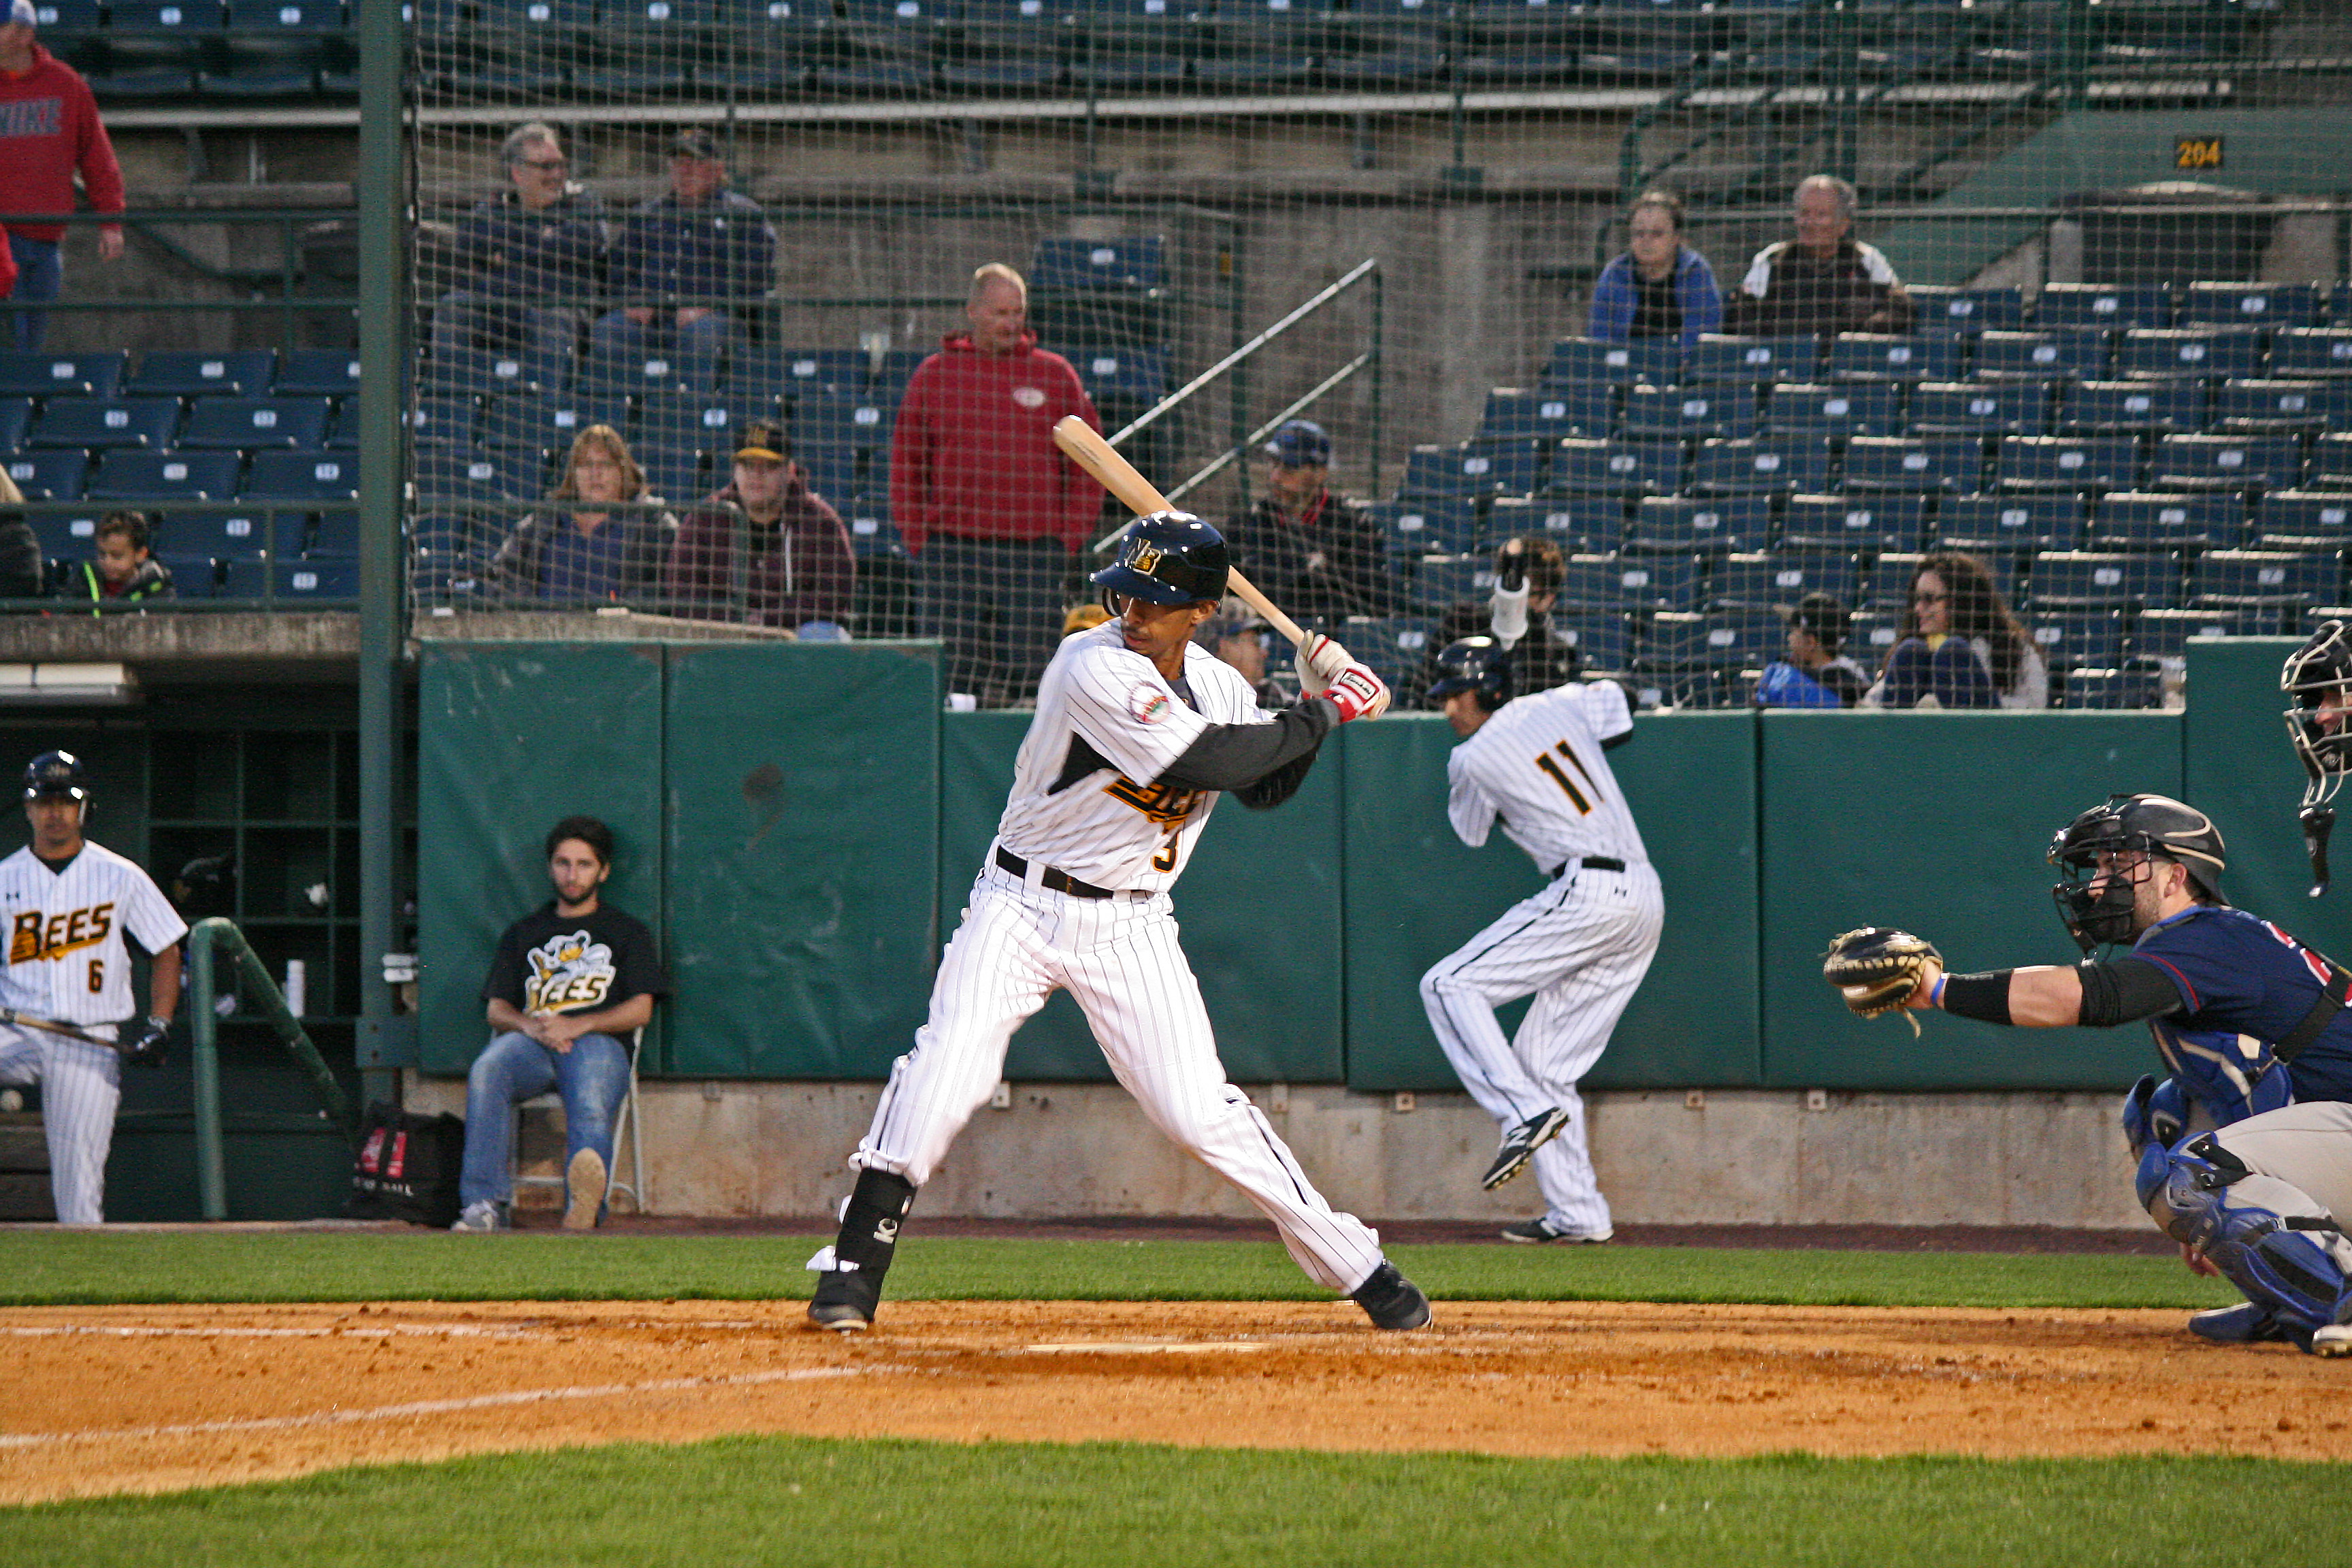
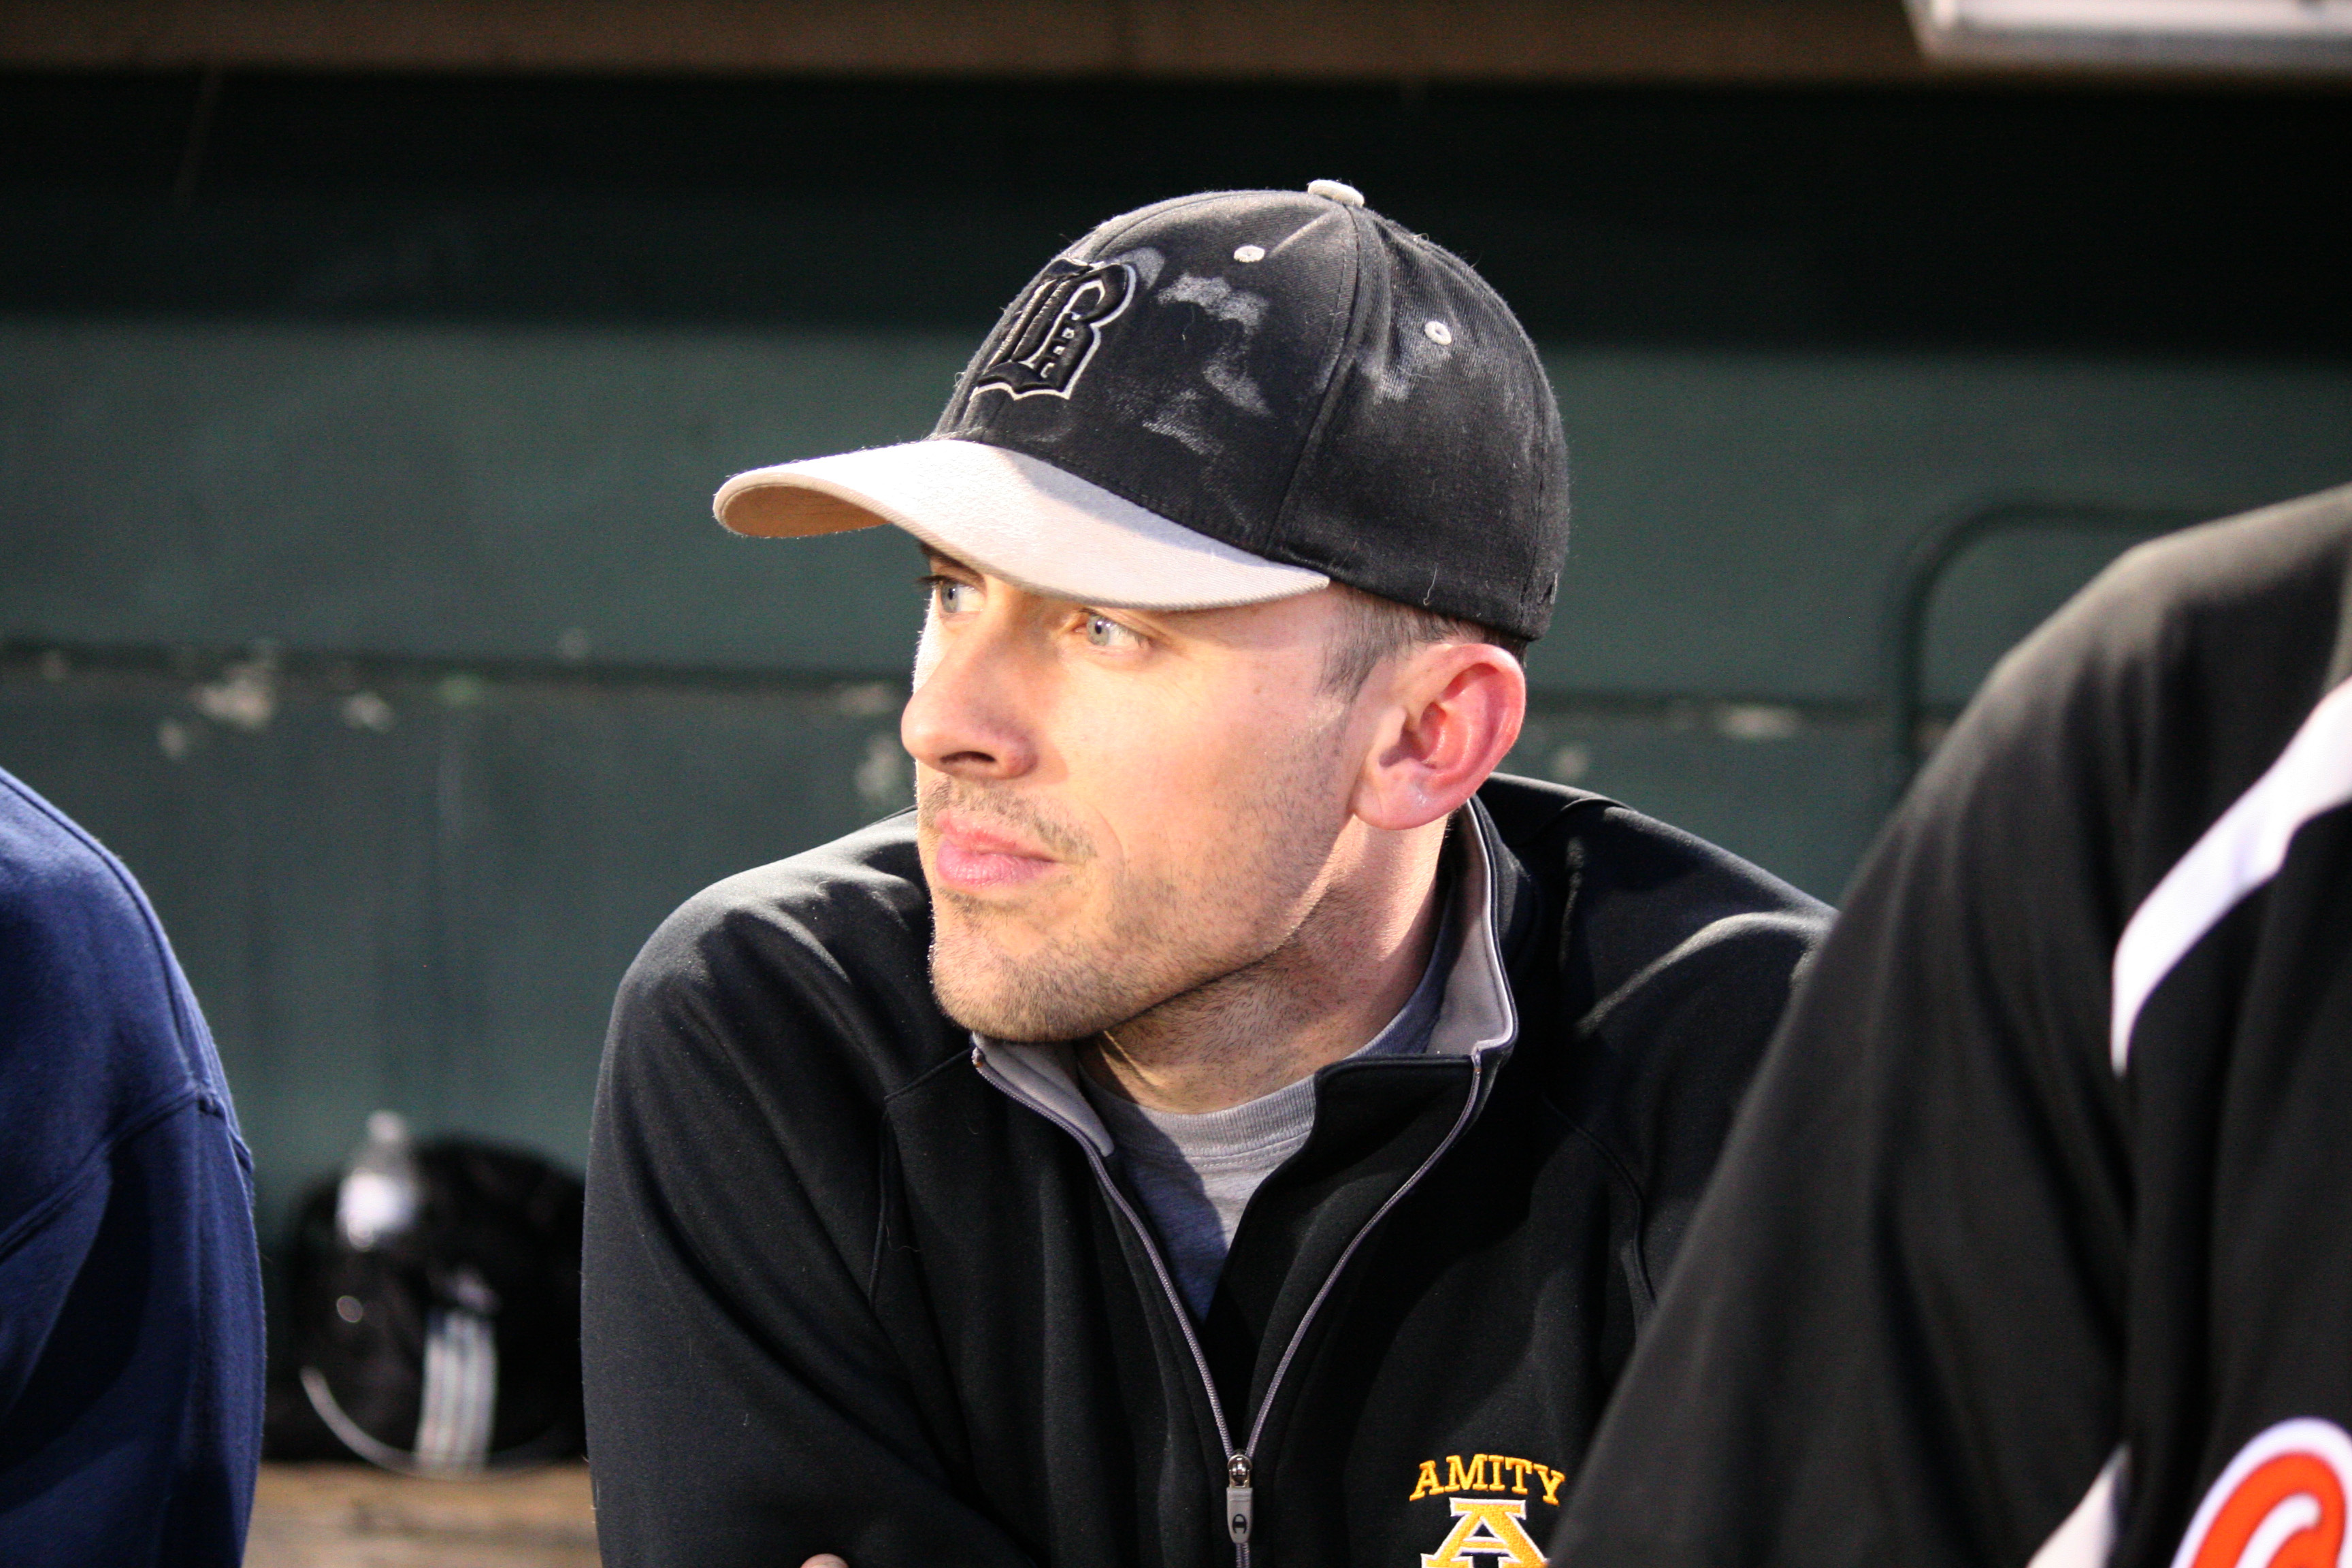
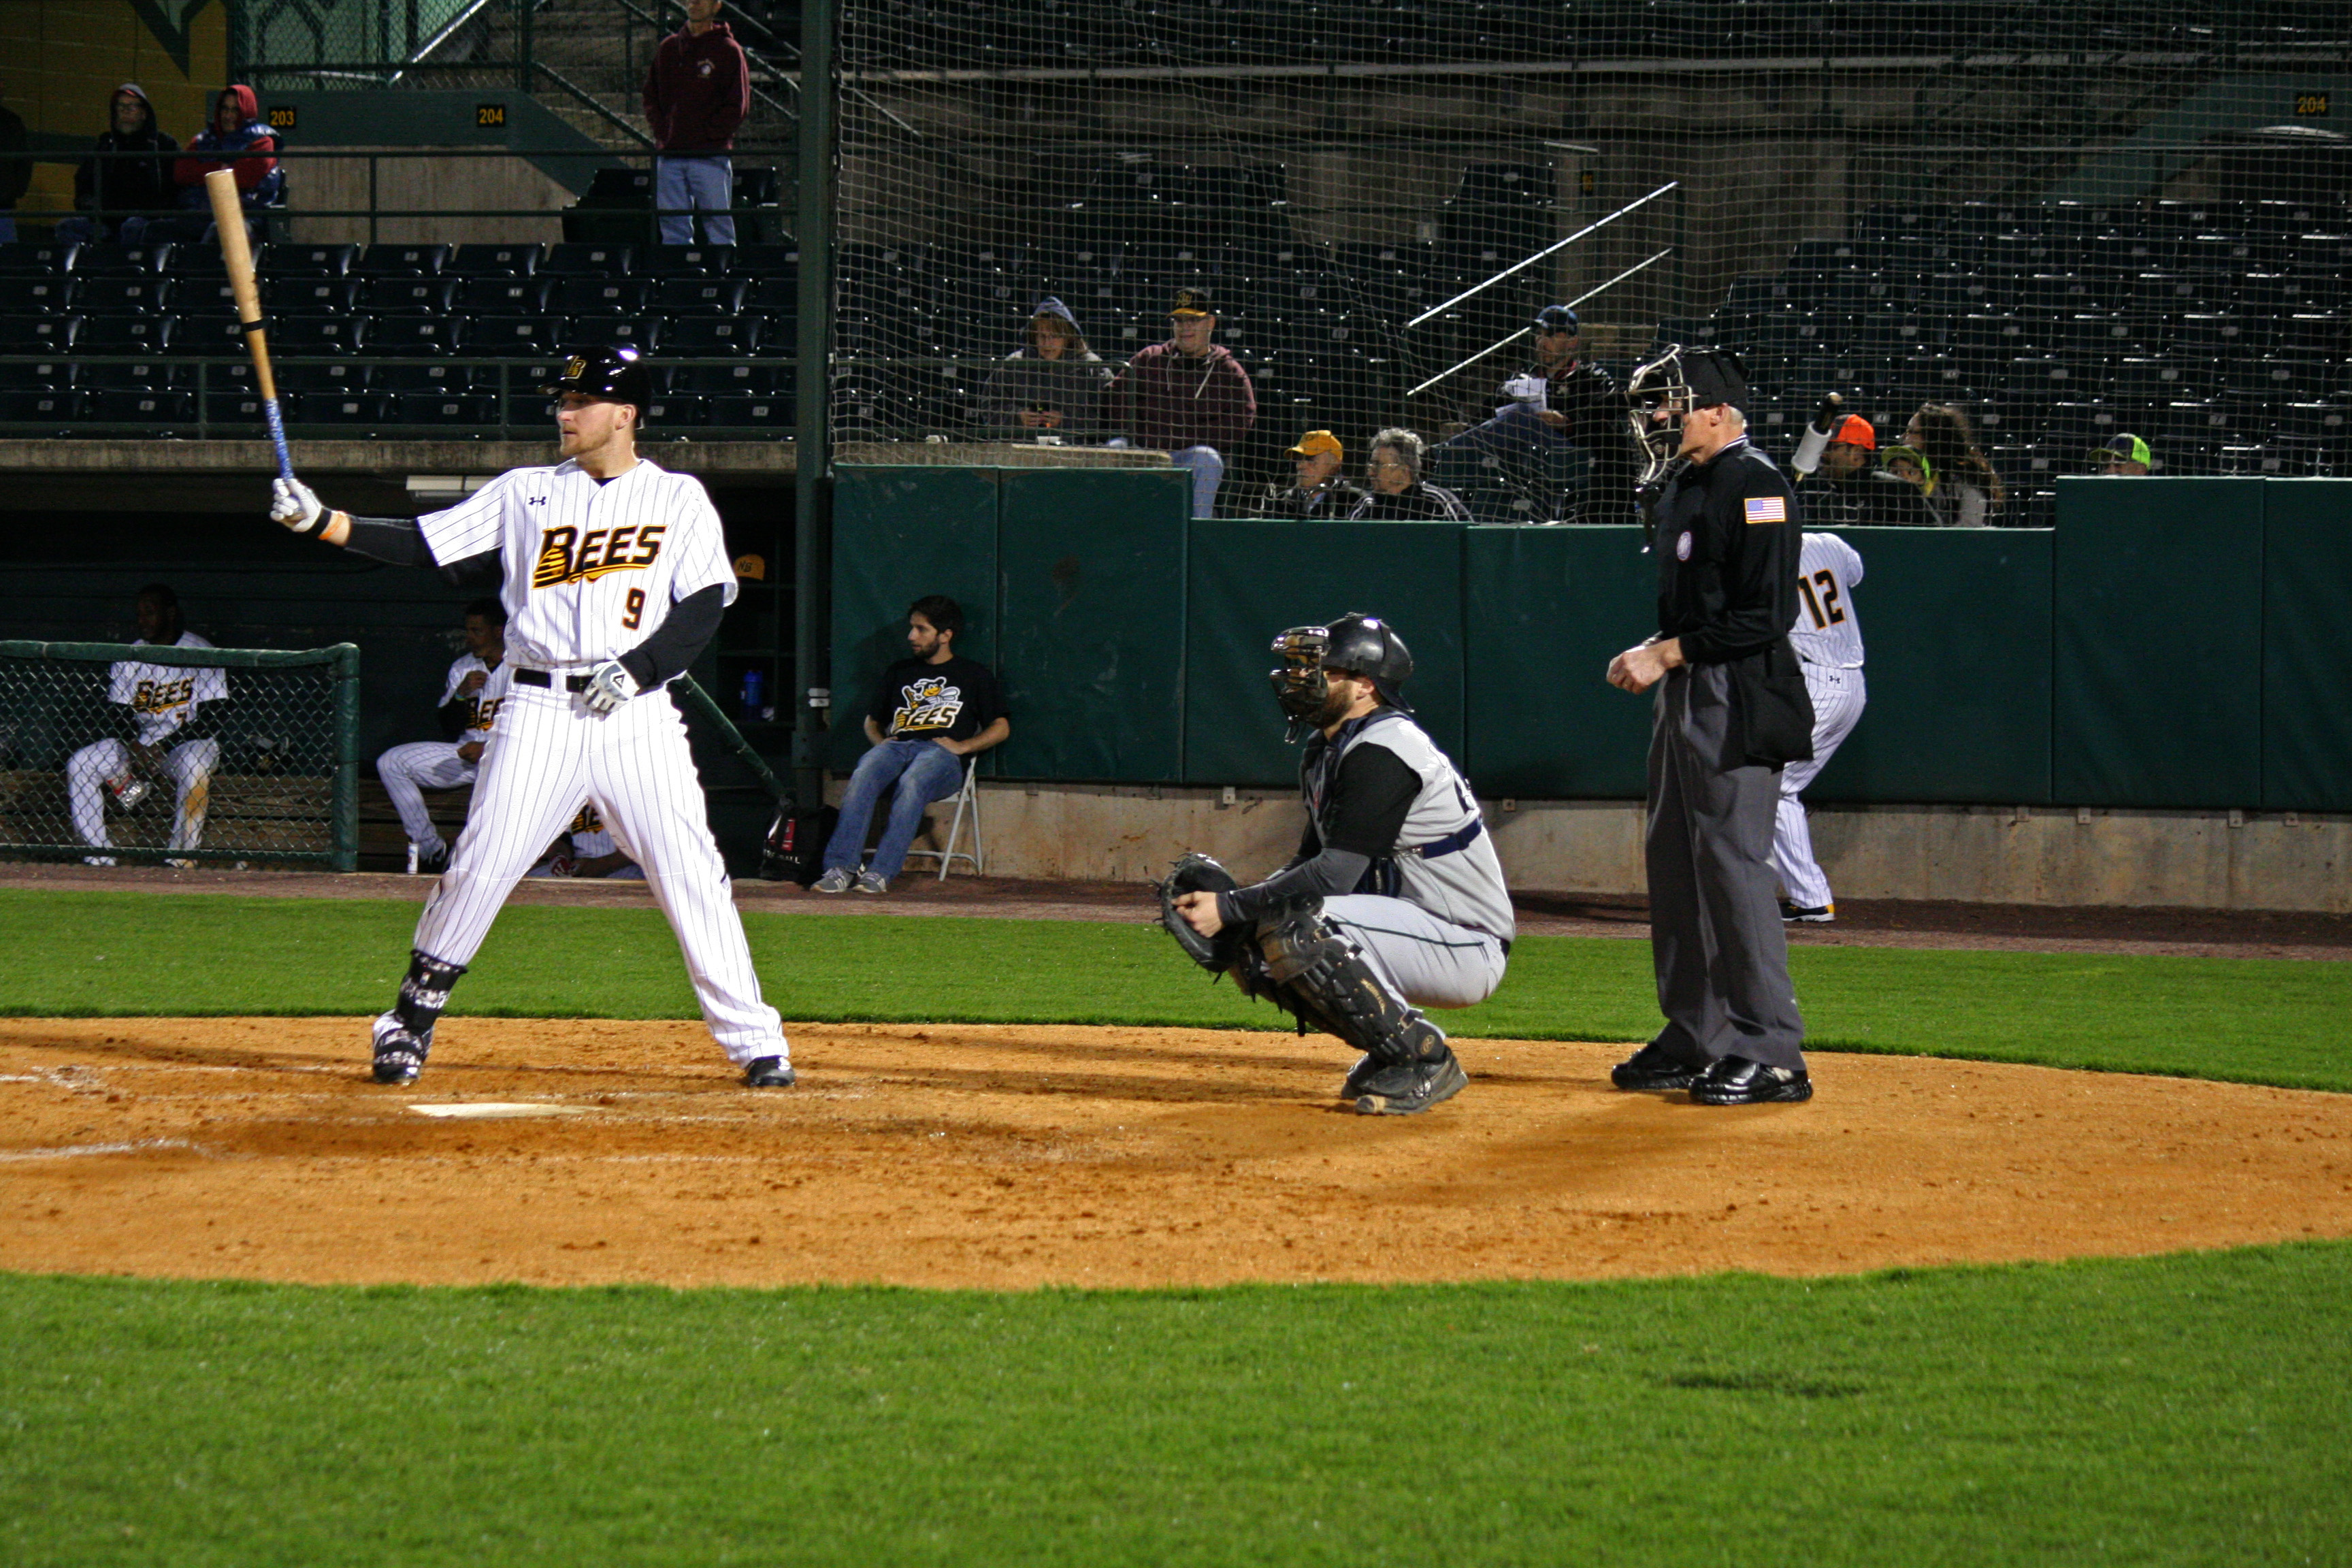
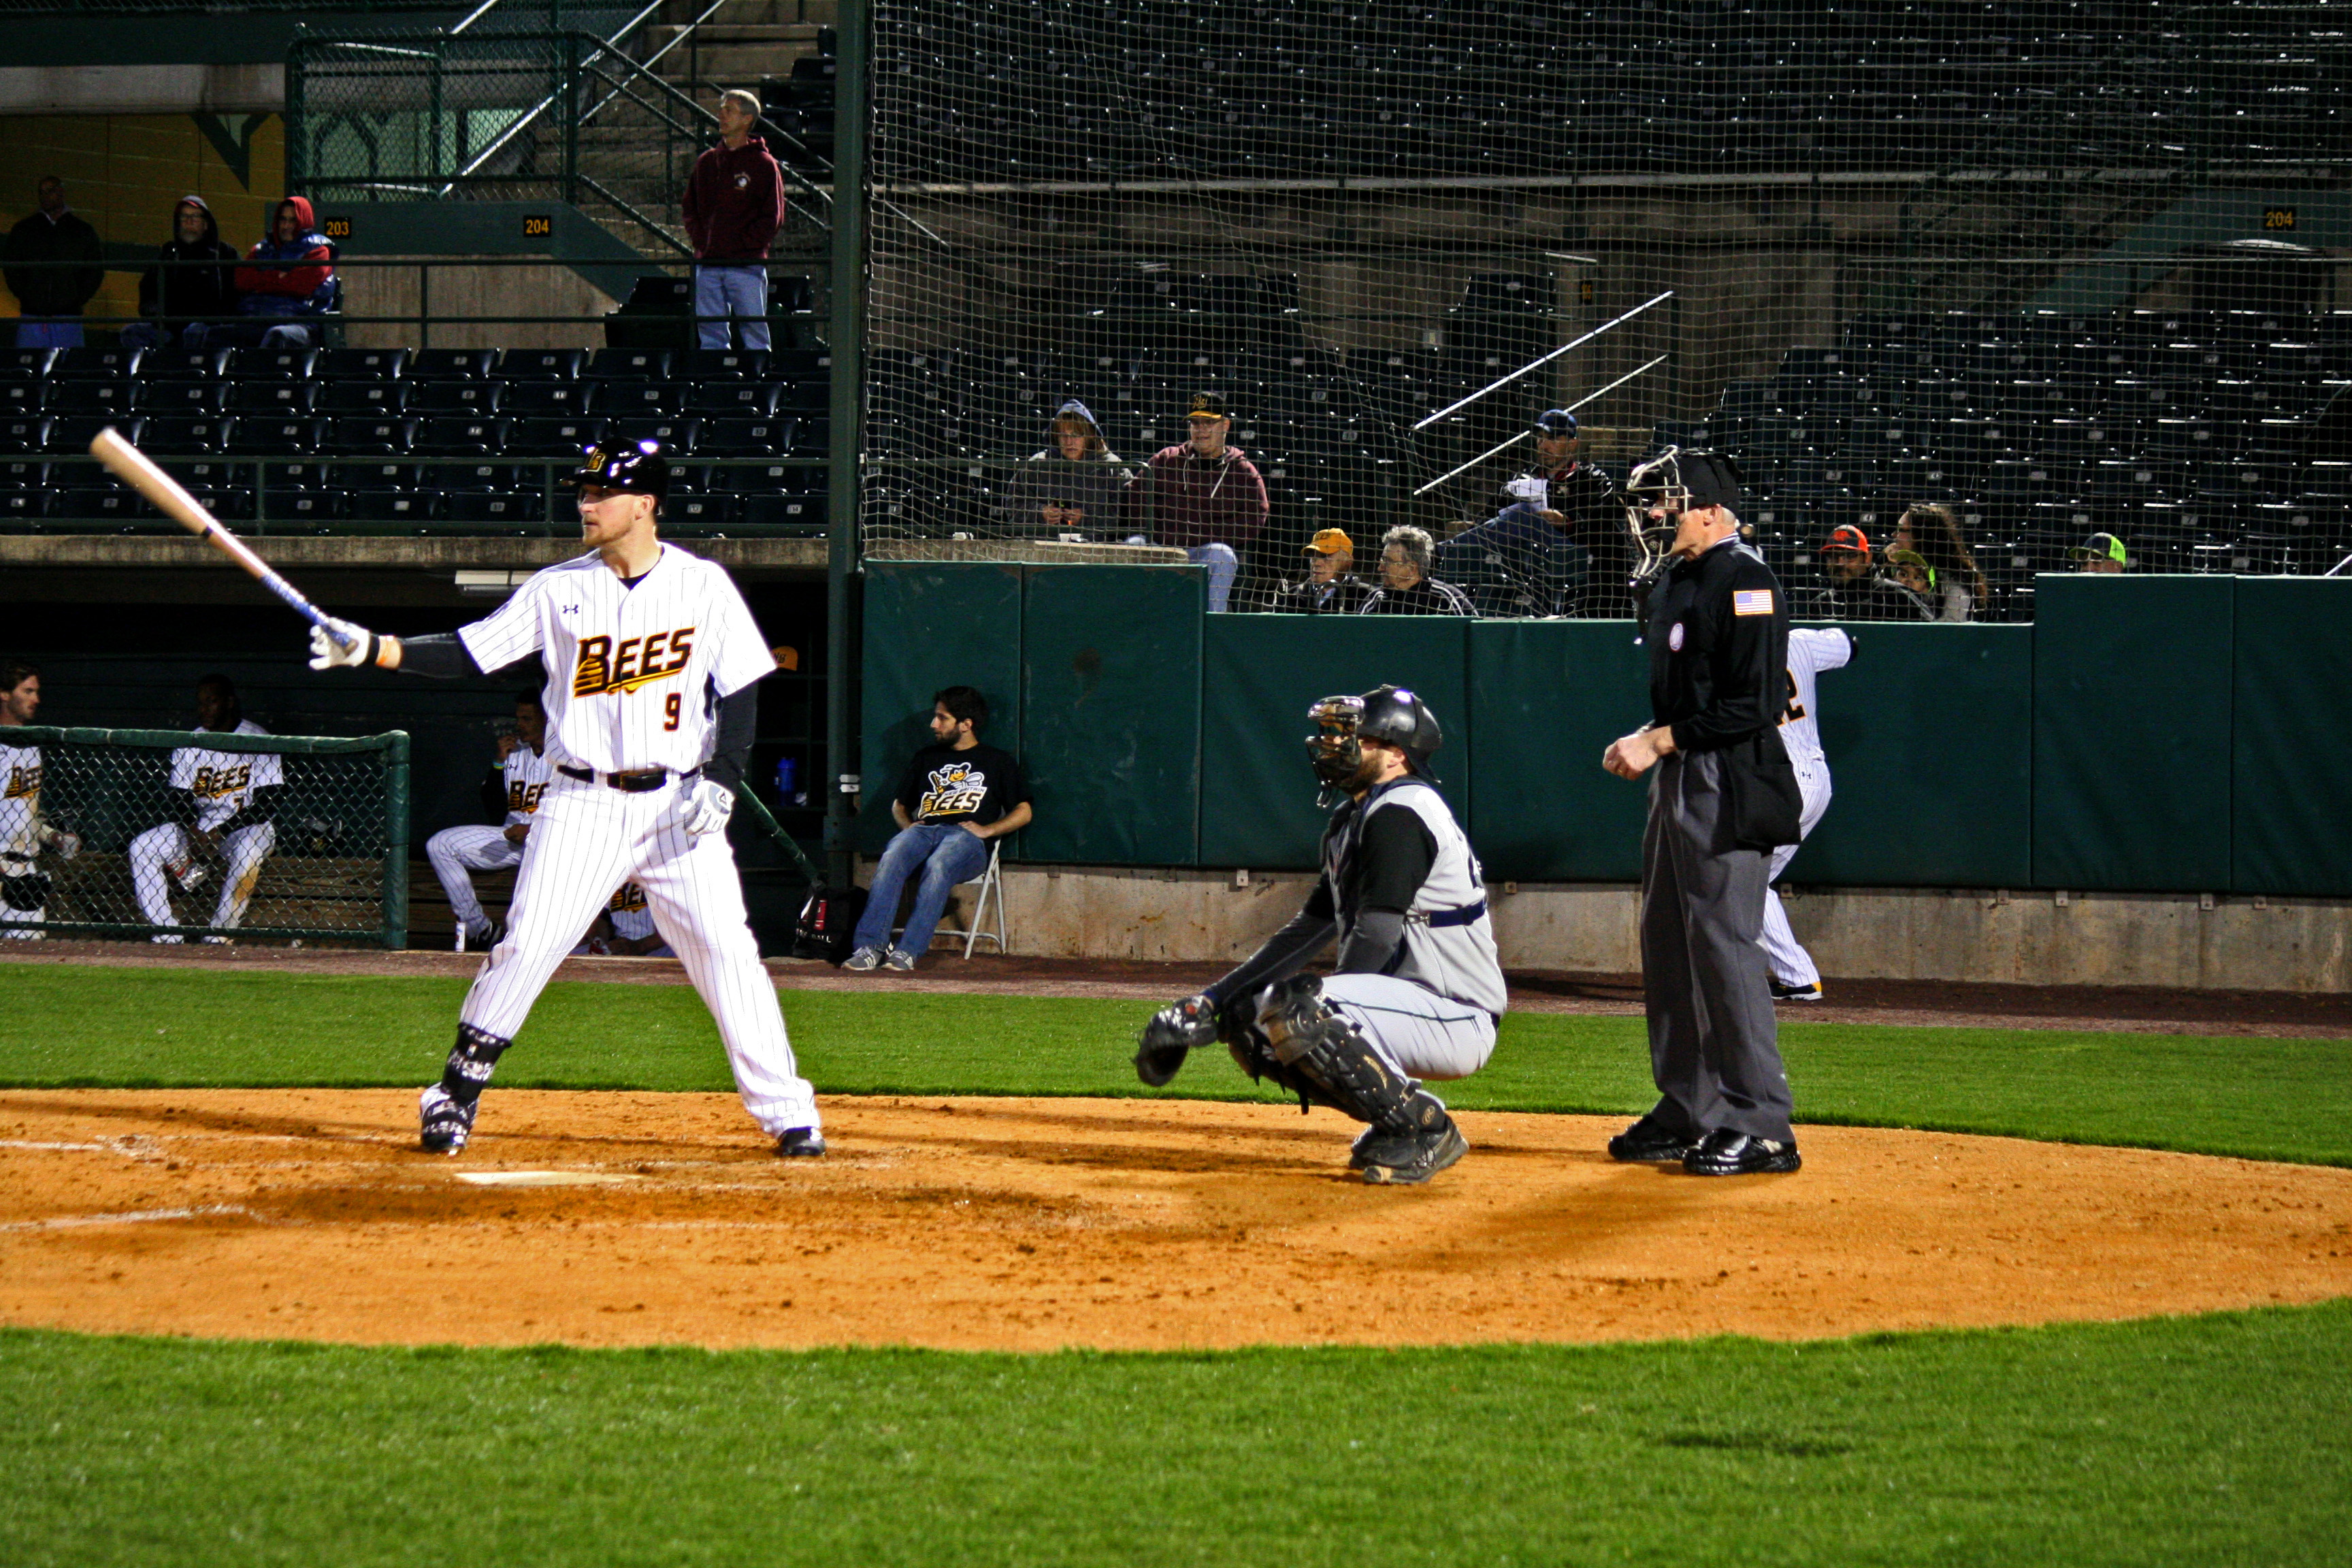
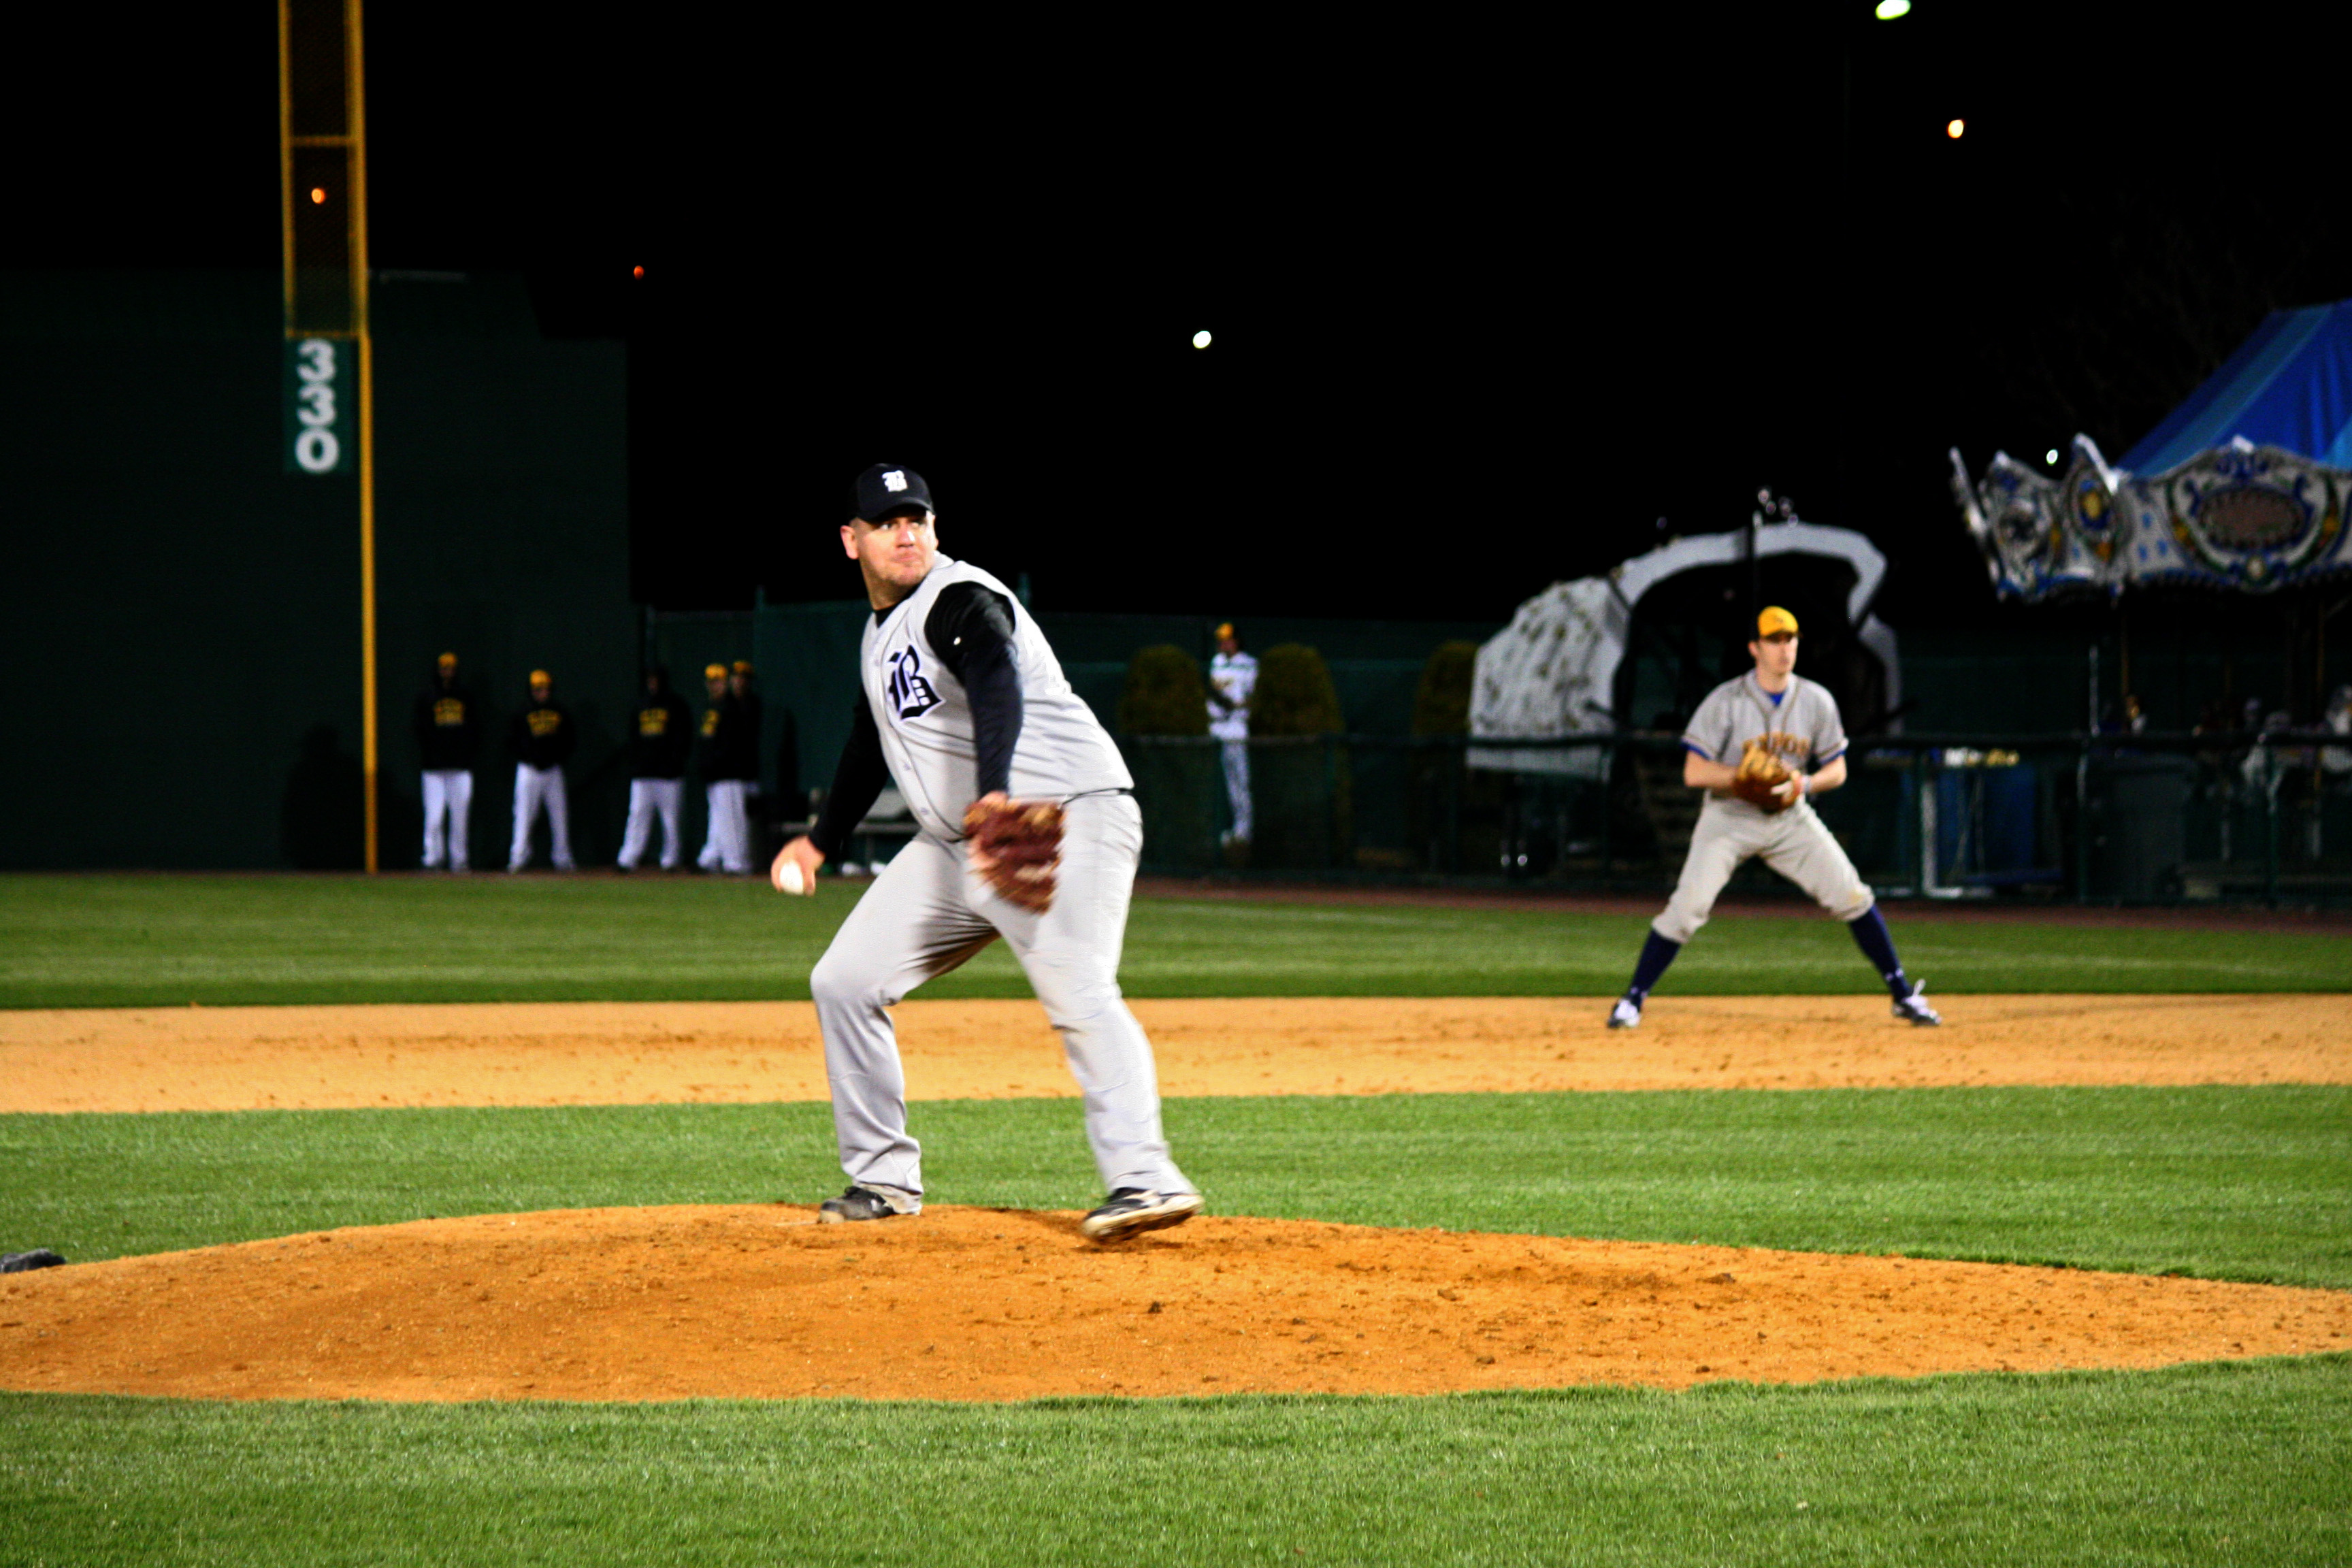
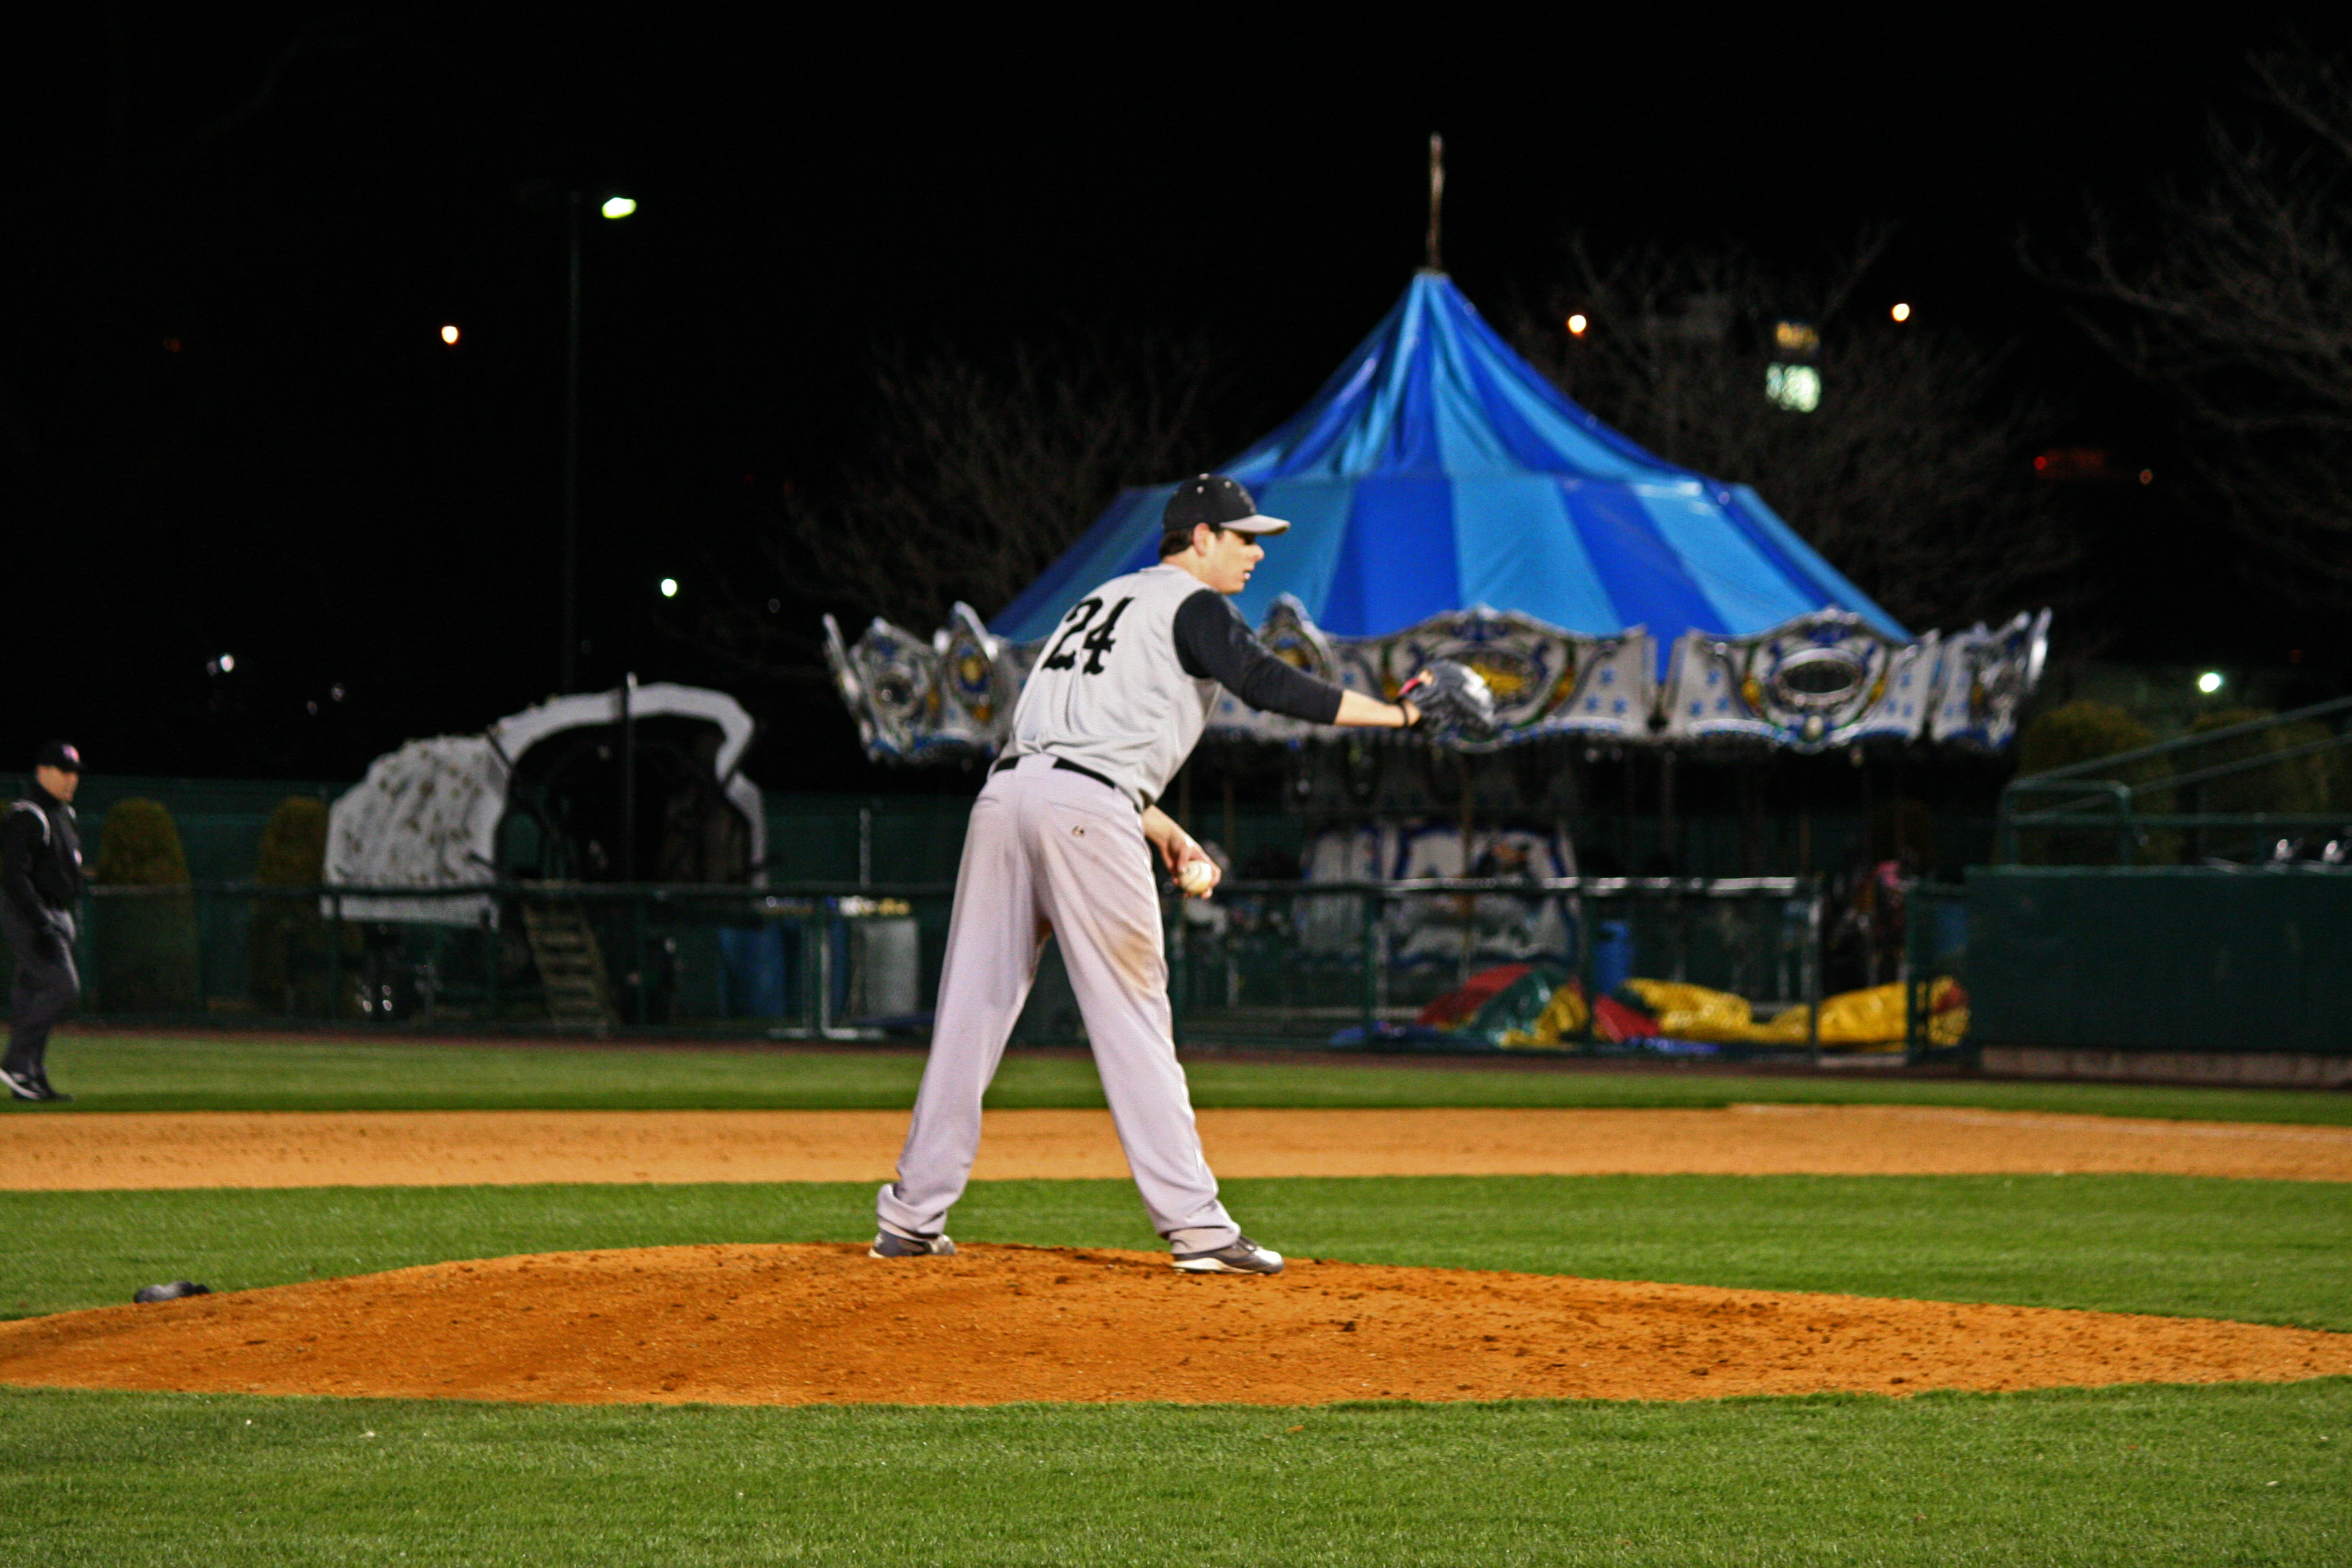
CTL vs New Britain Bees 2016
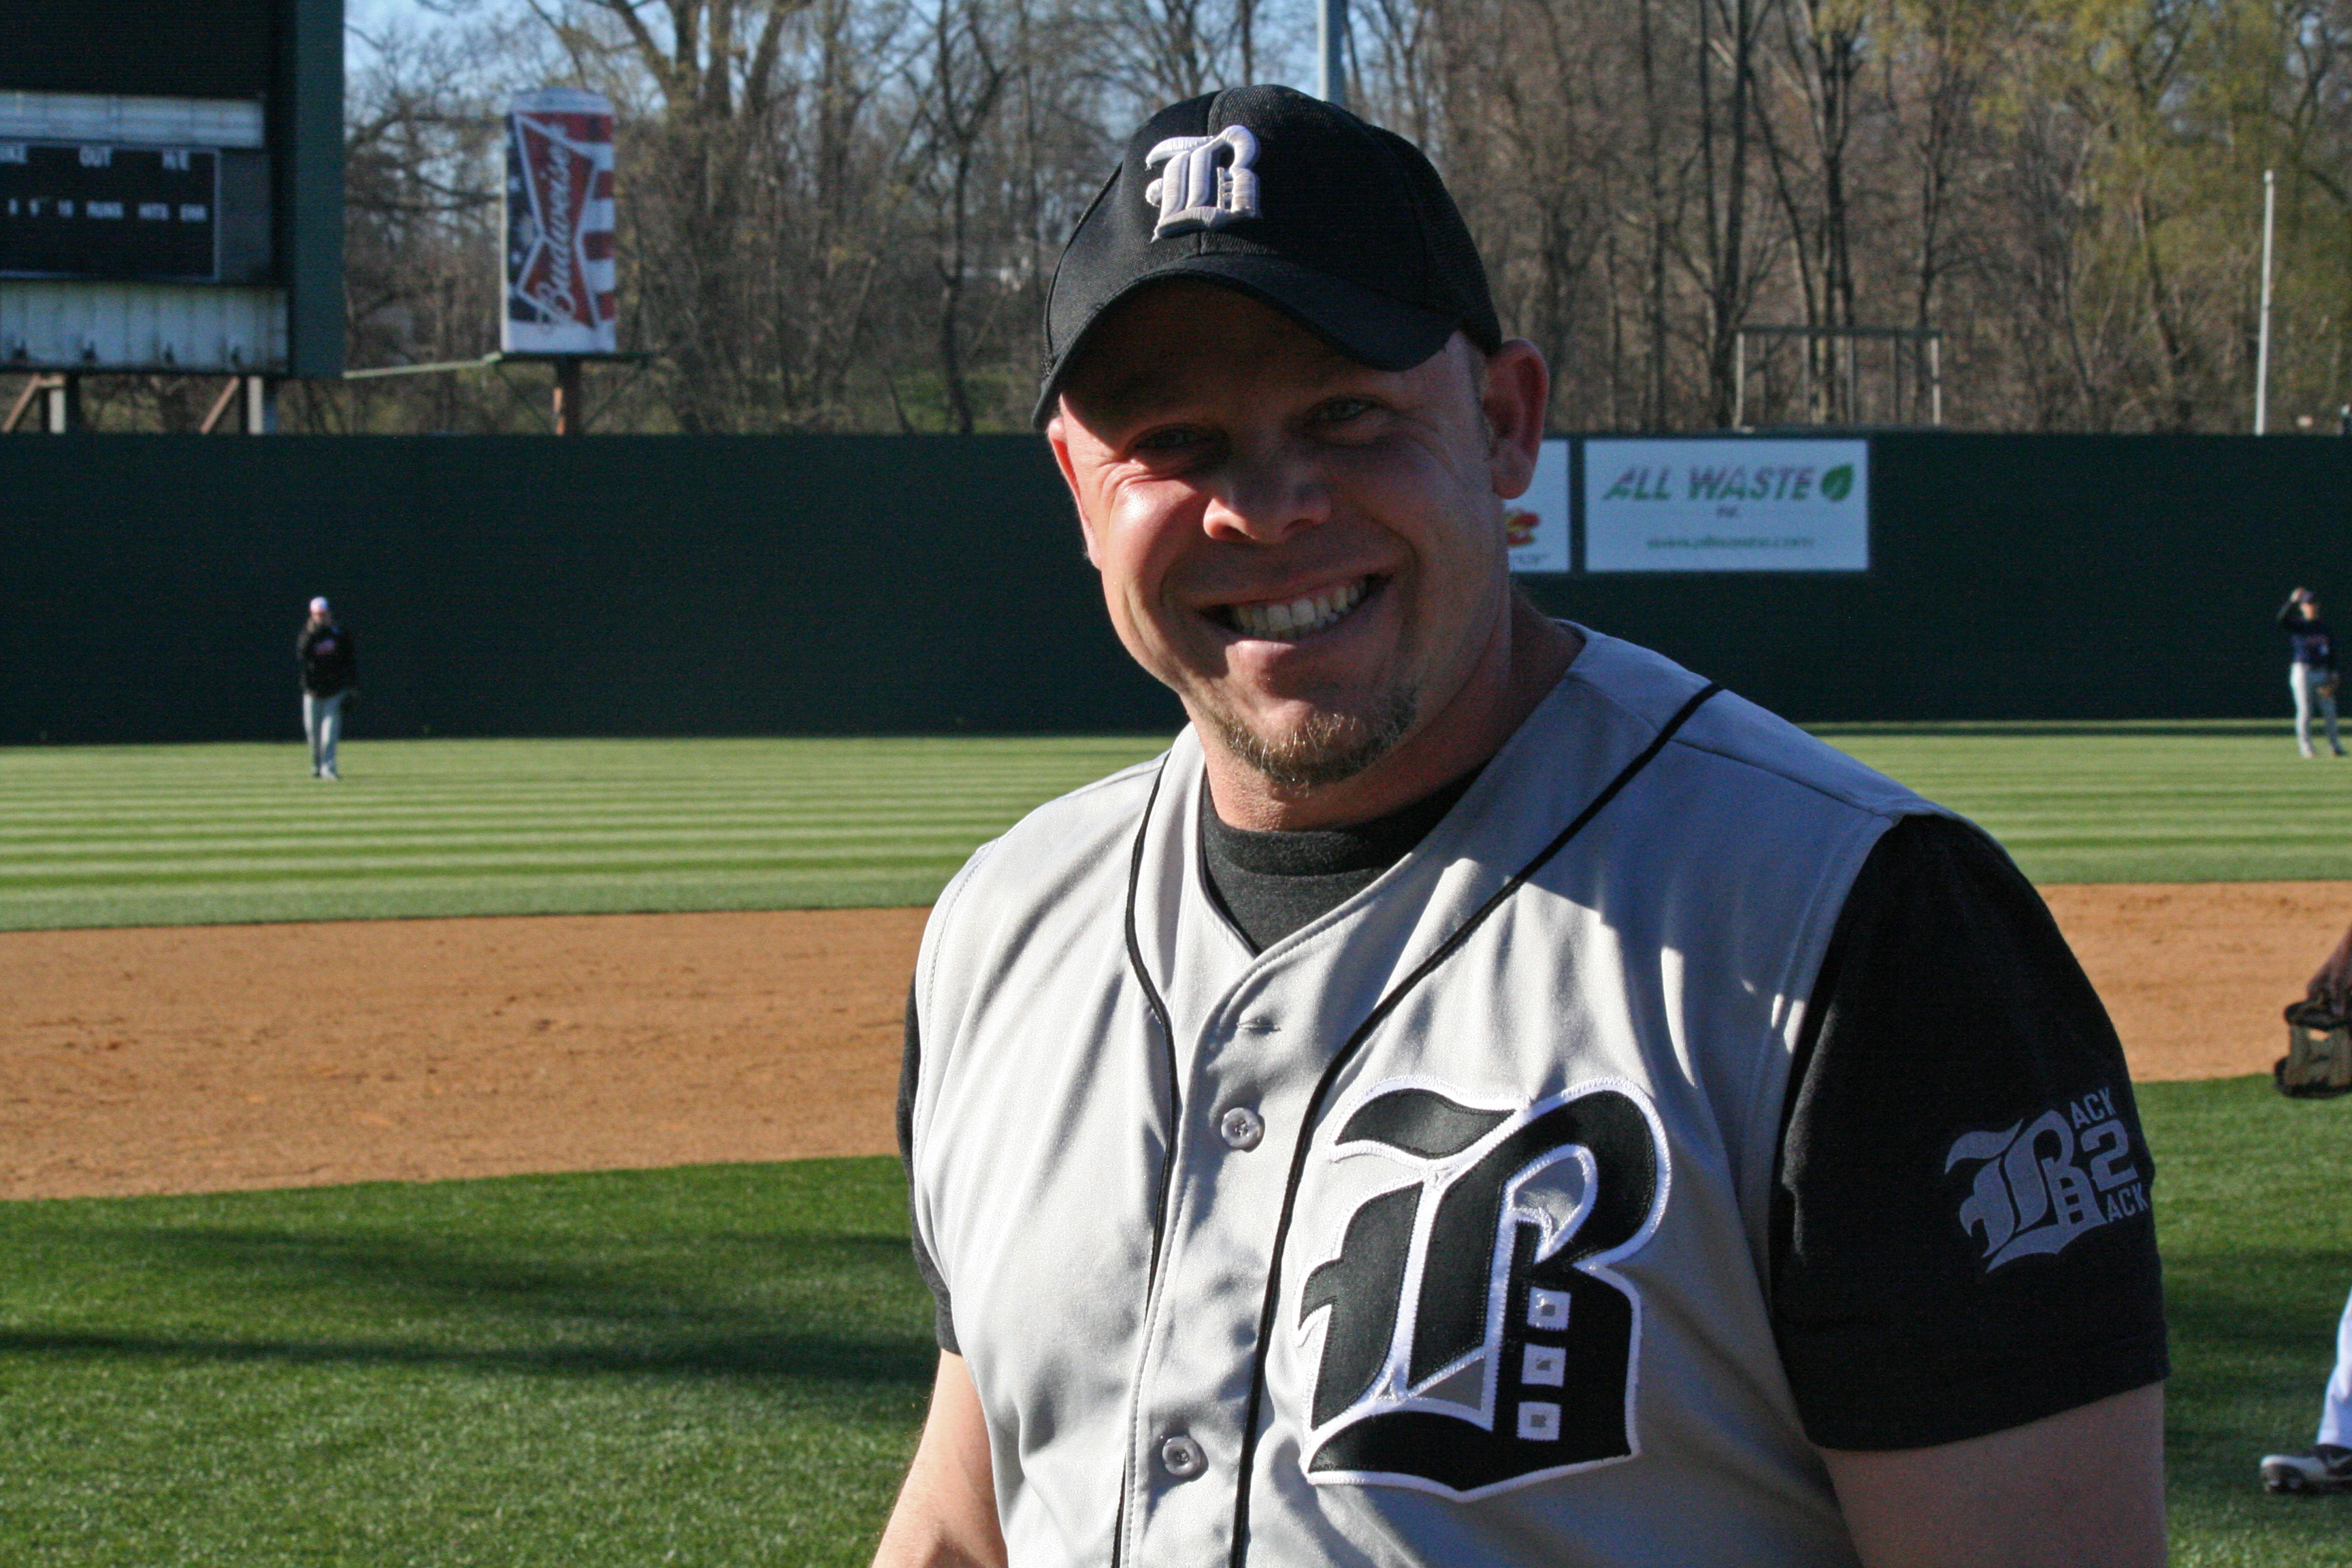
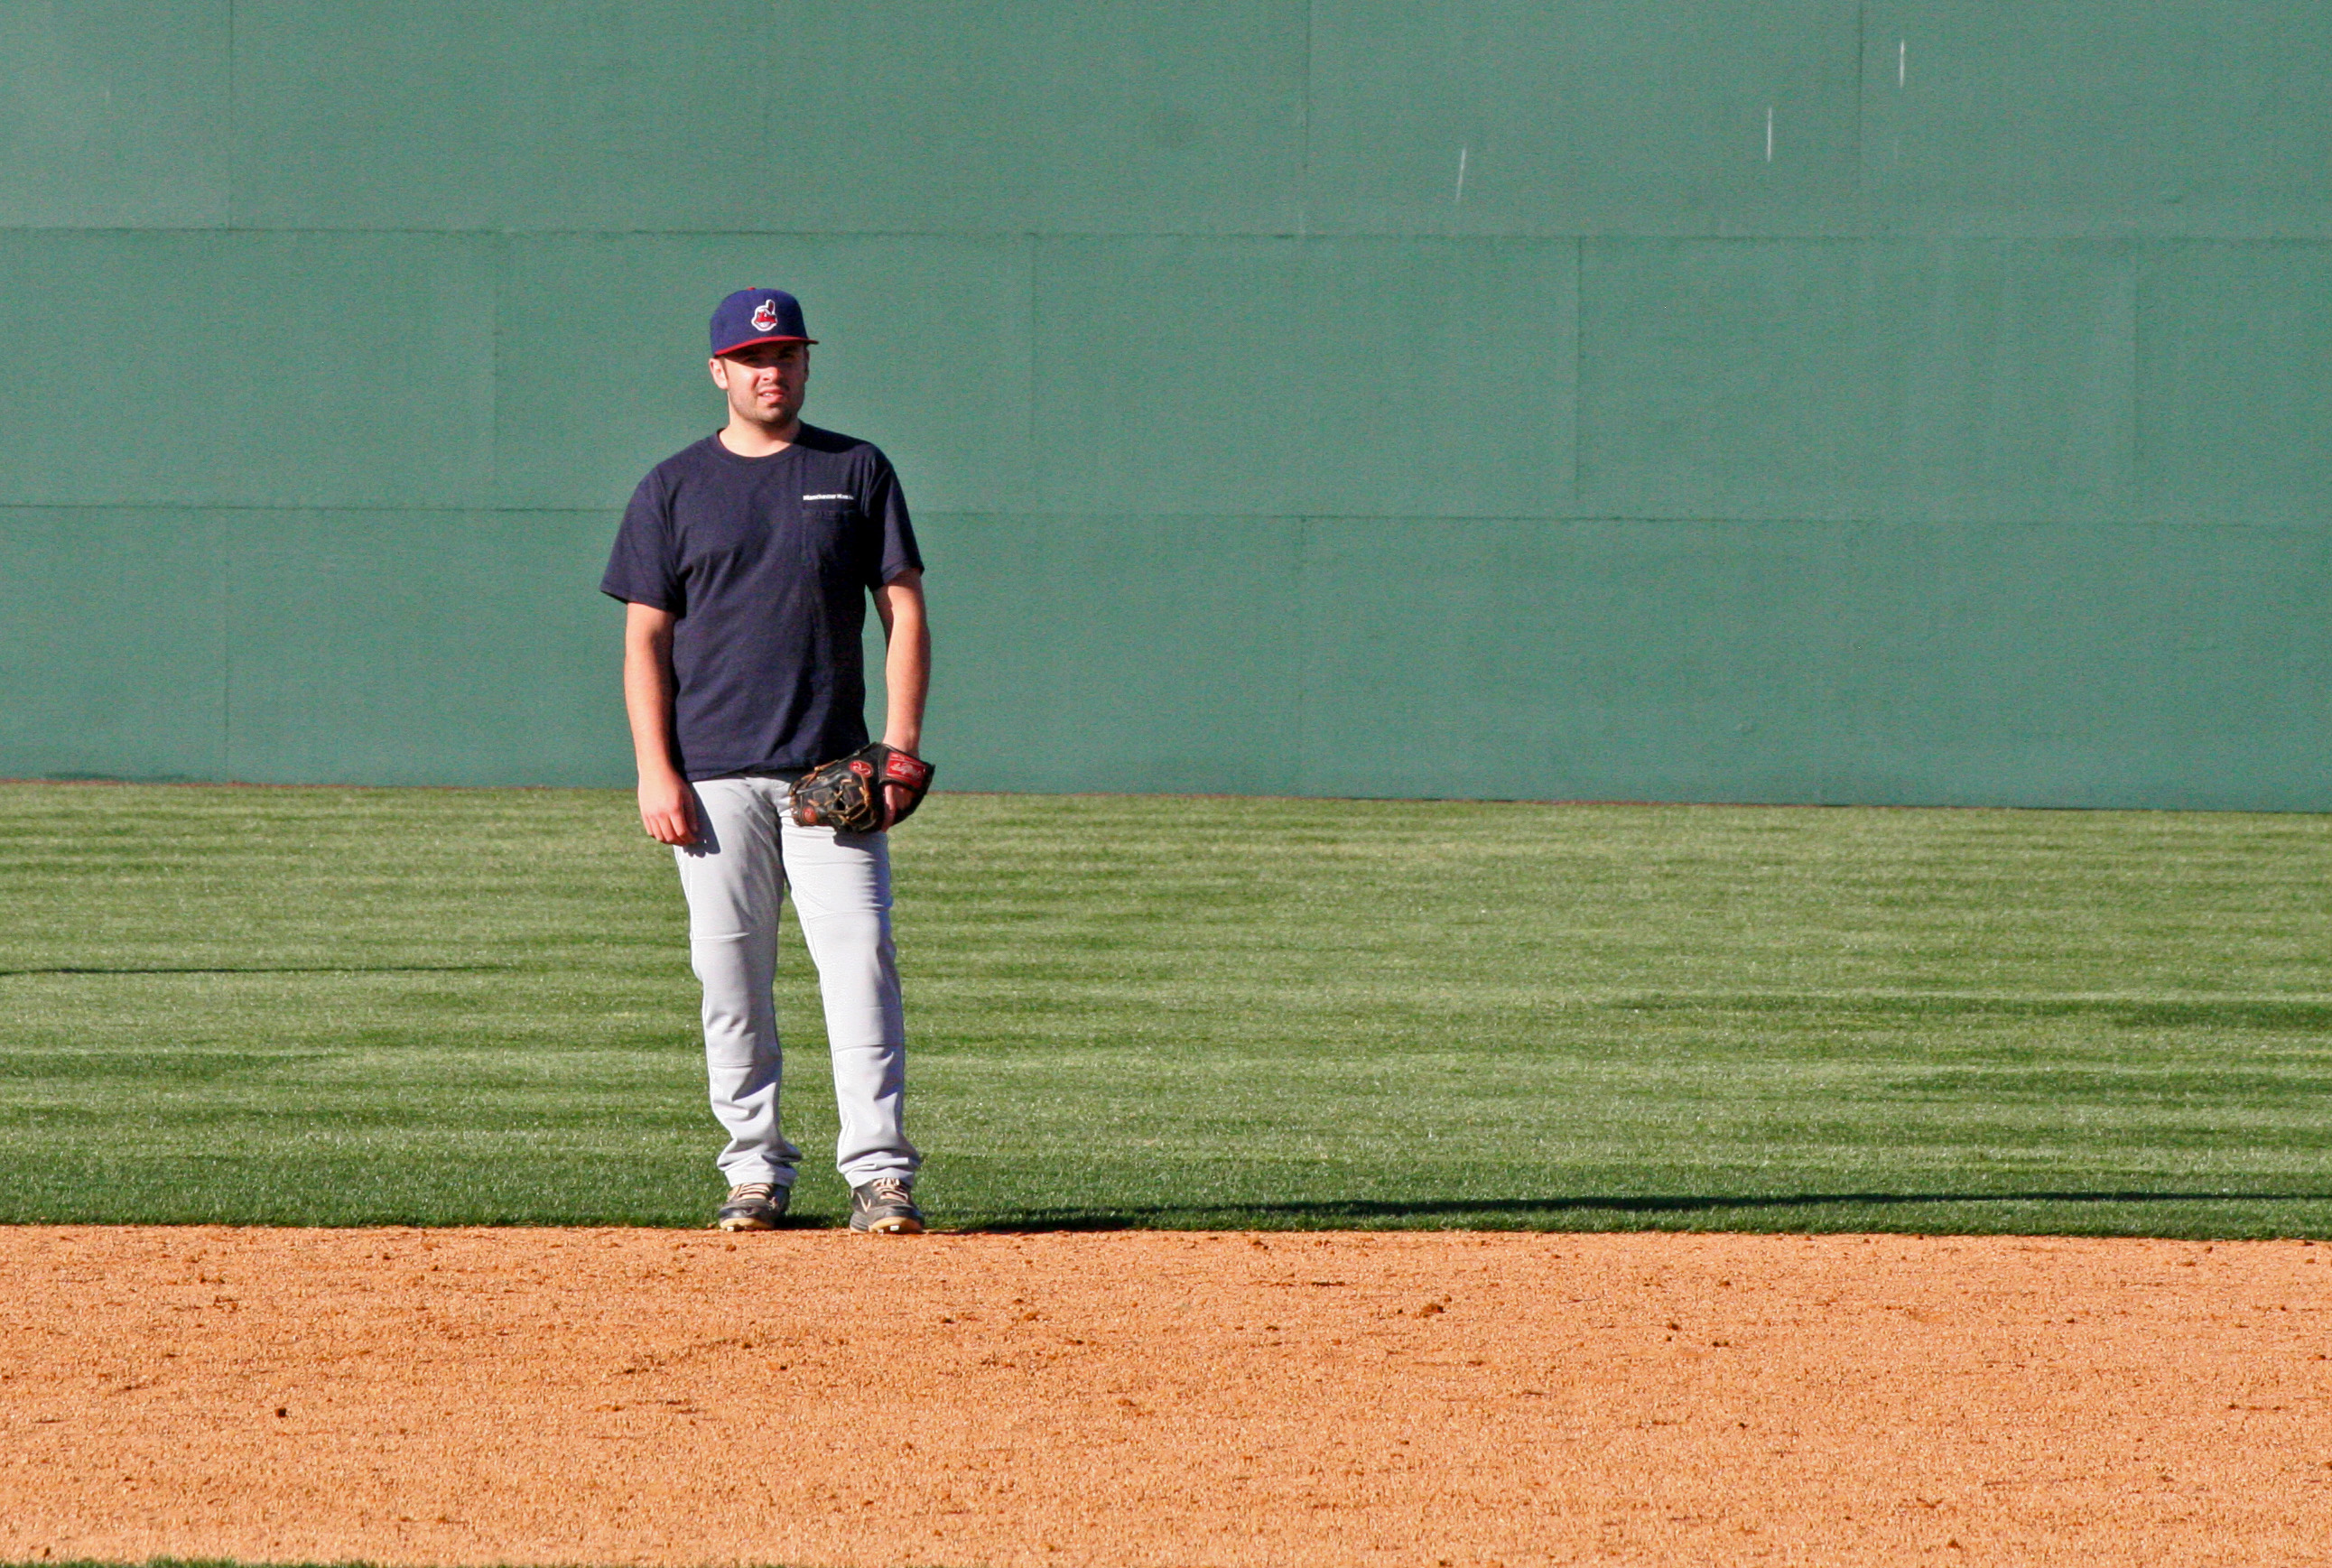
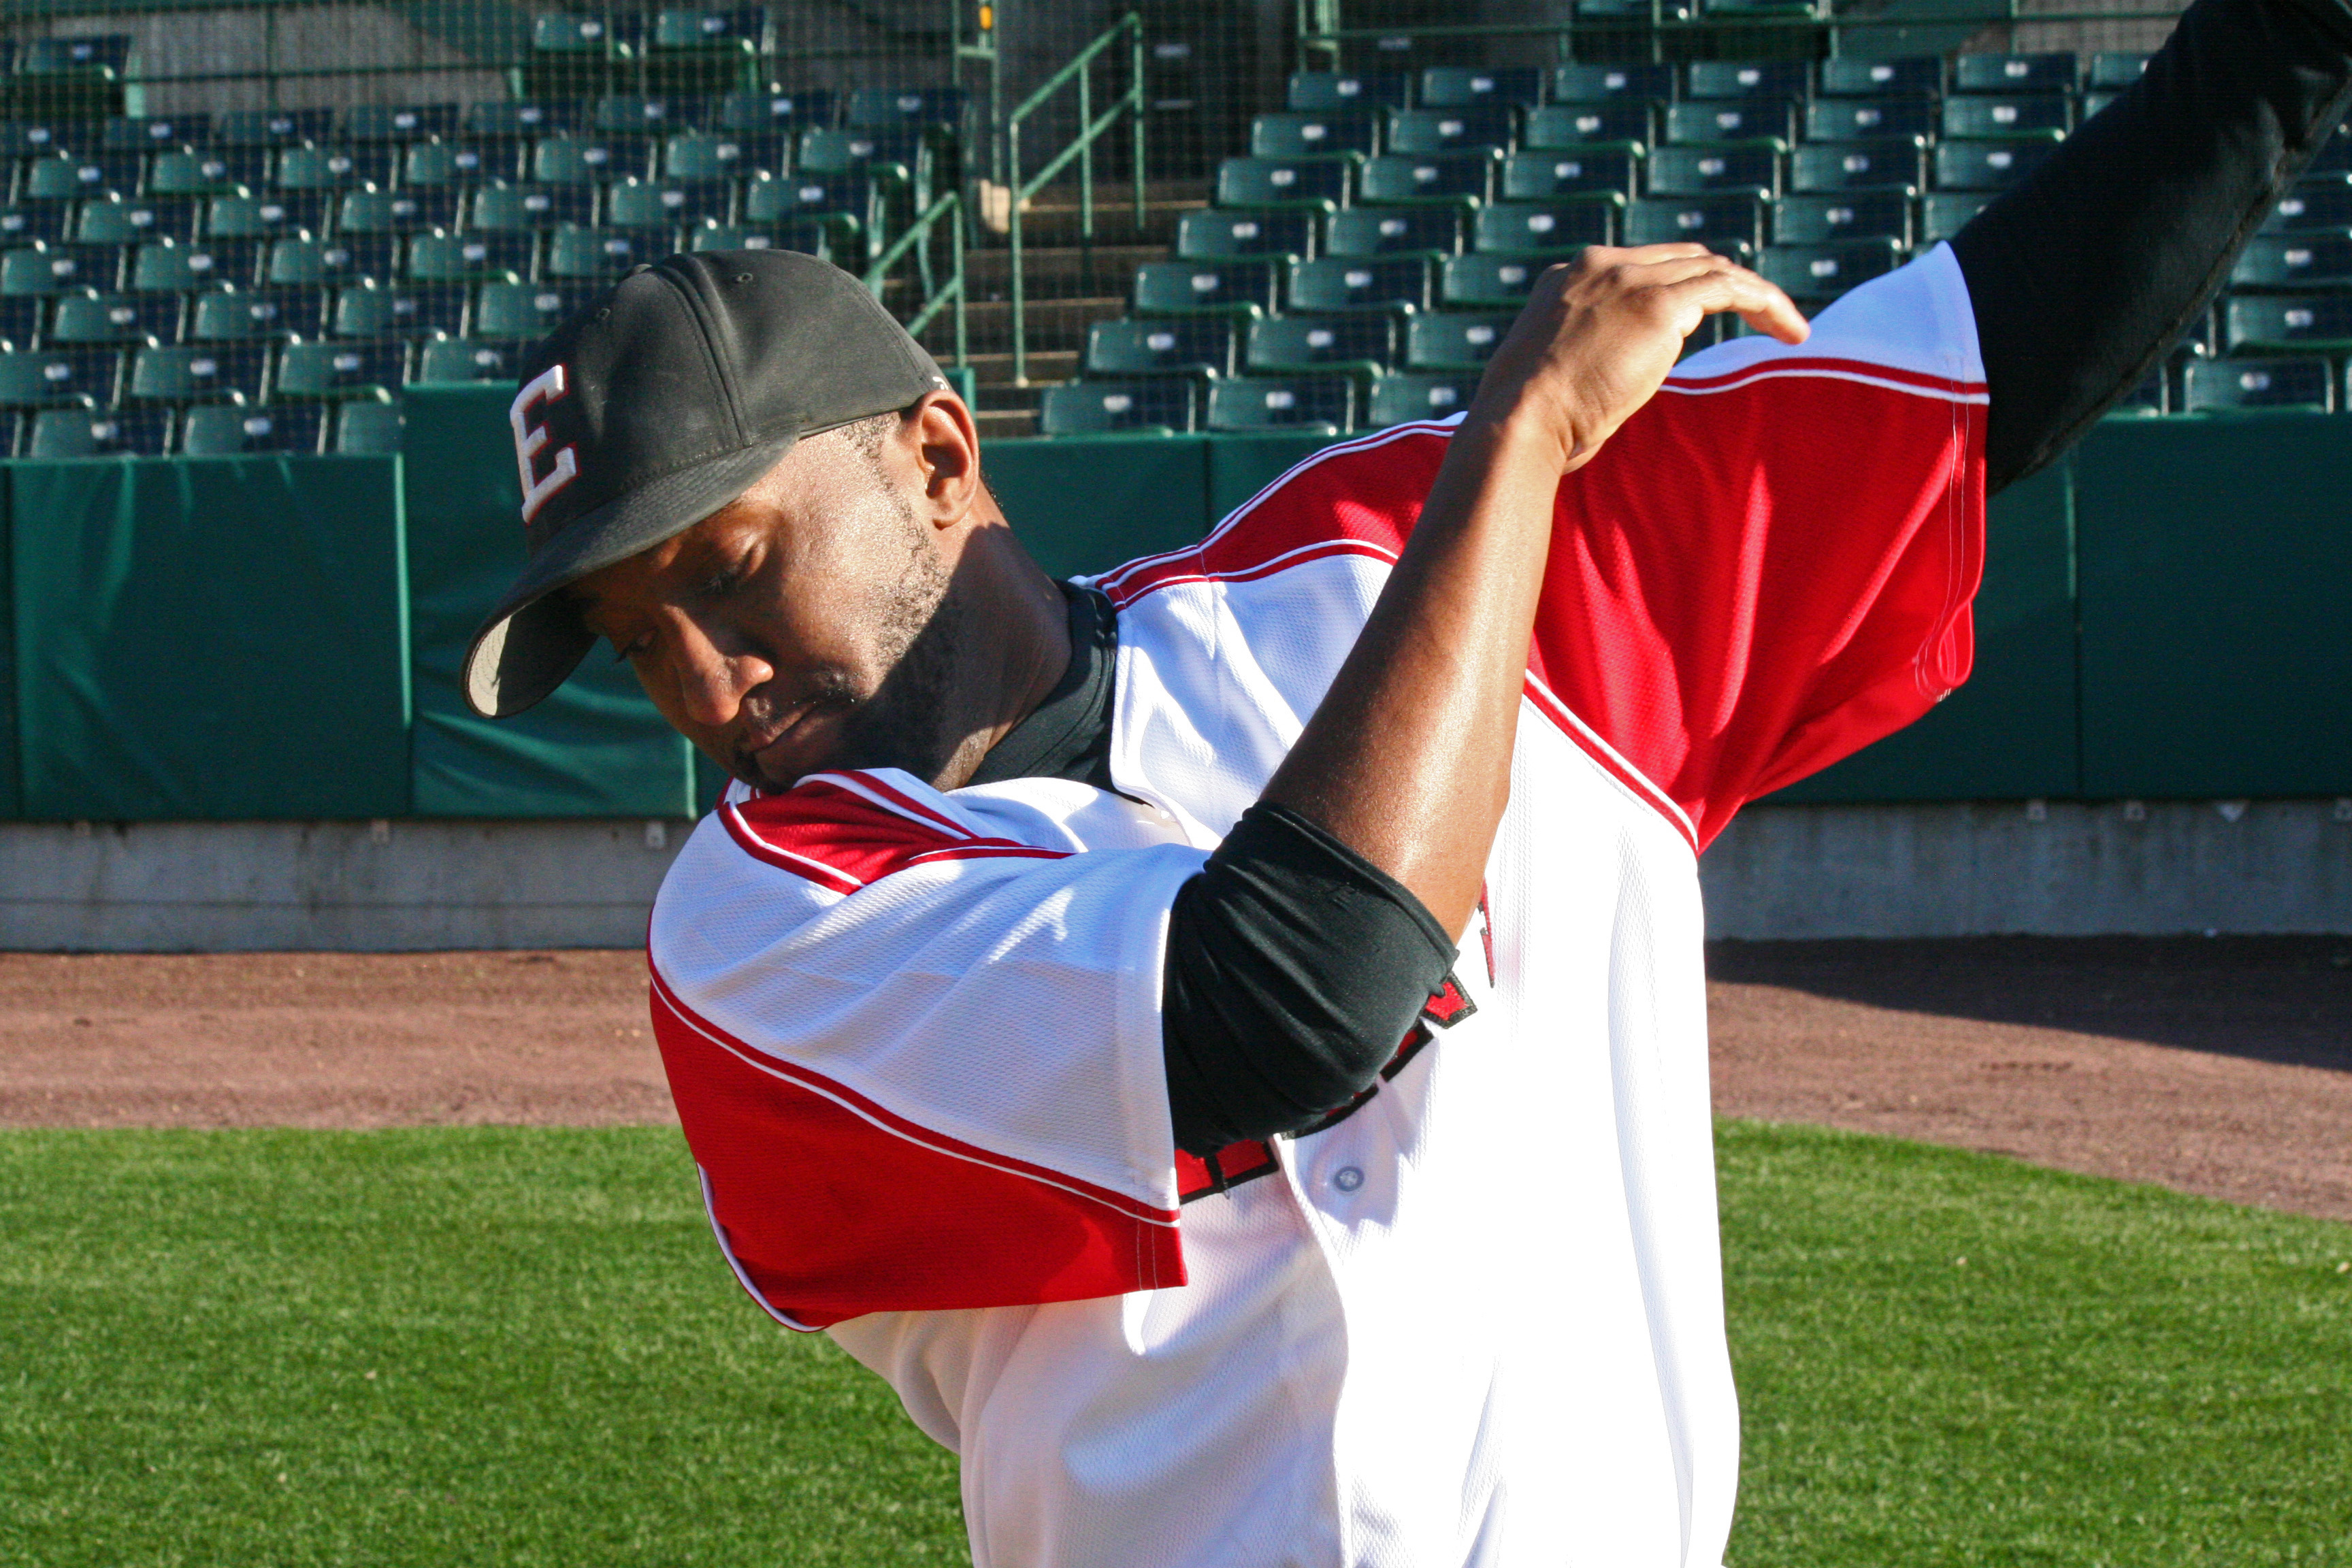
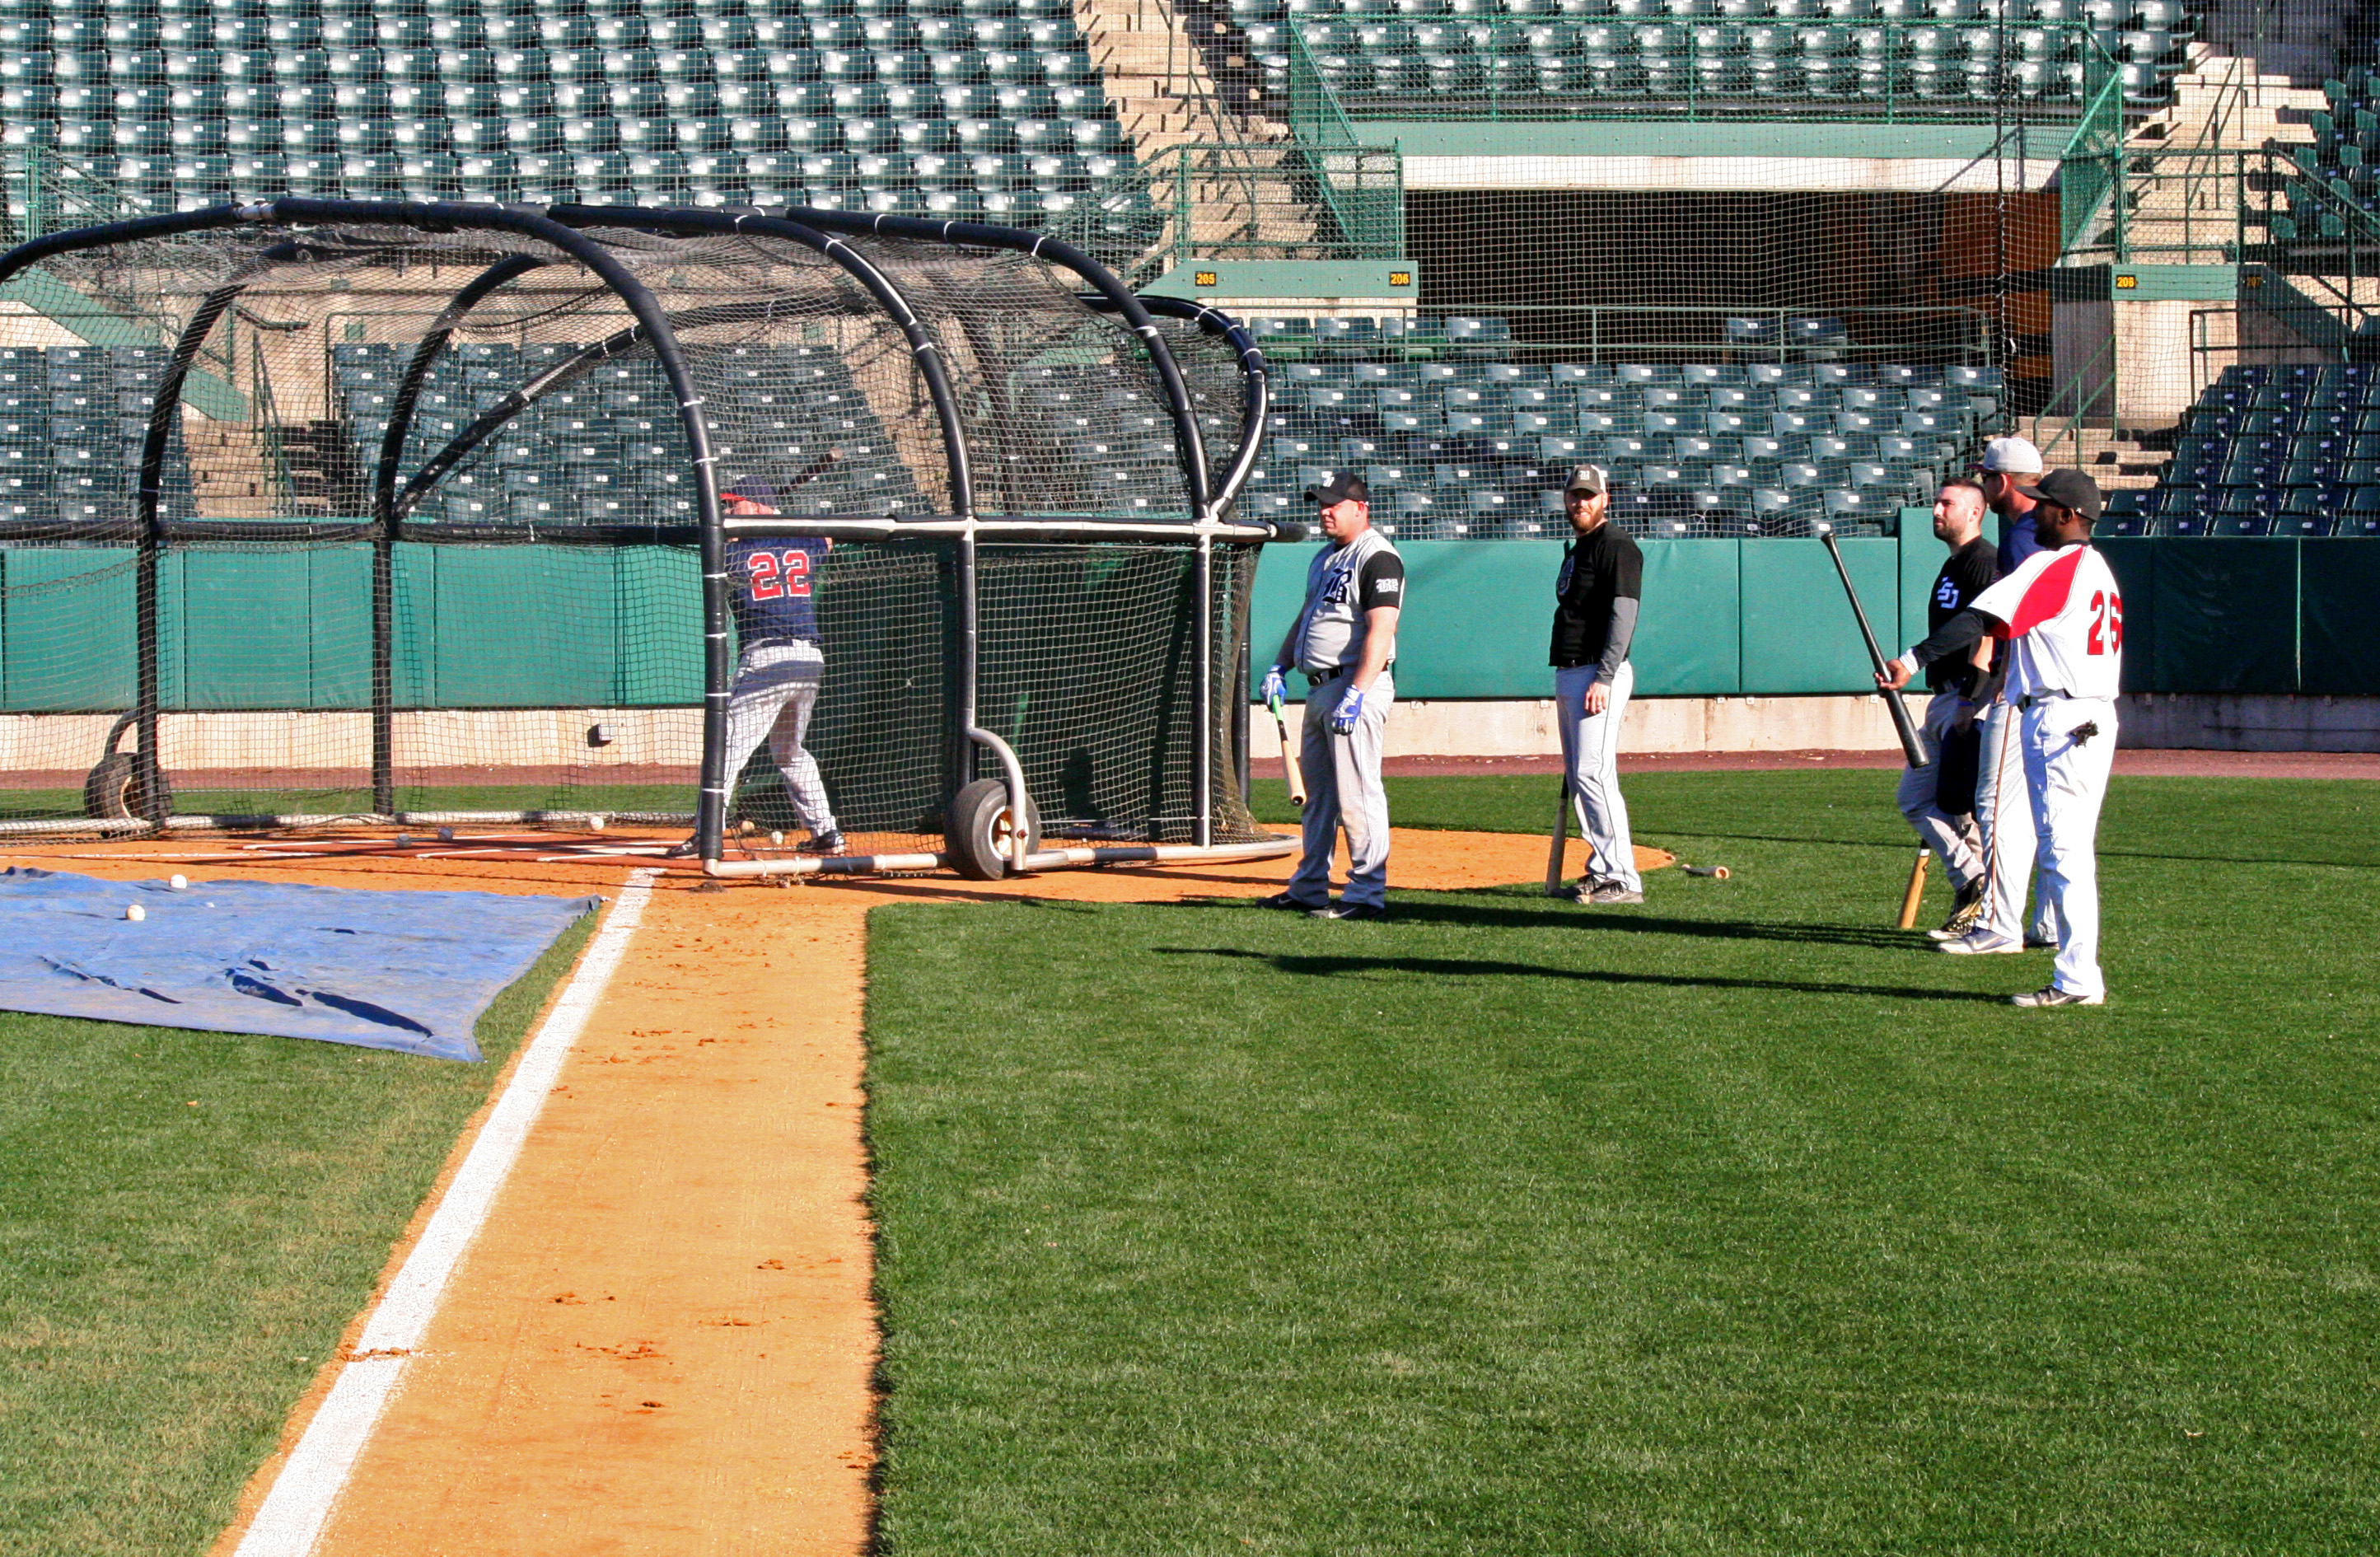
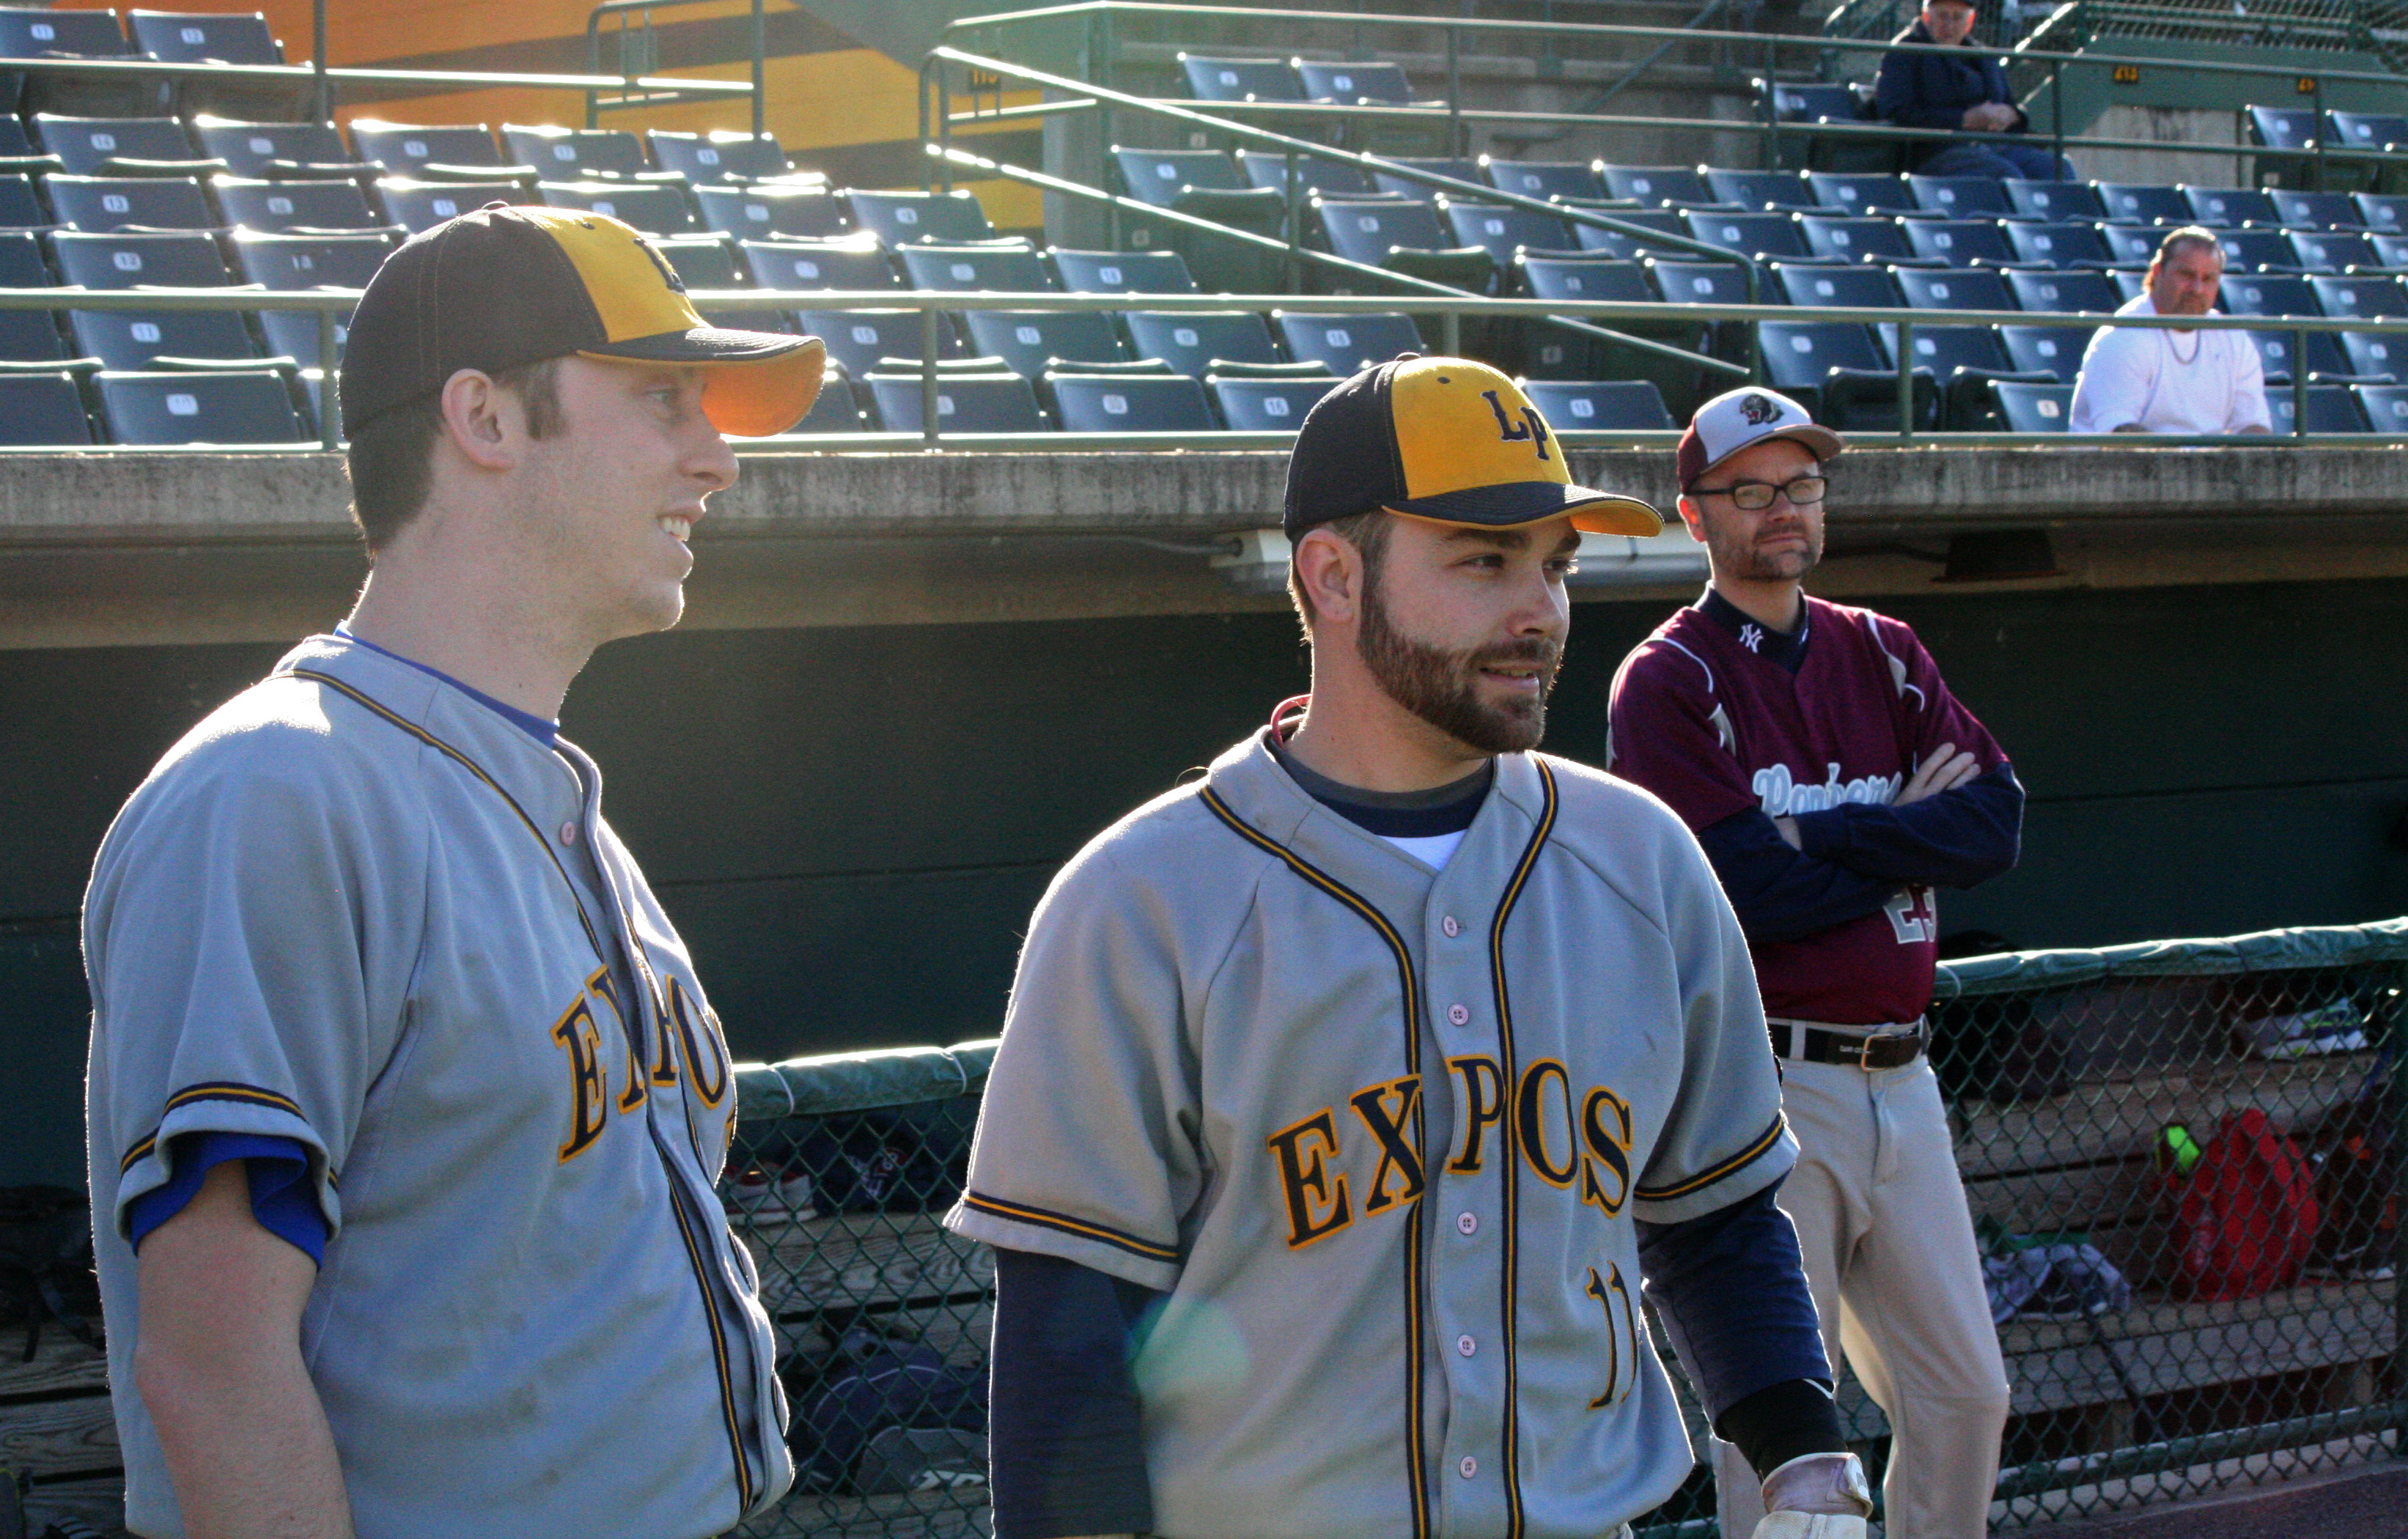
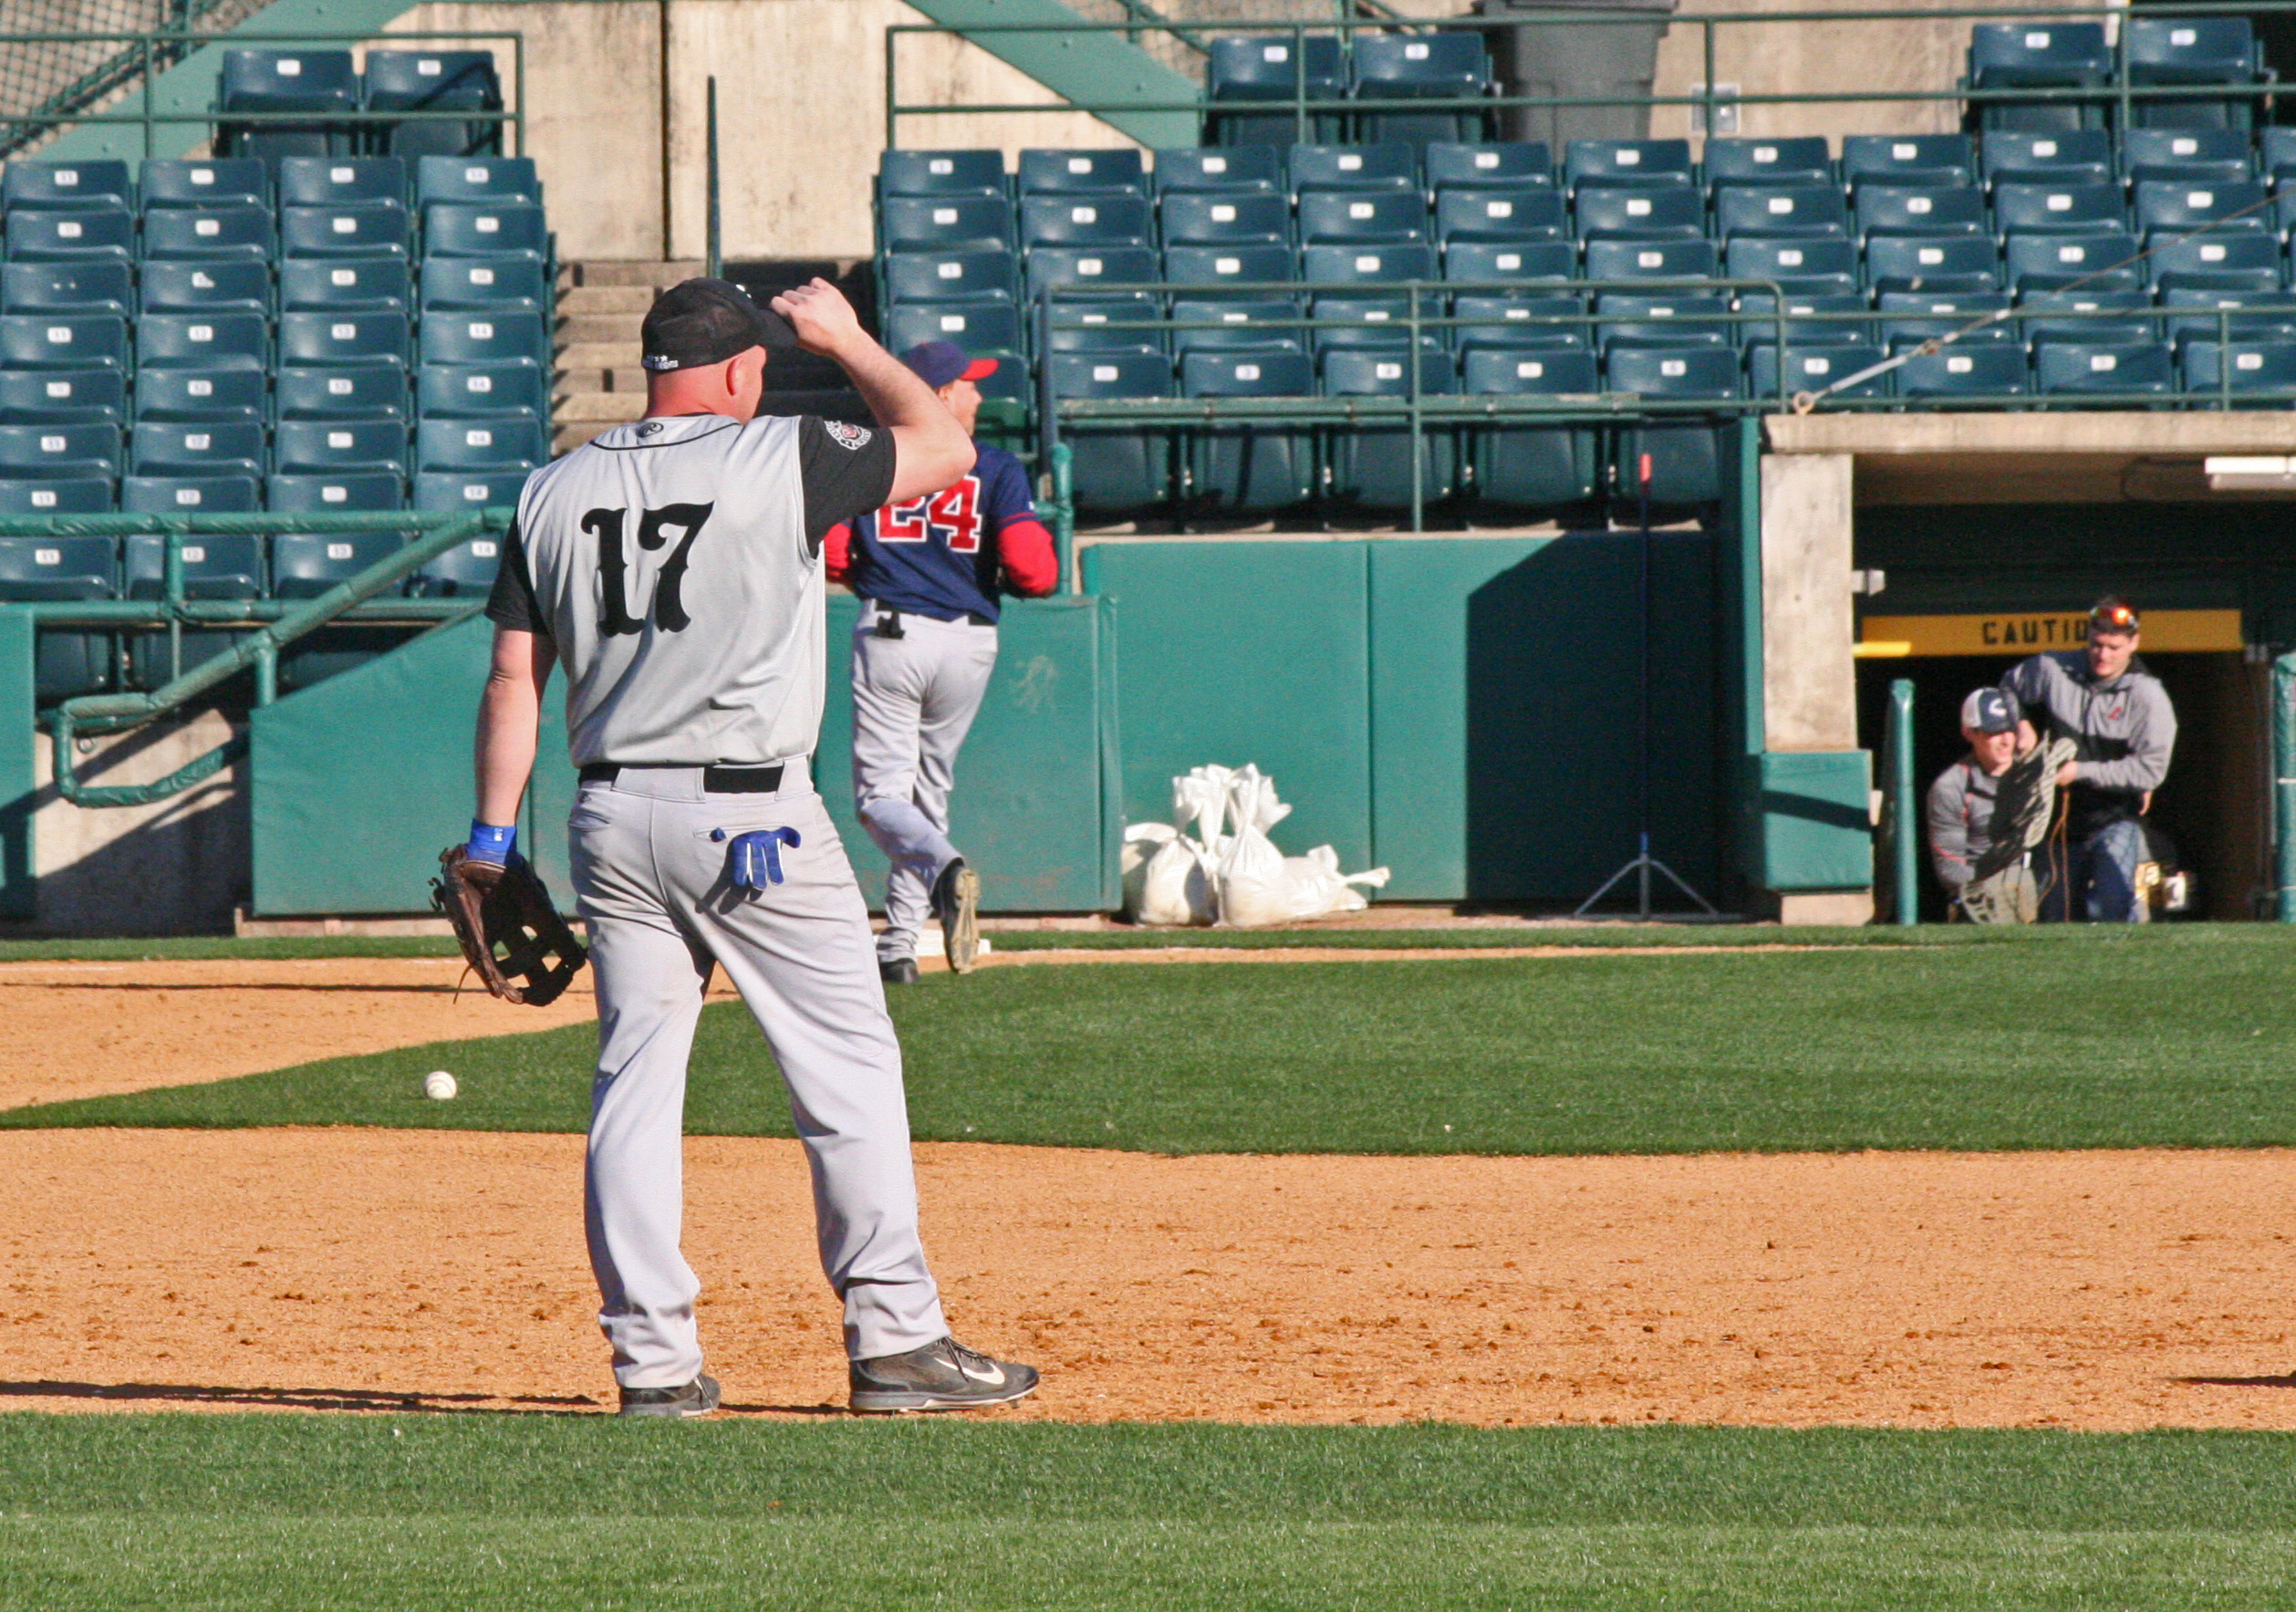
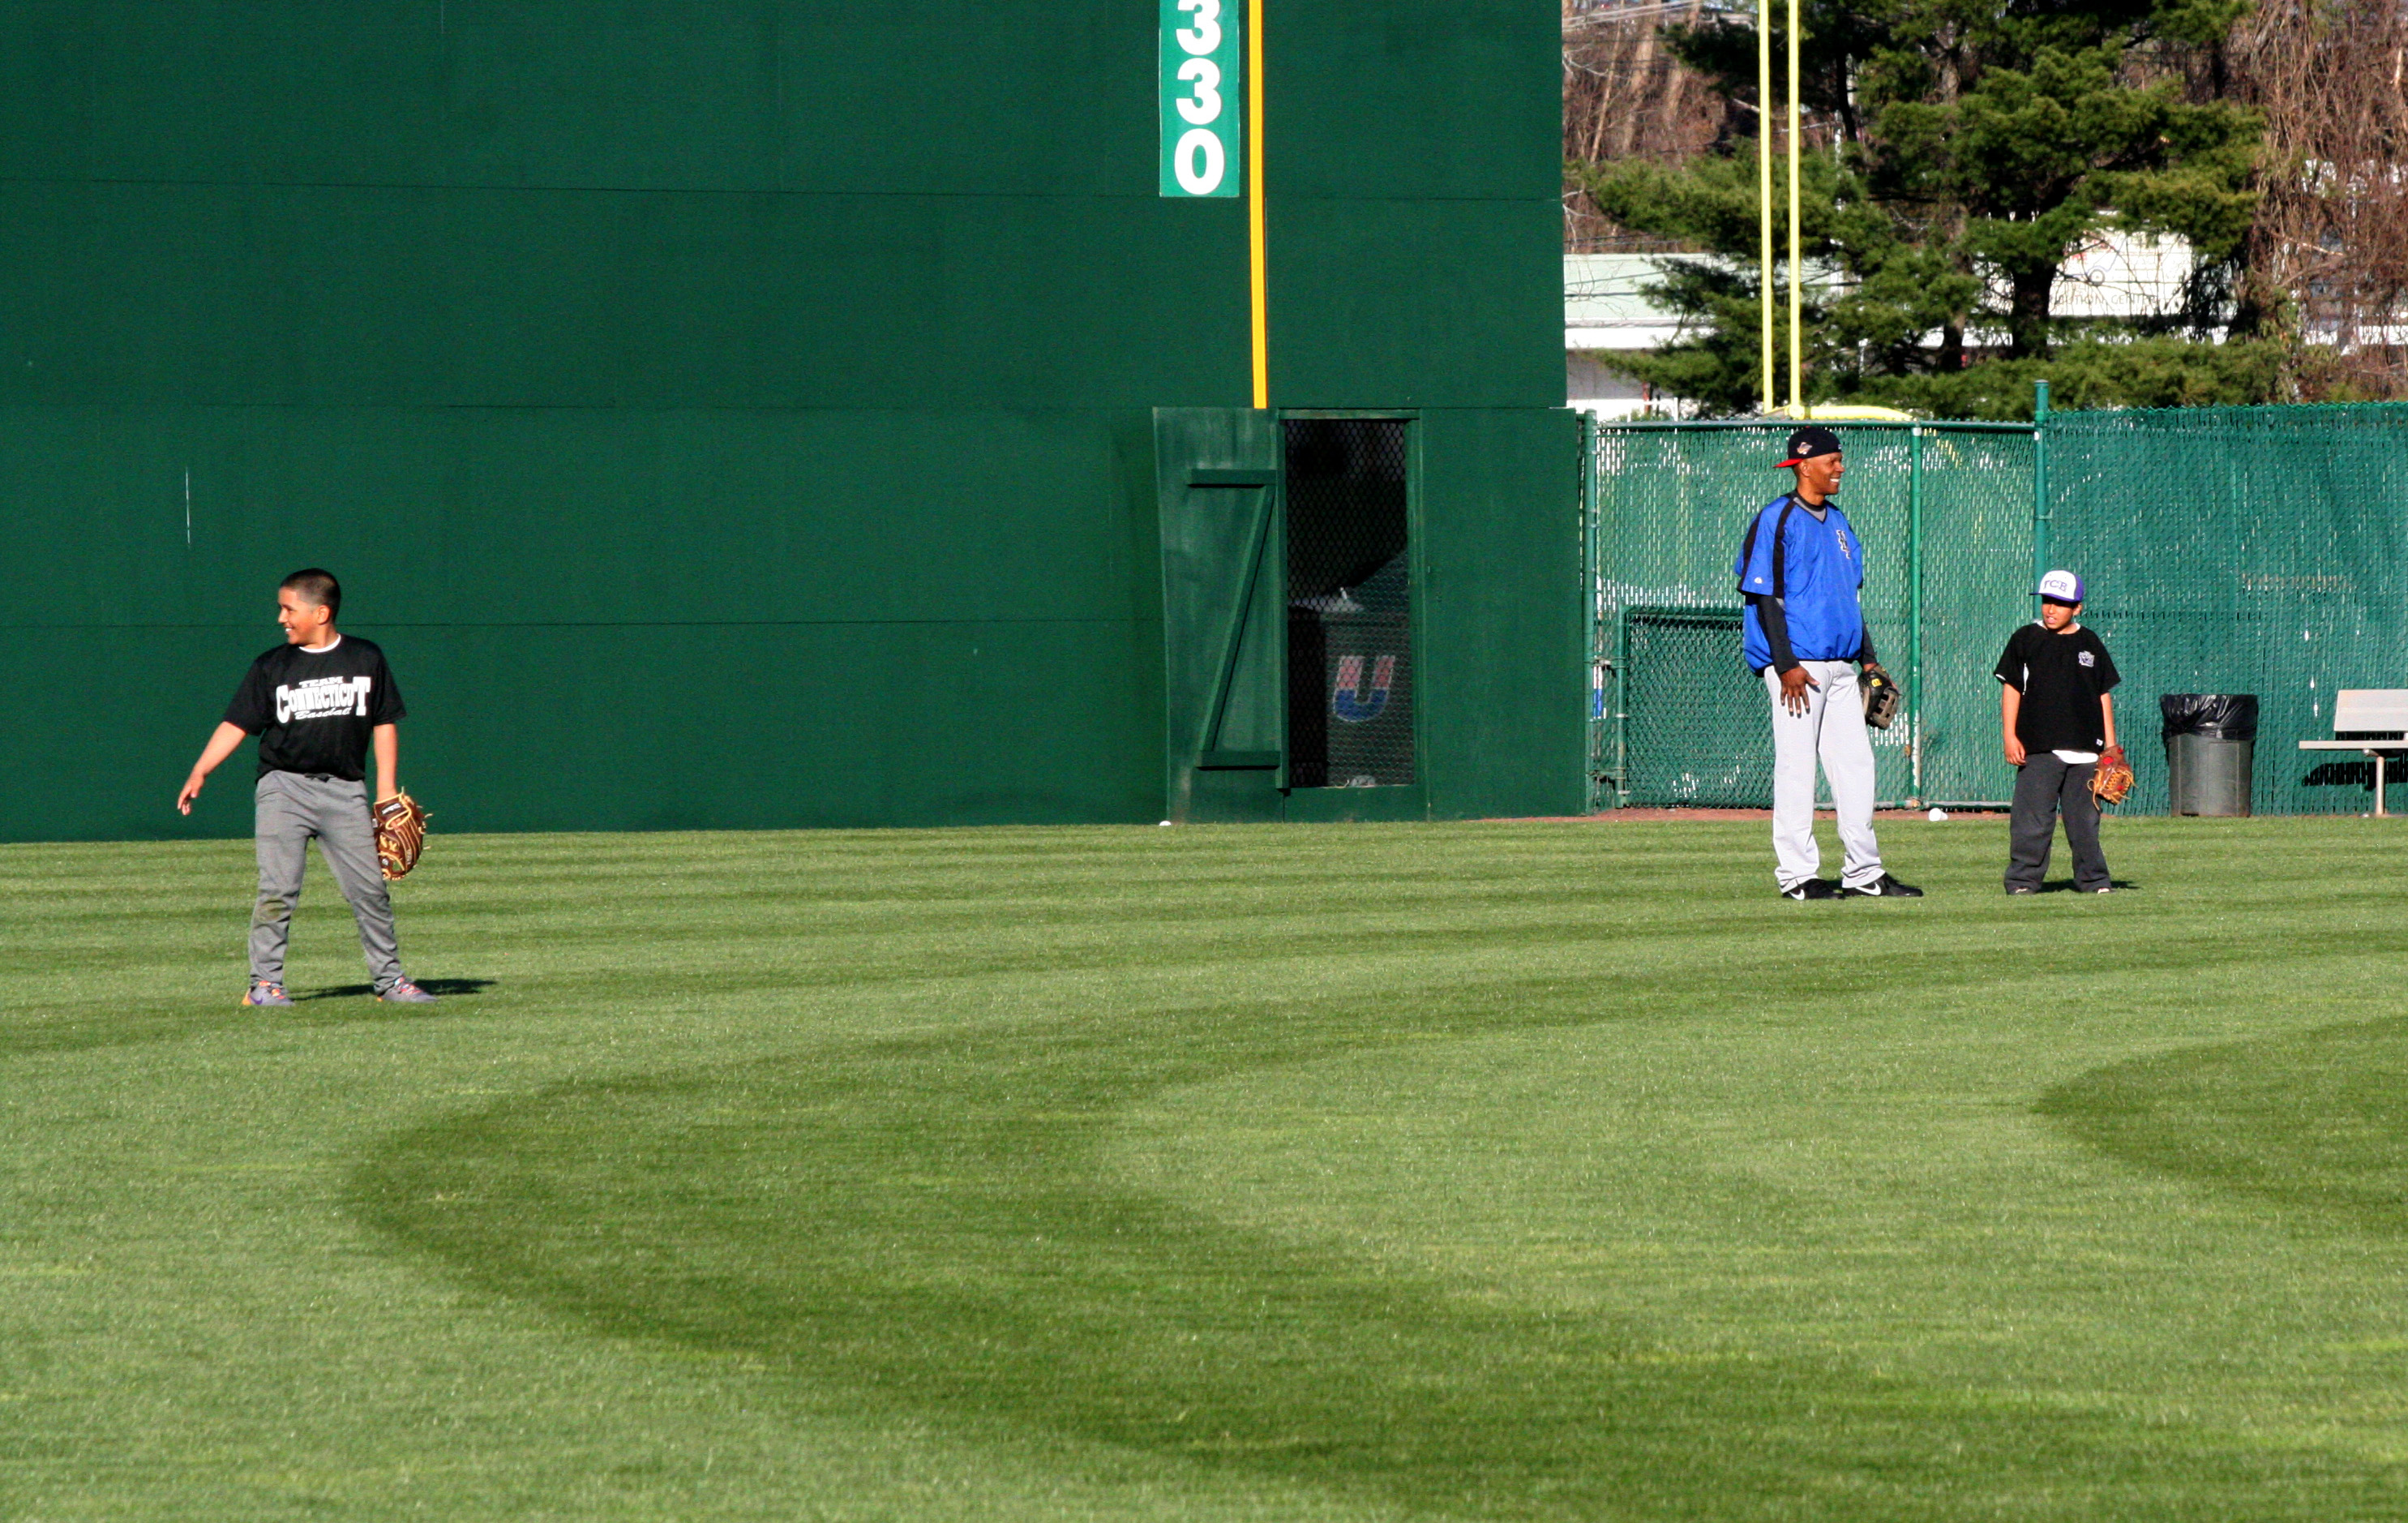
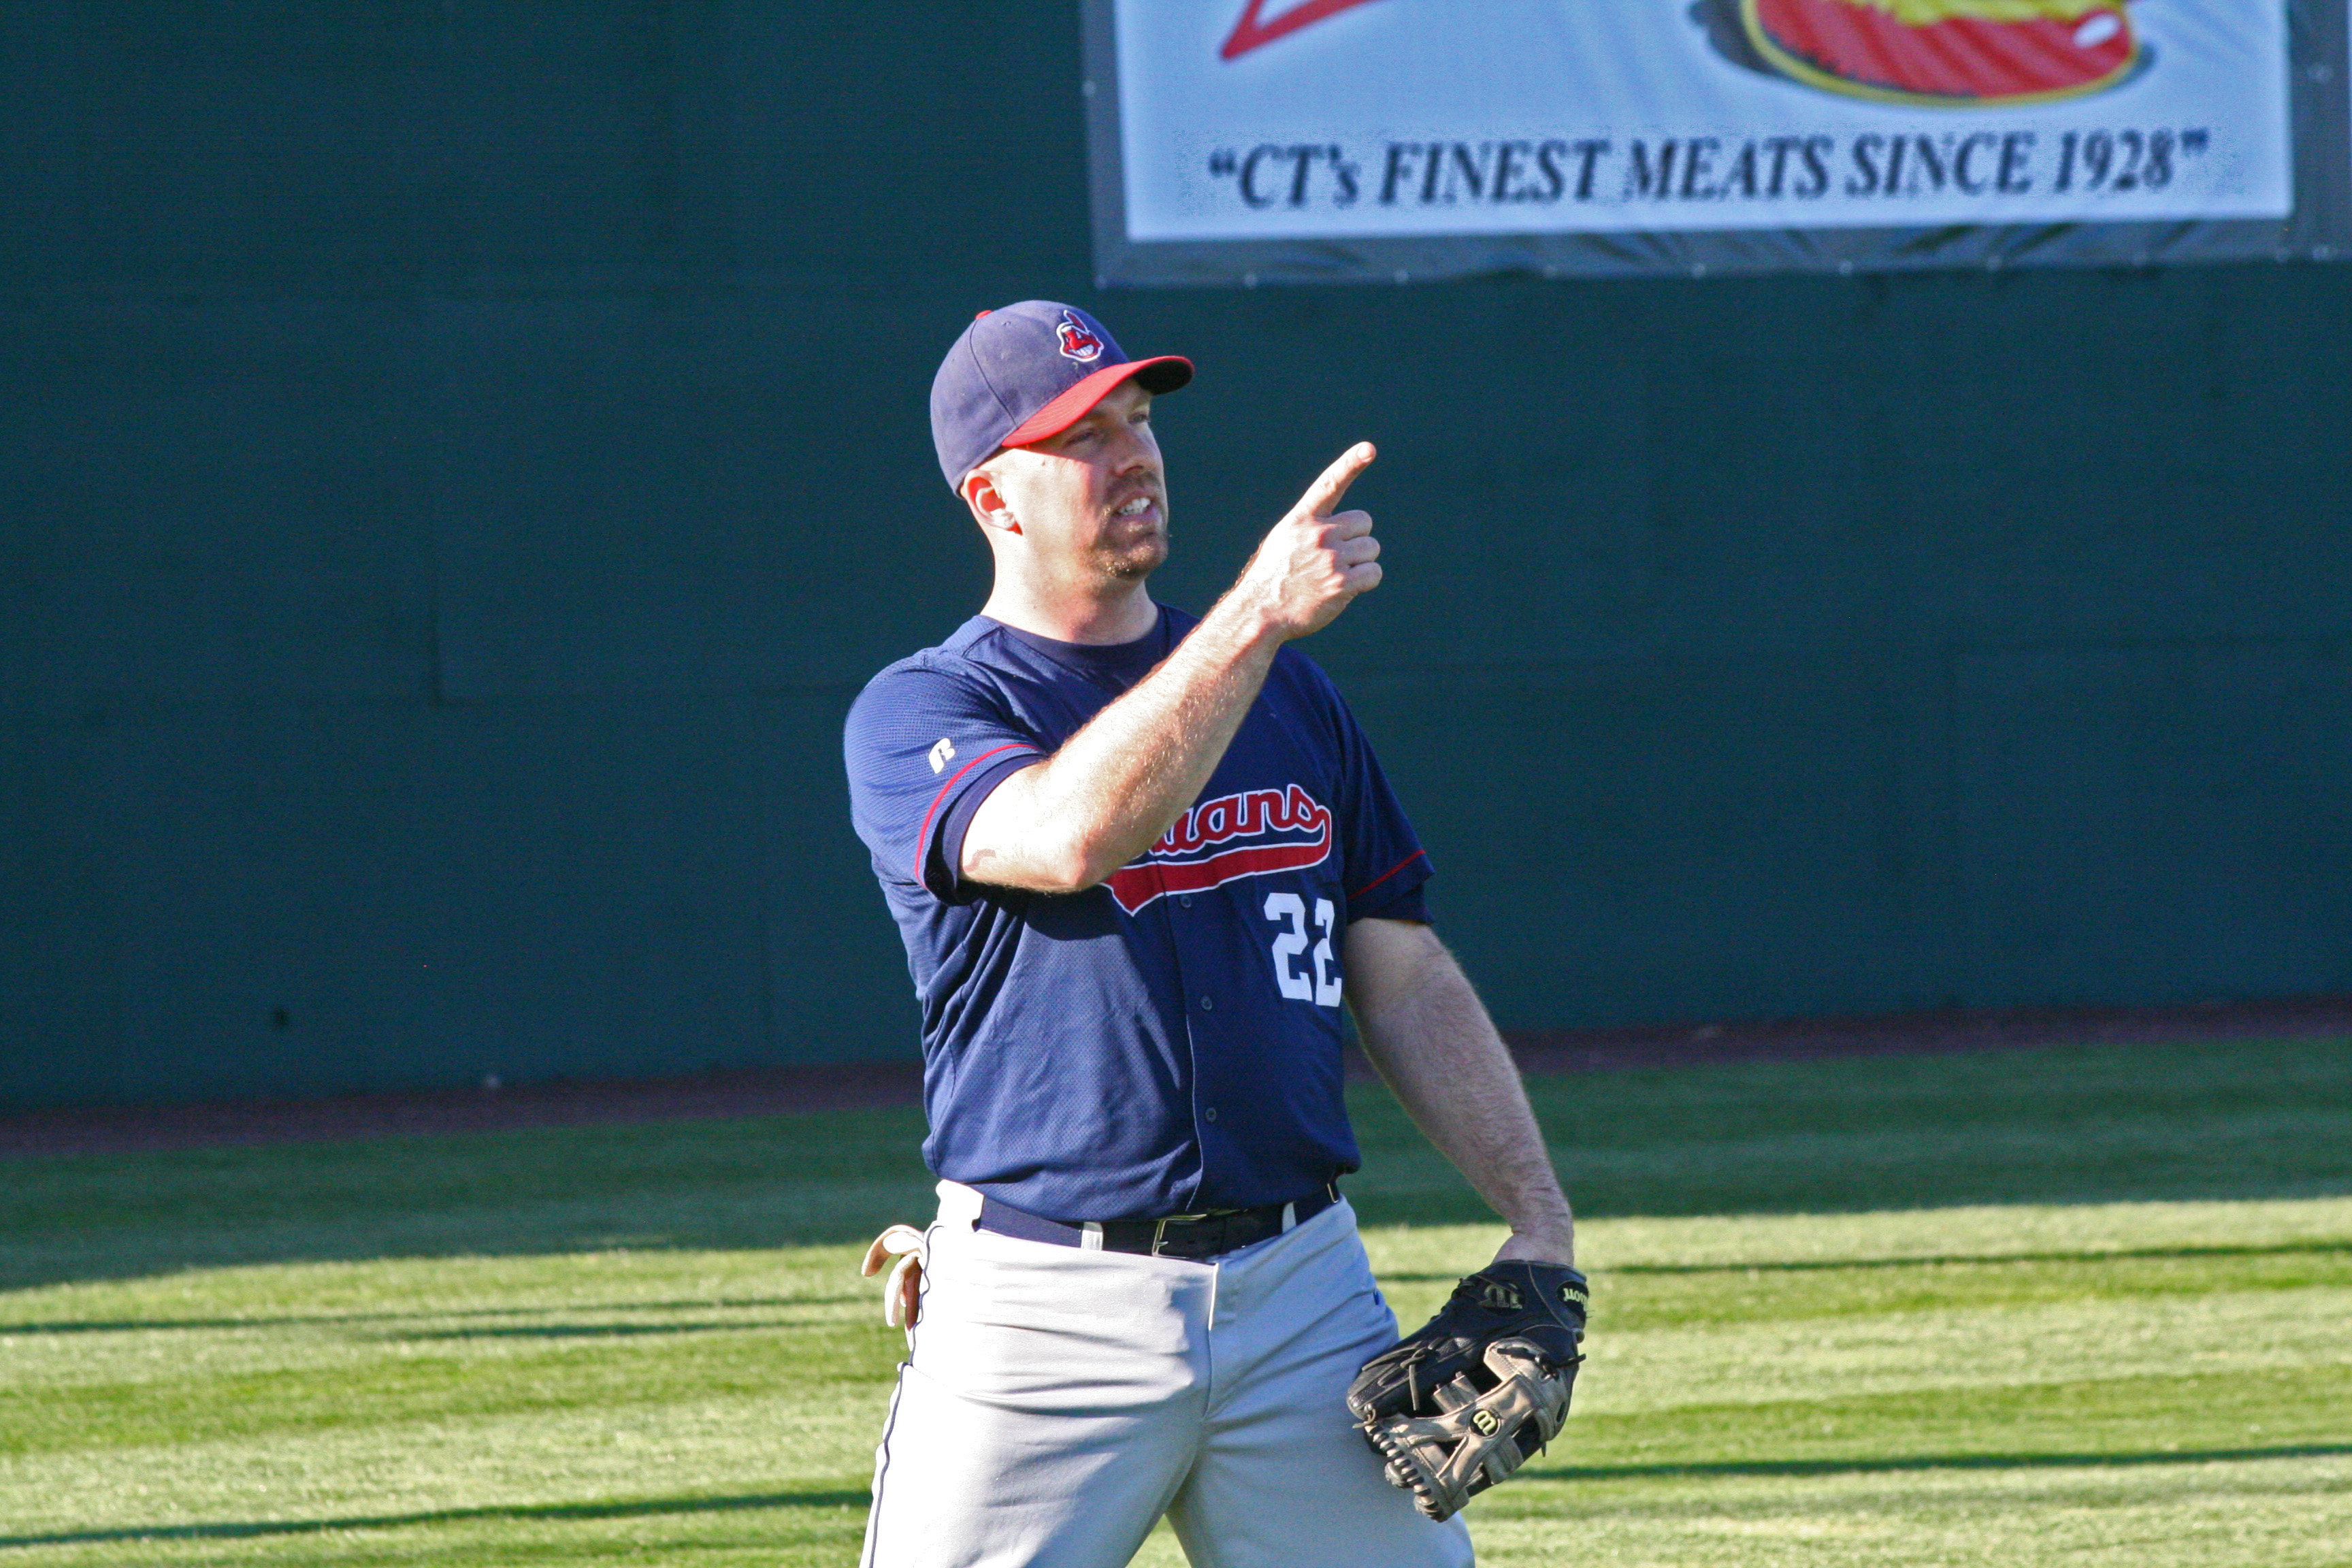
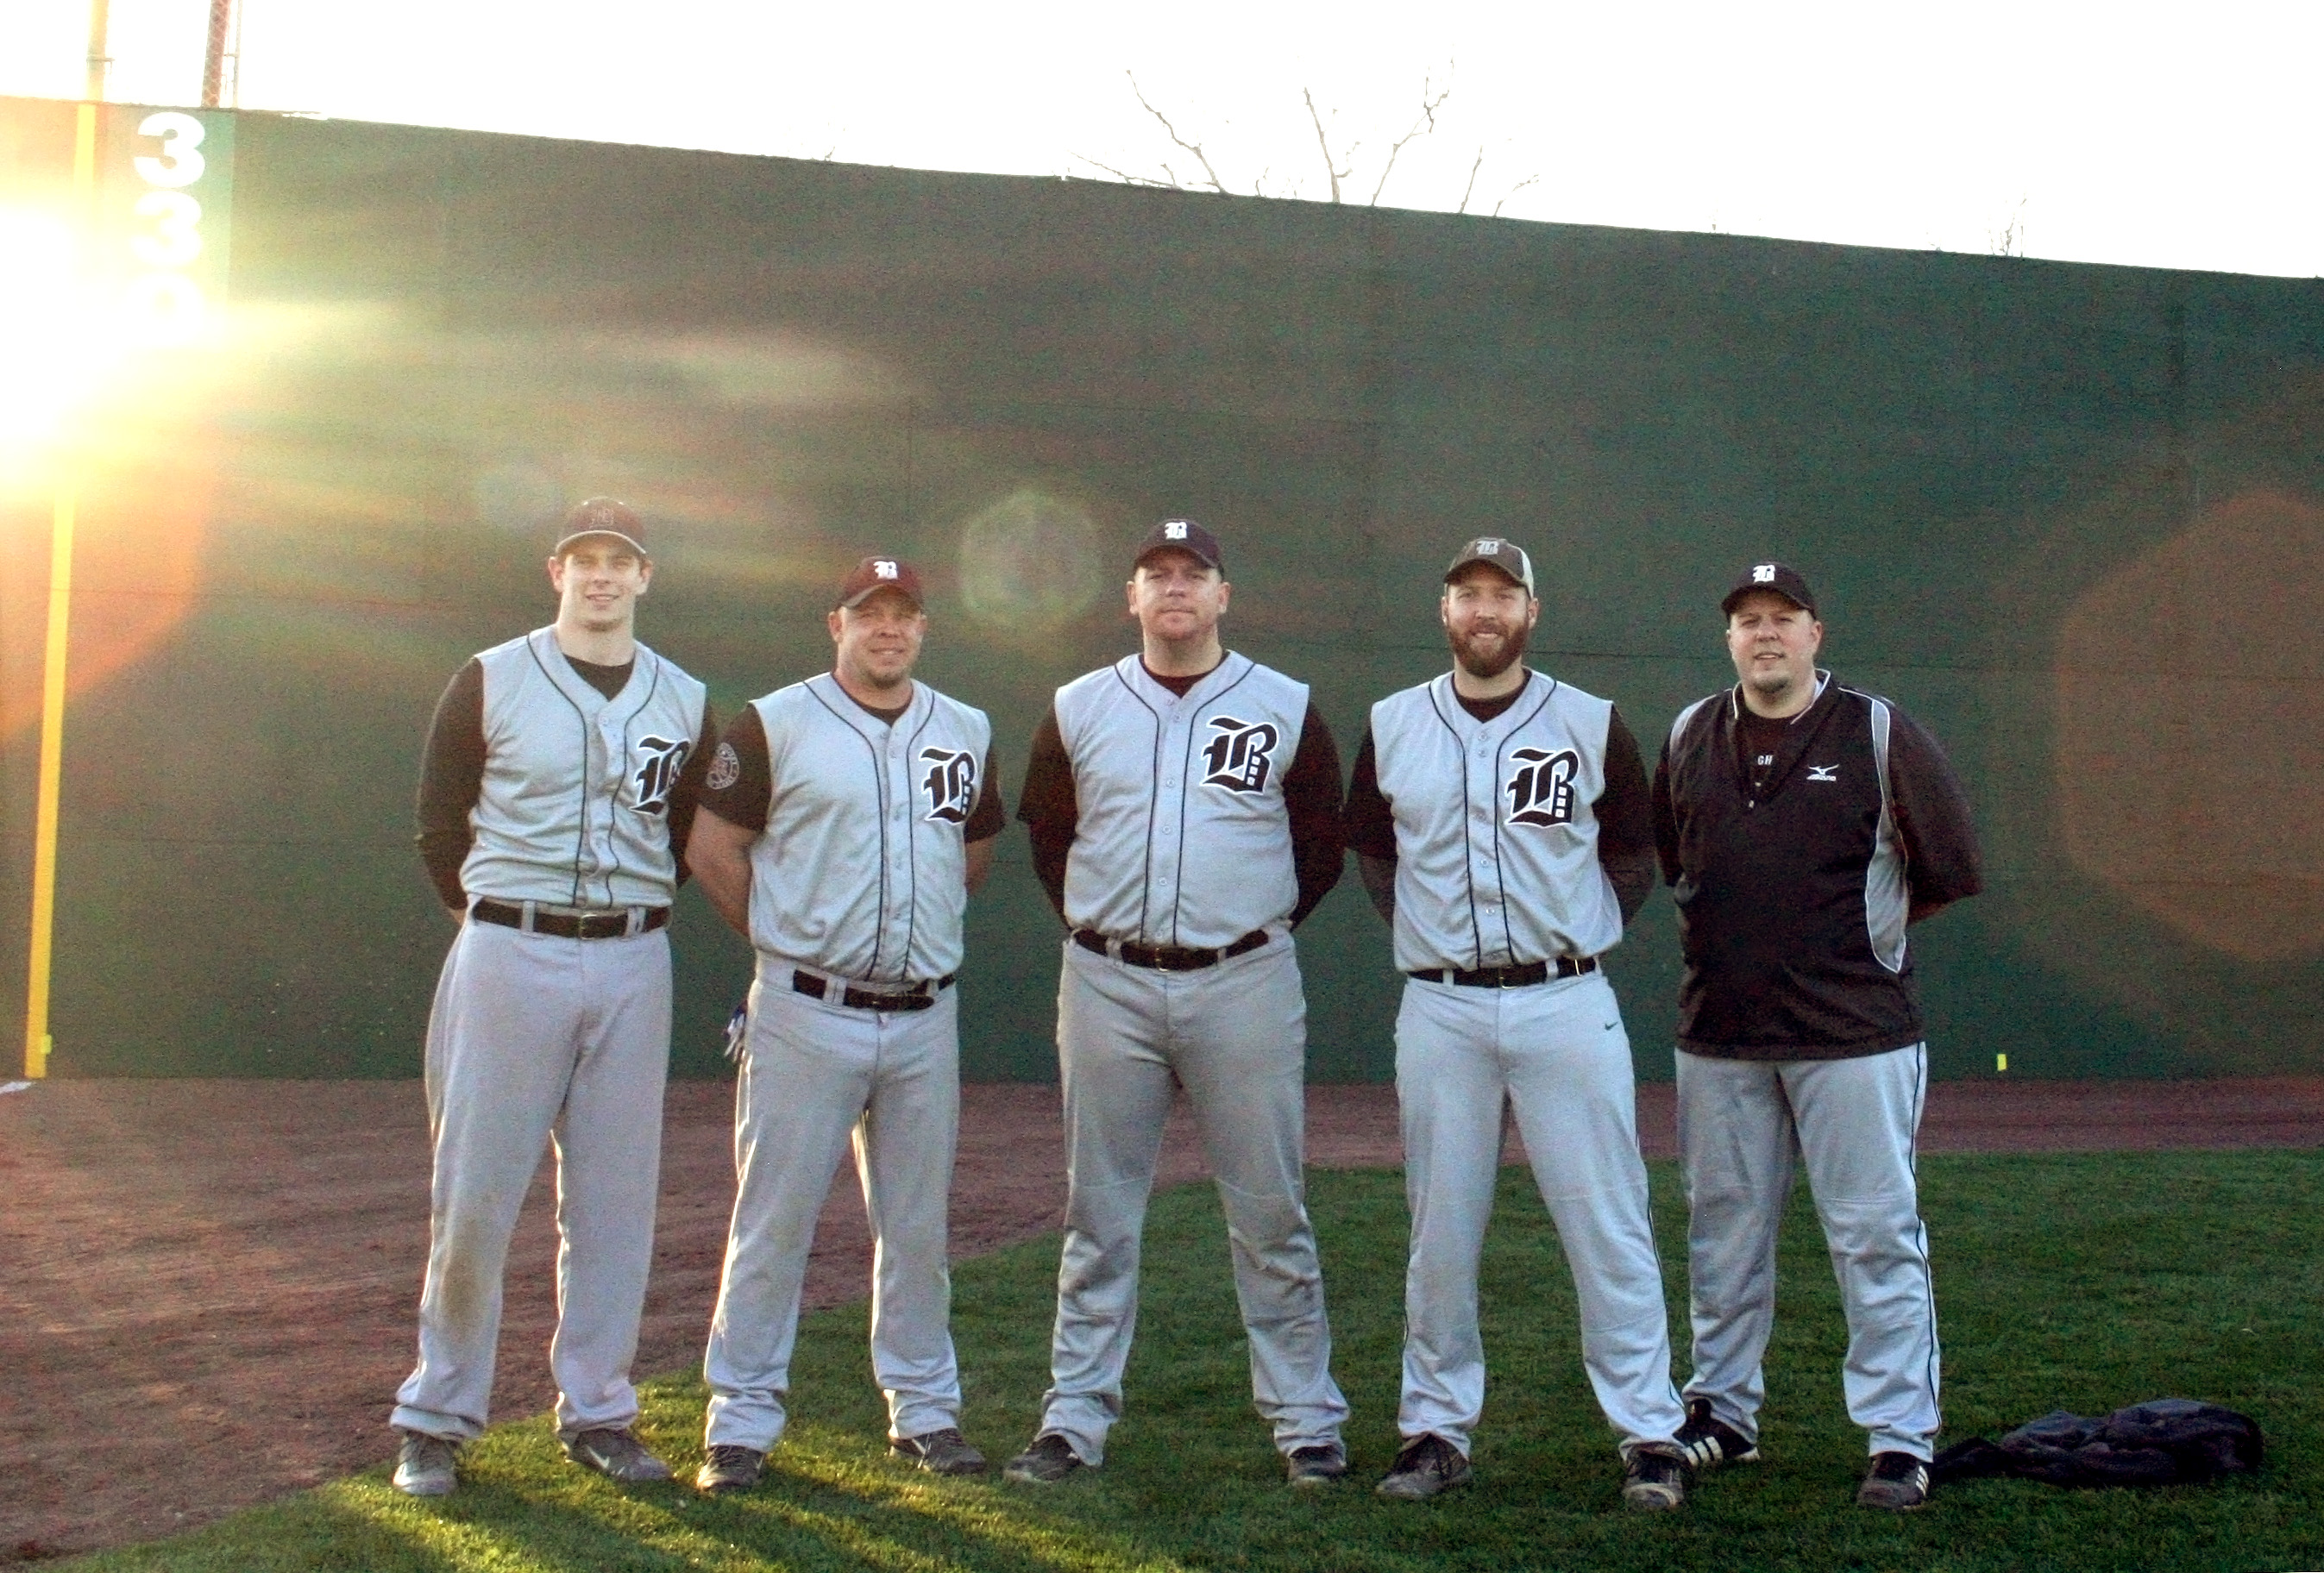
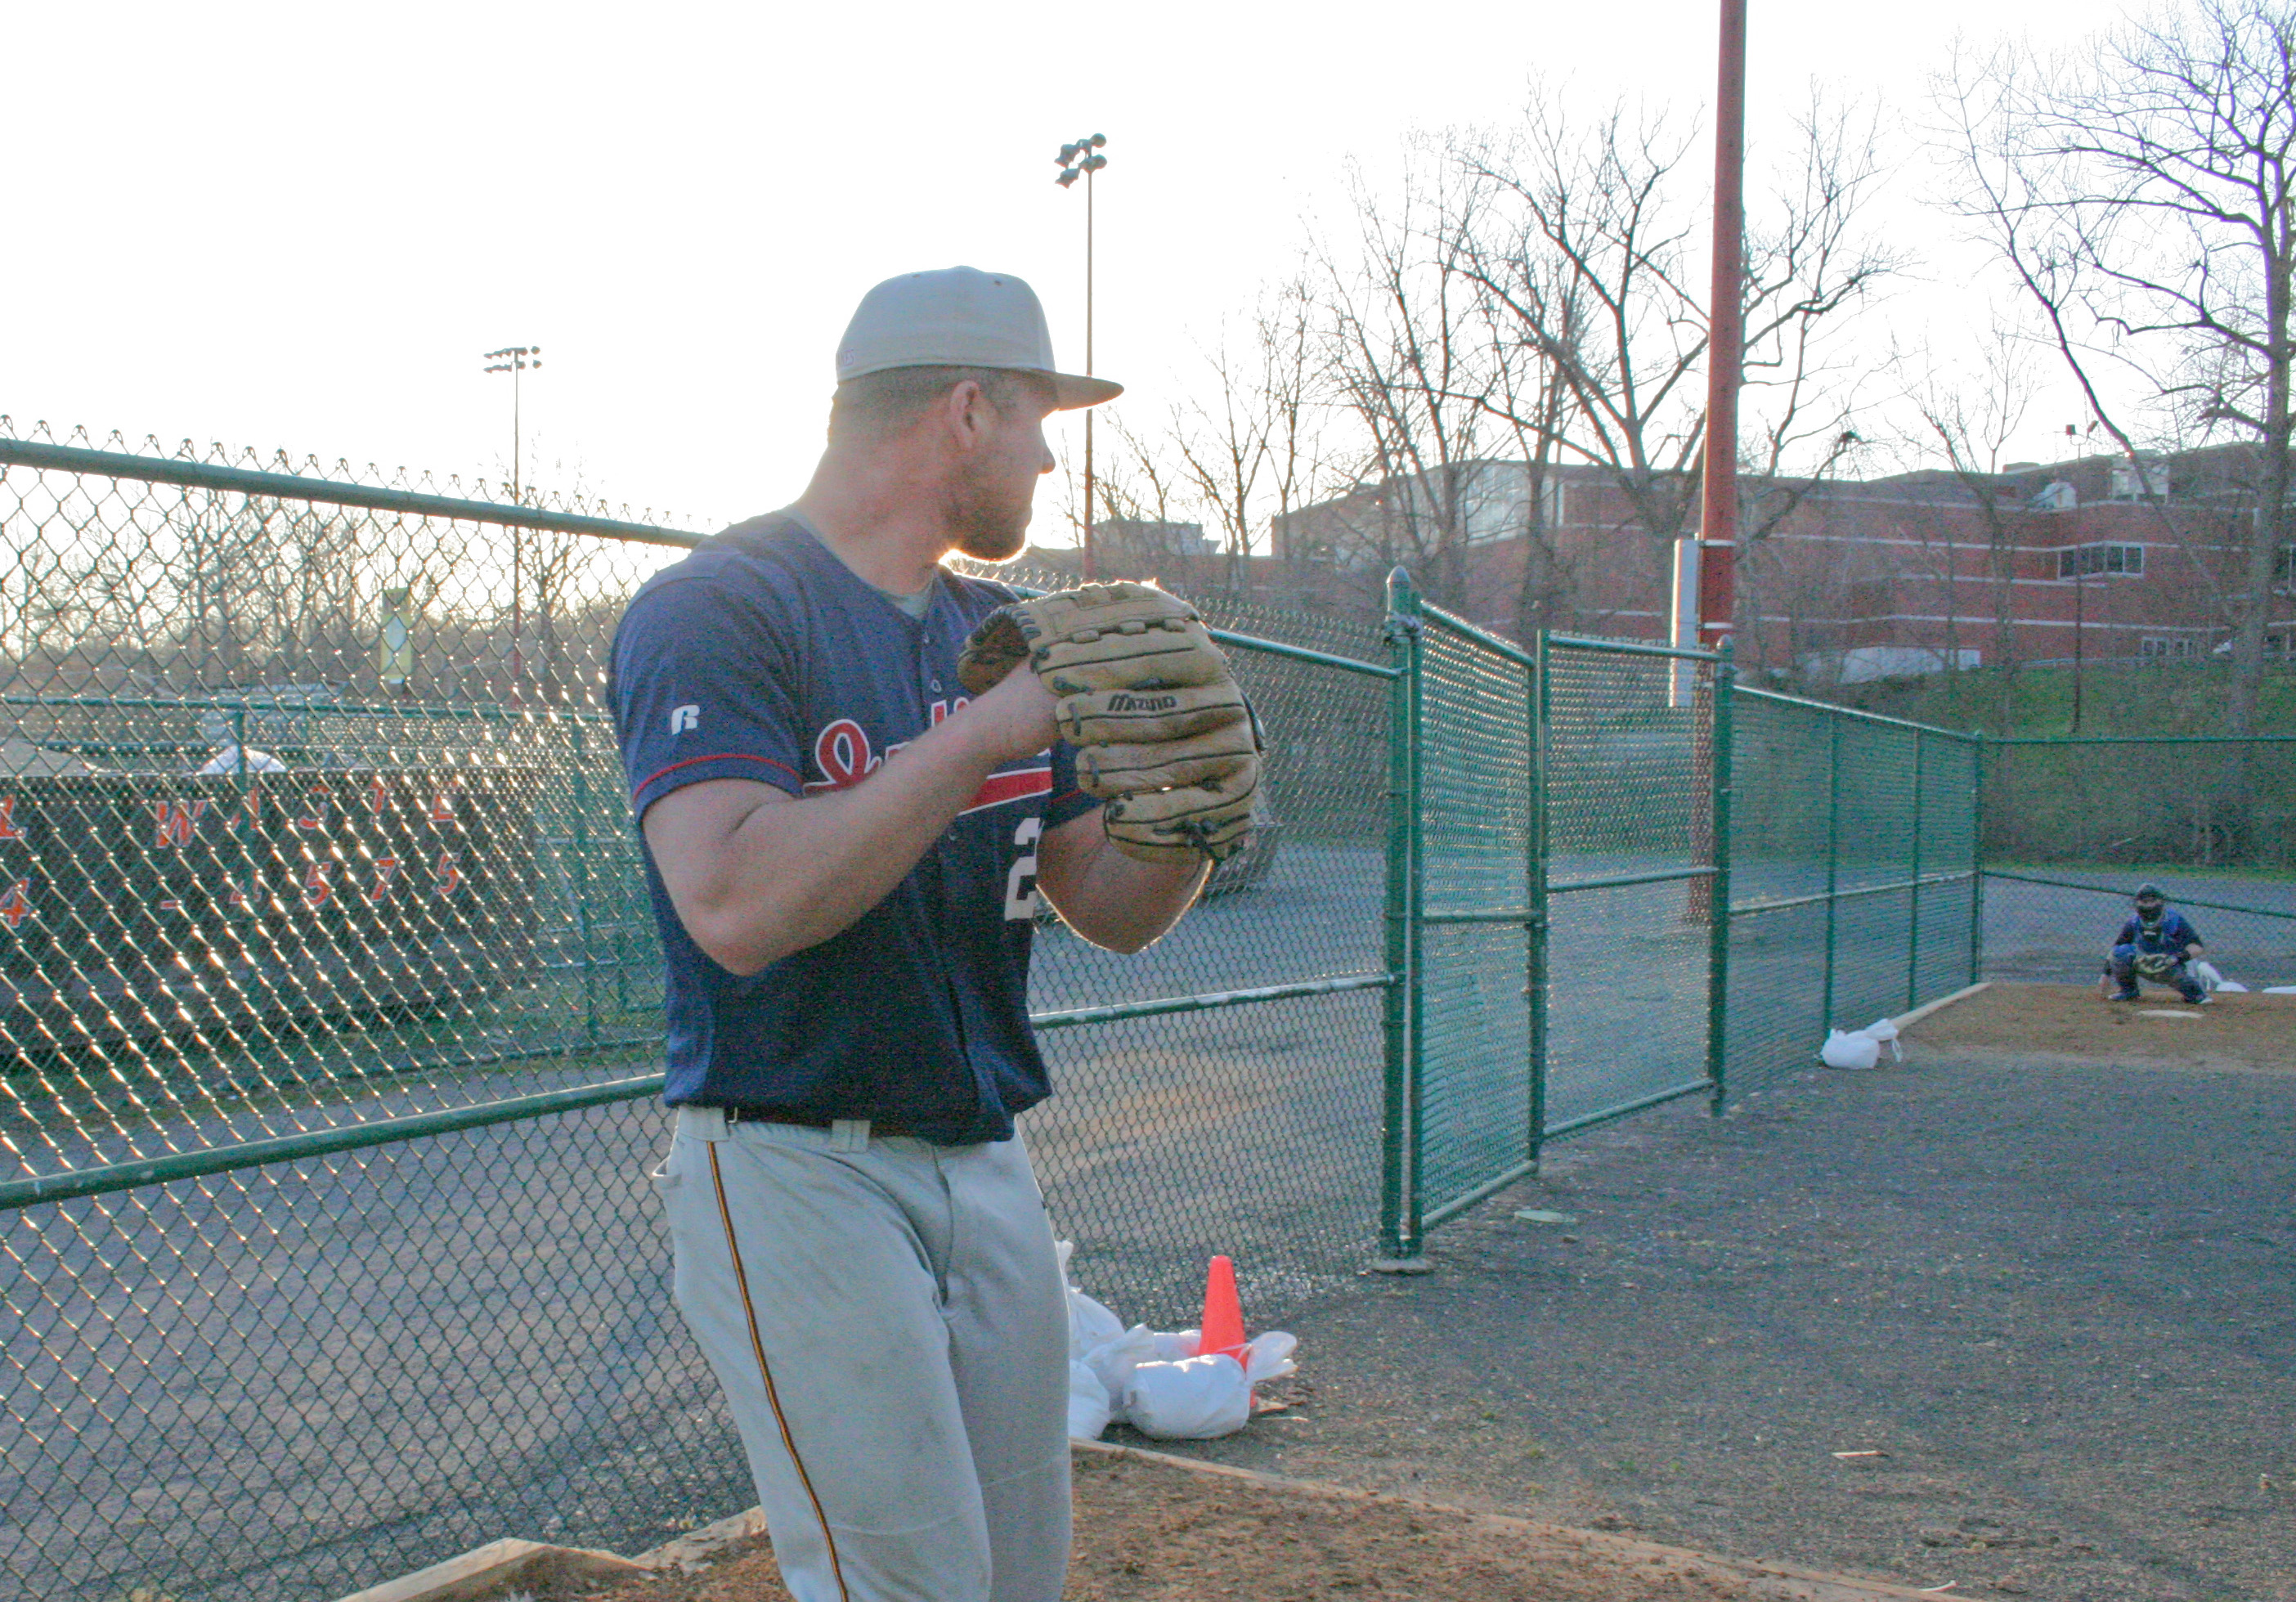
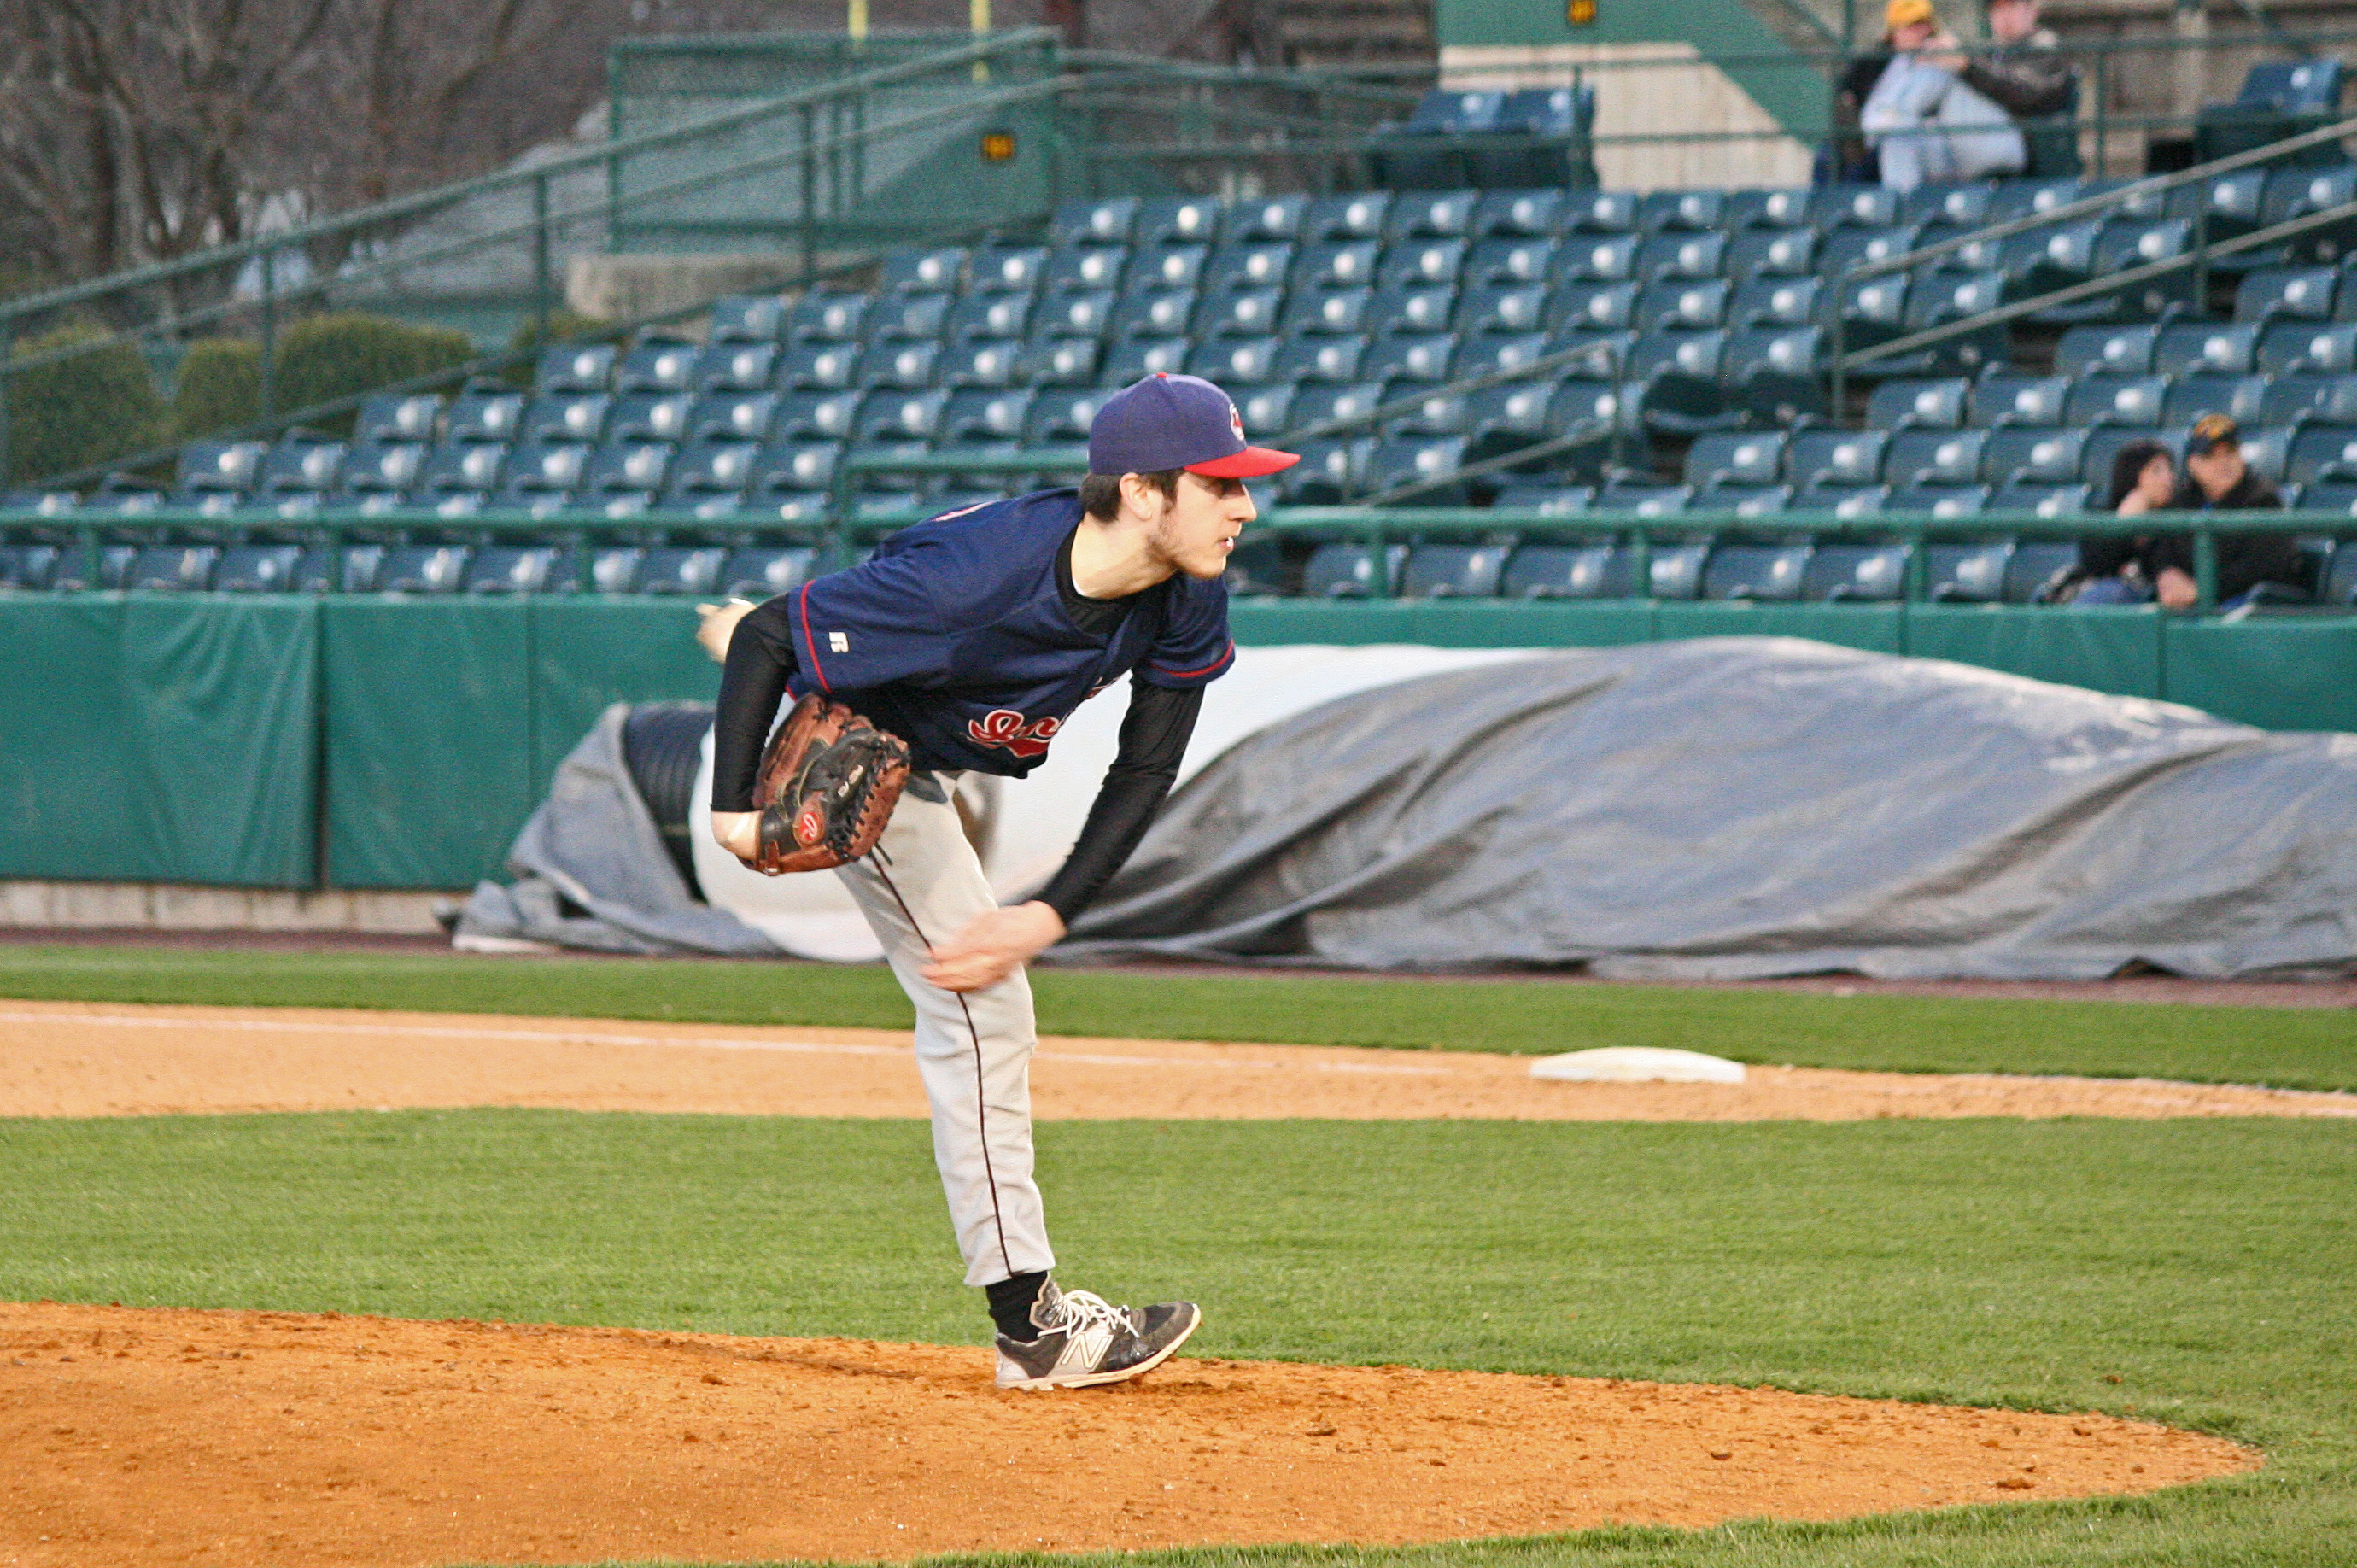
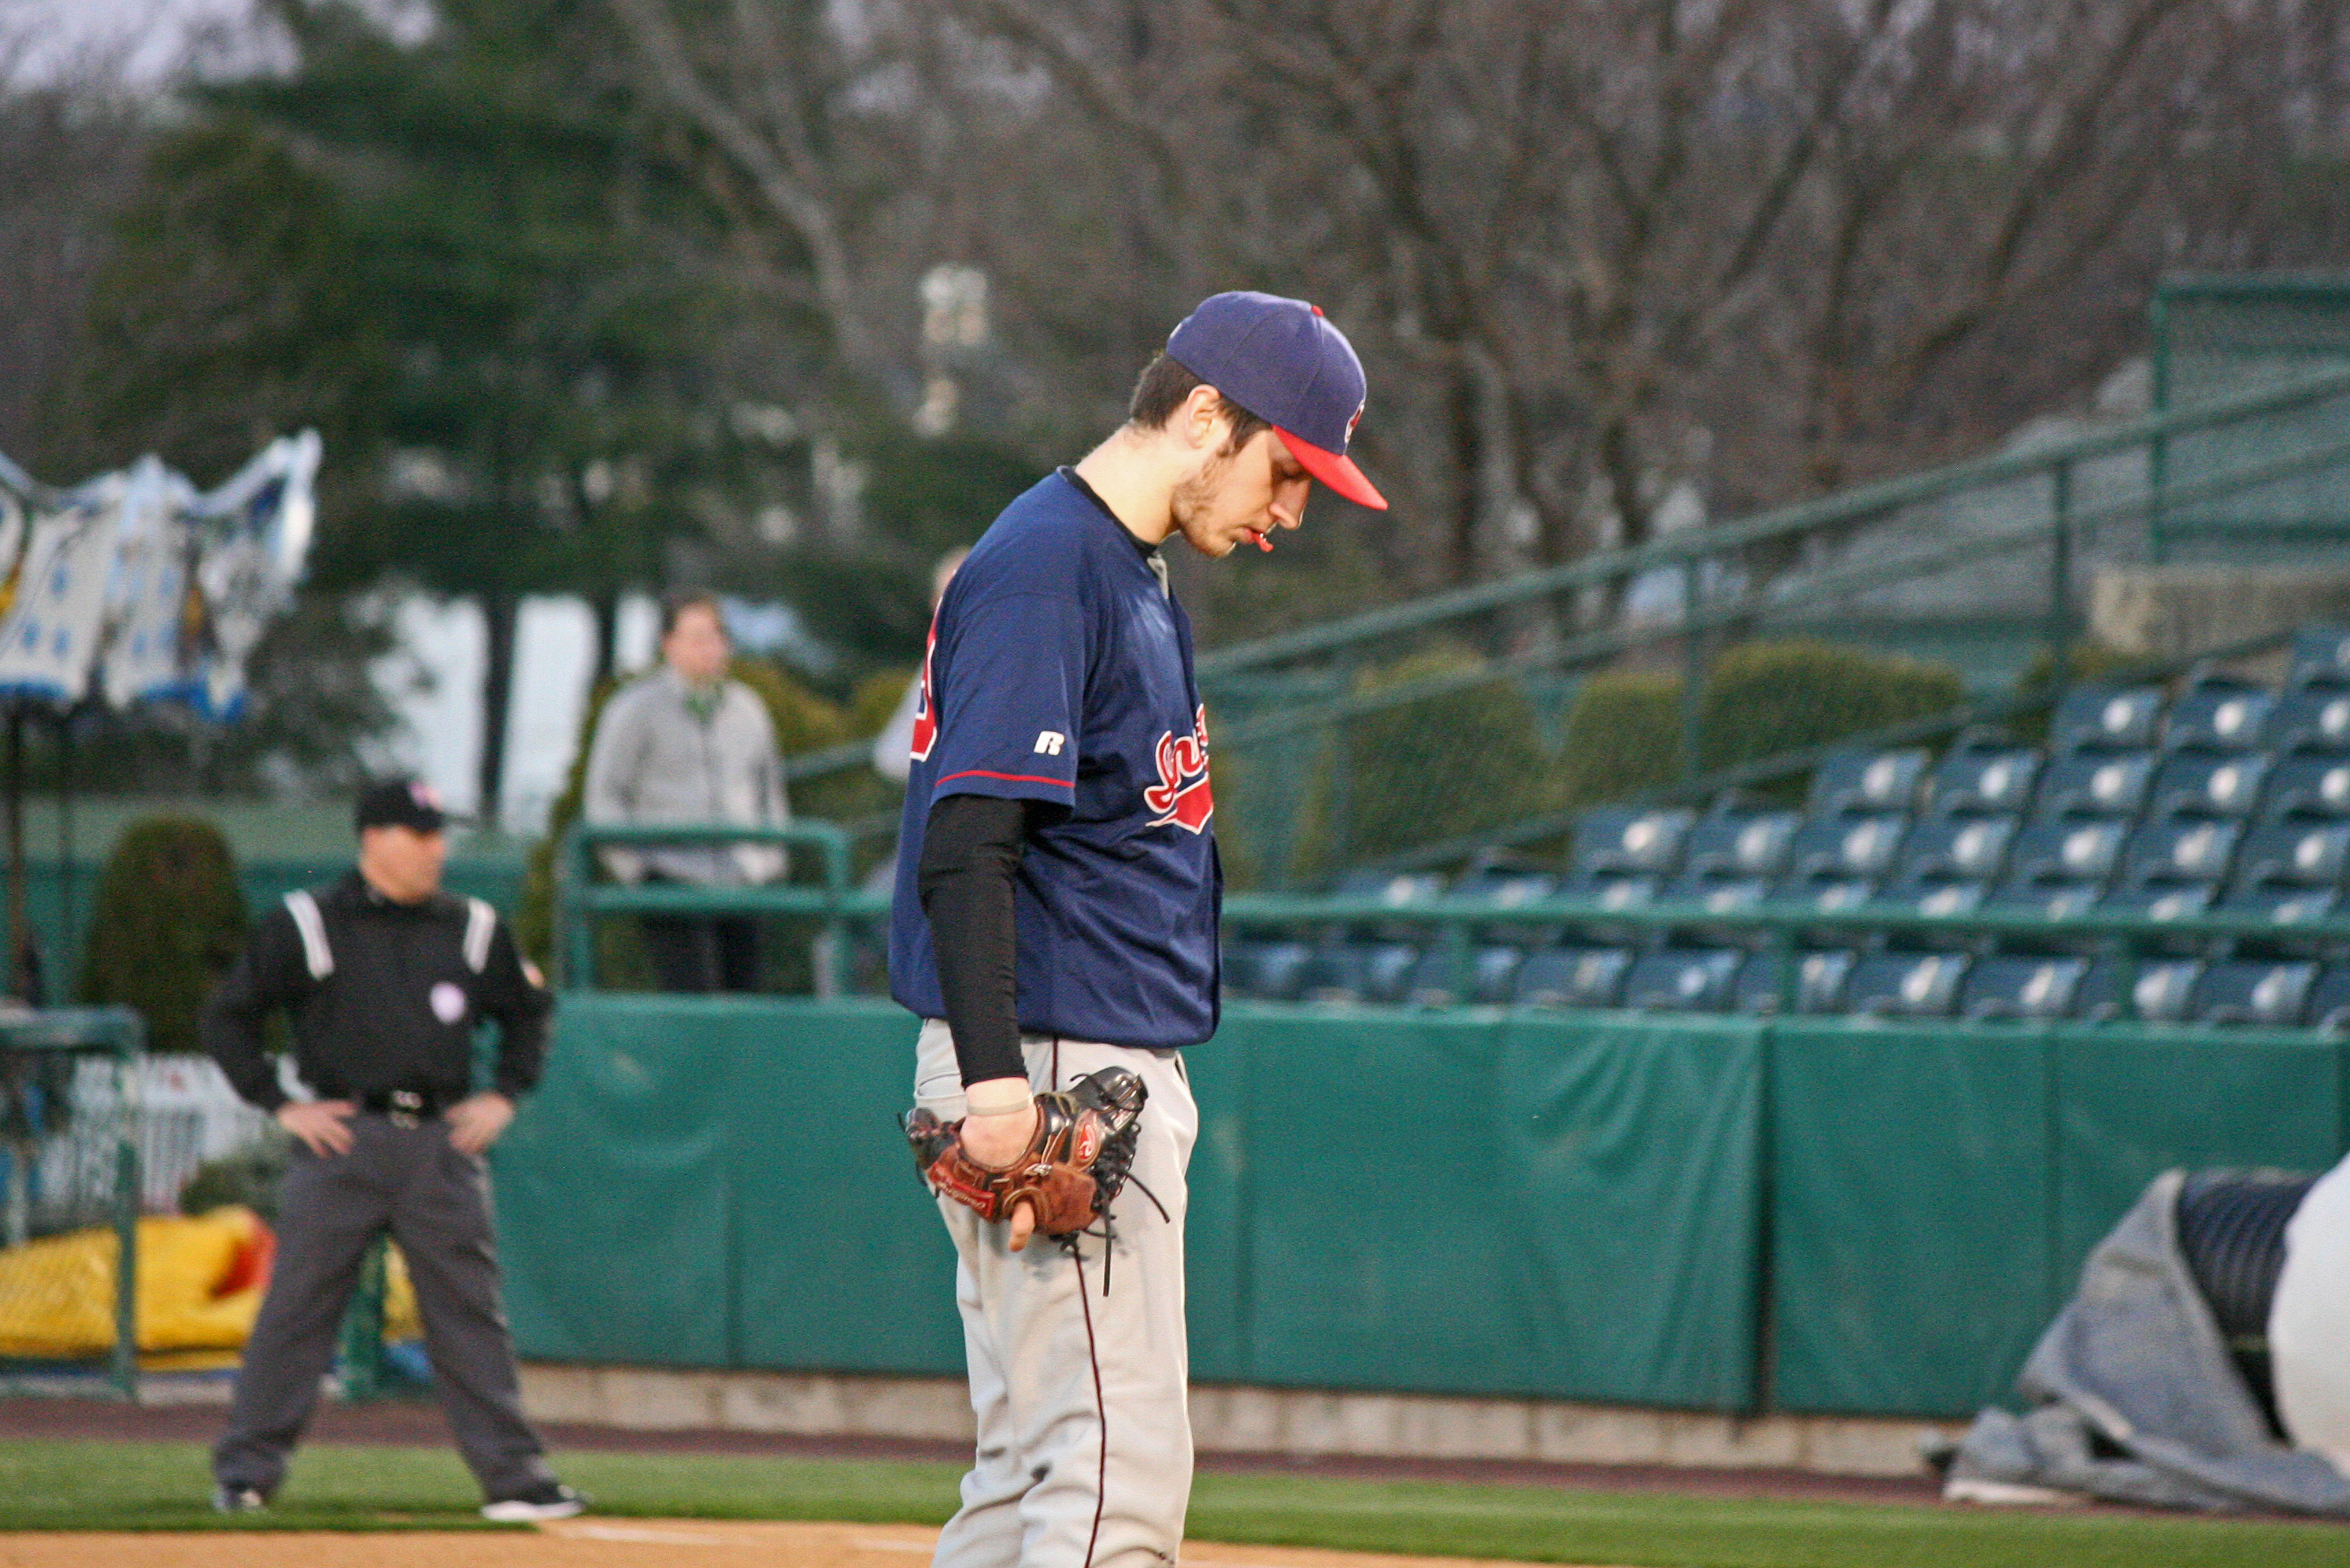
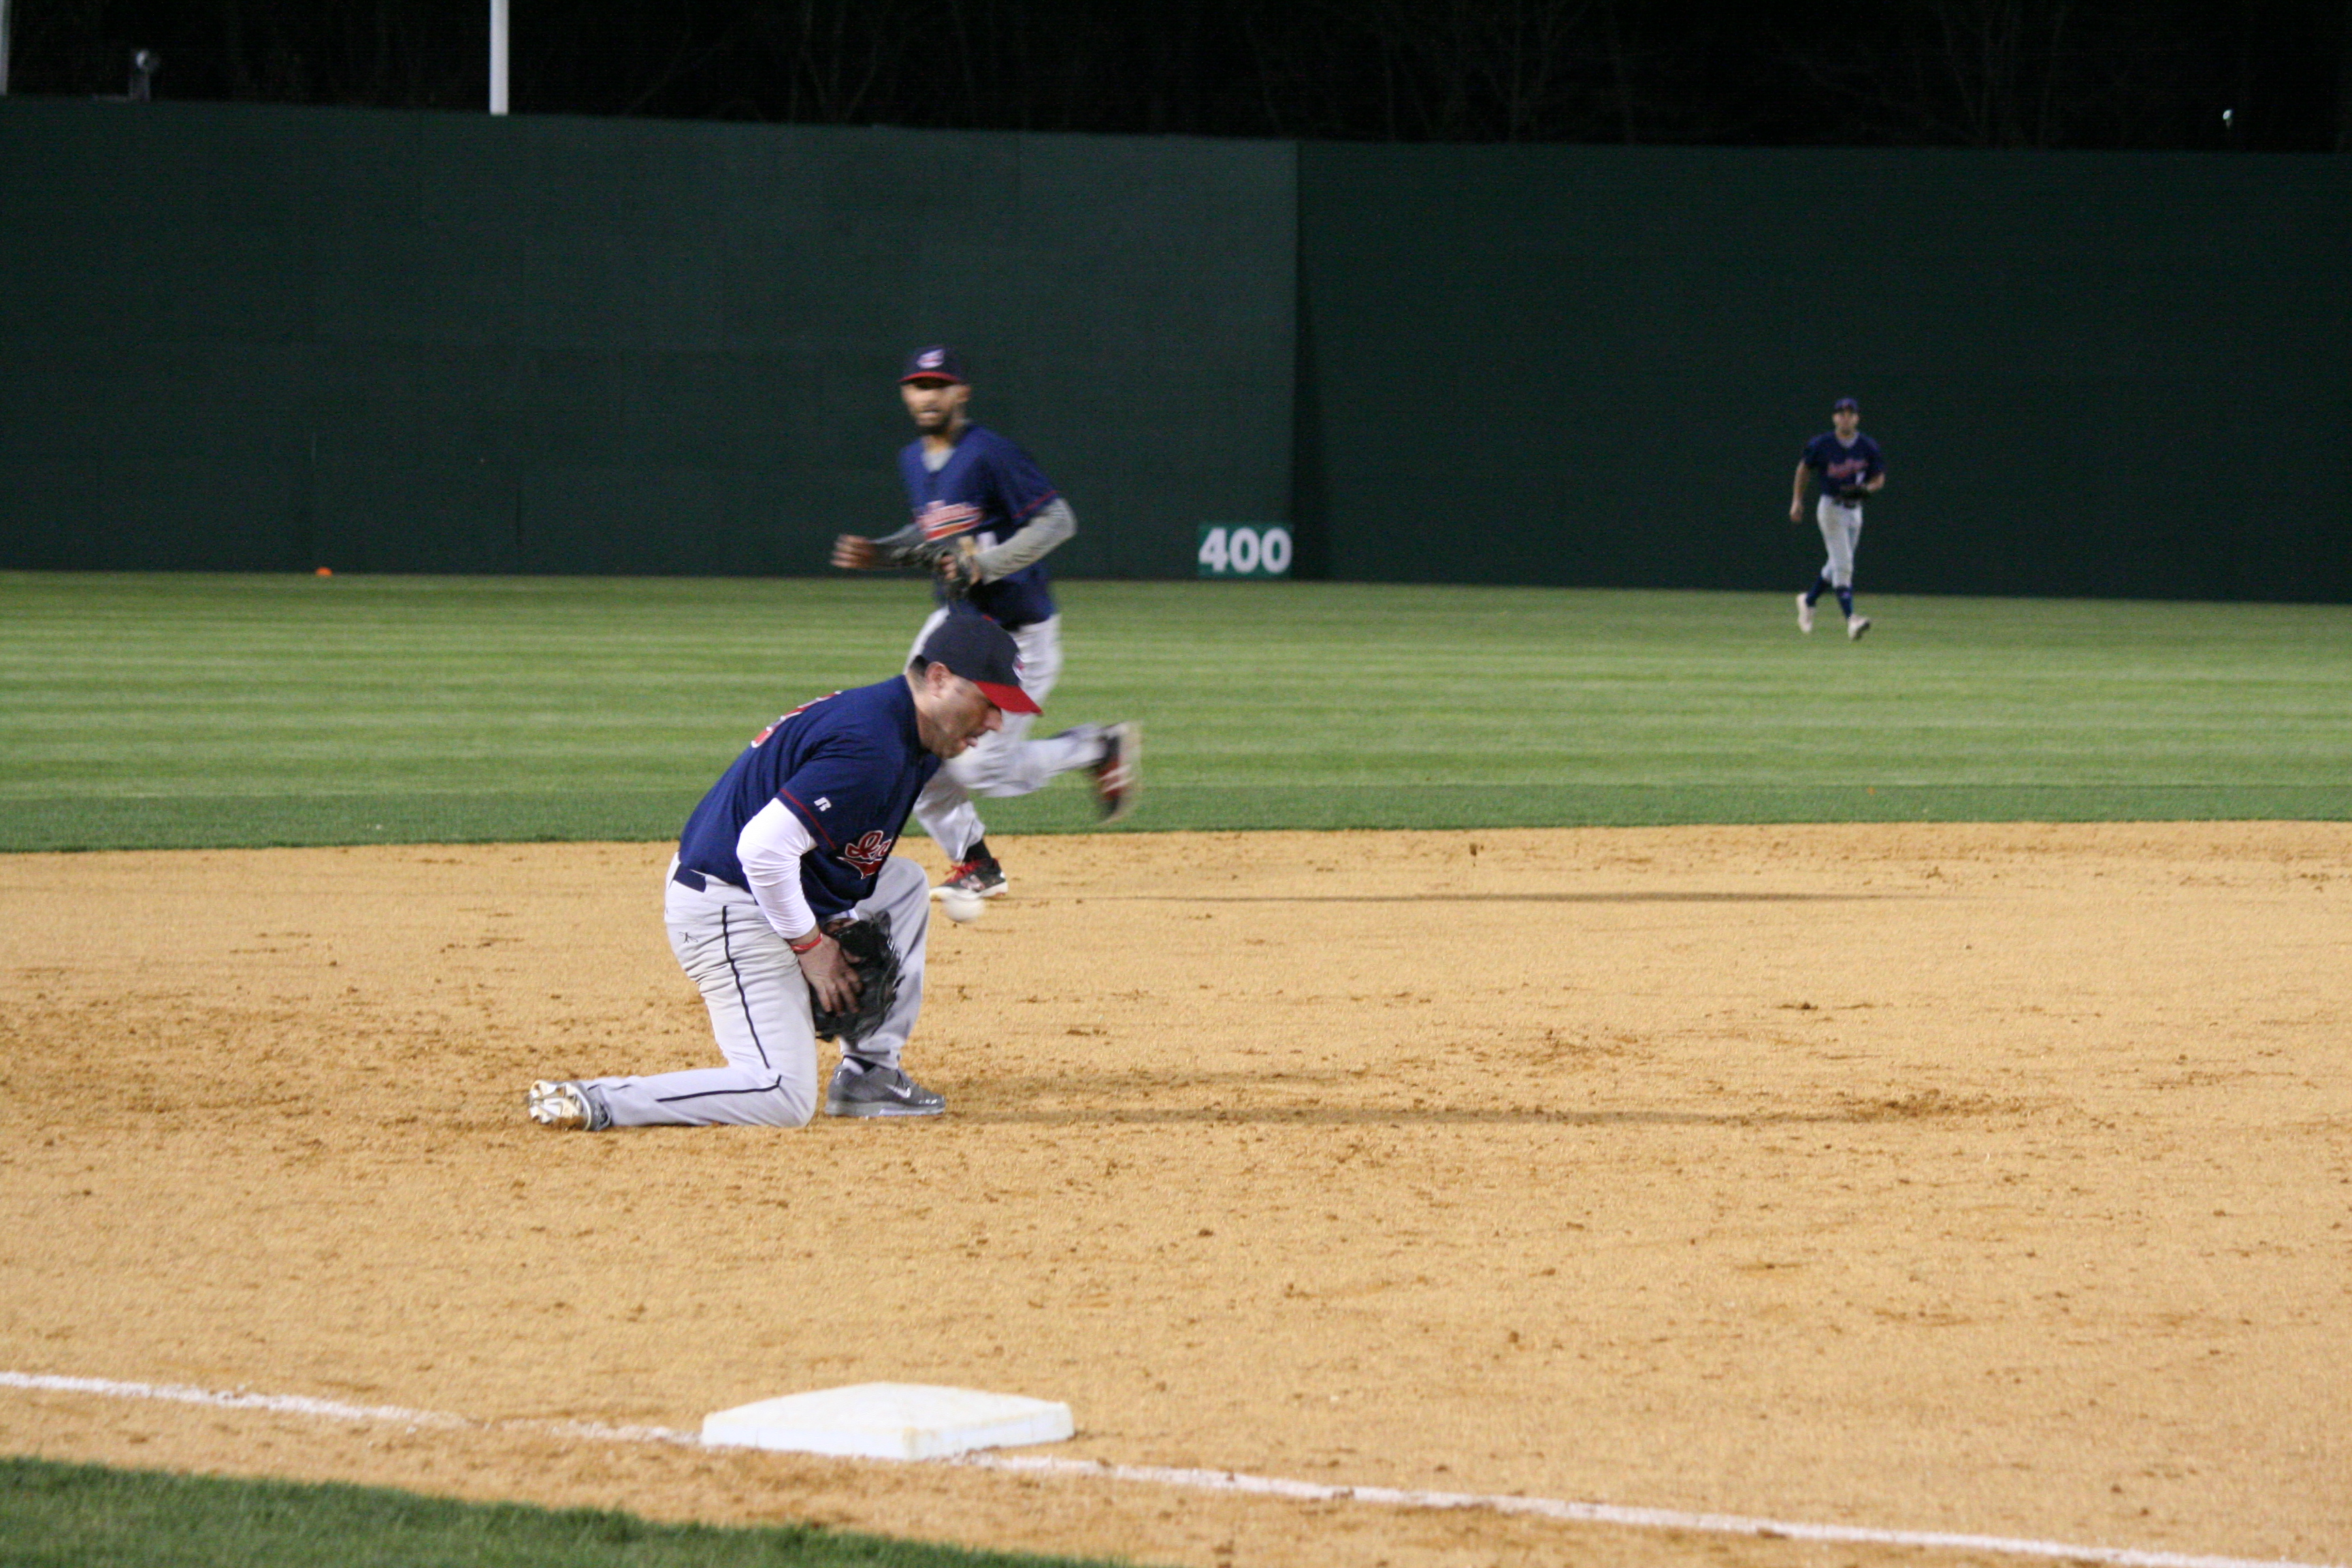
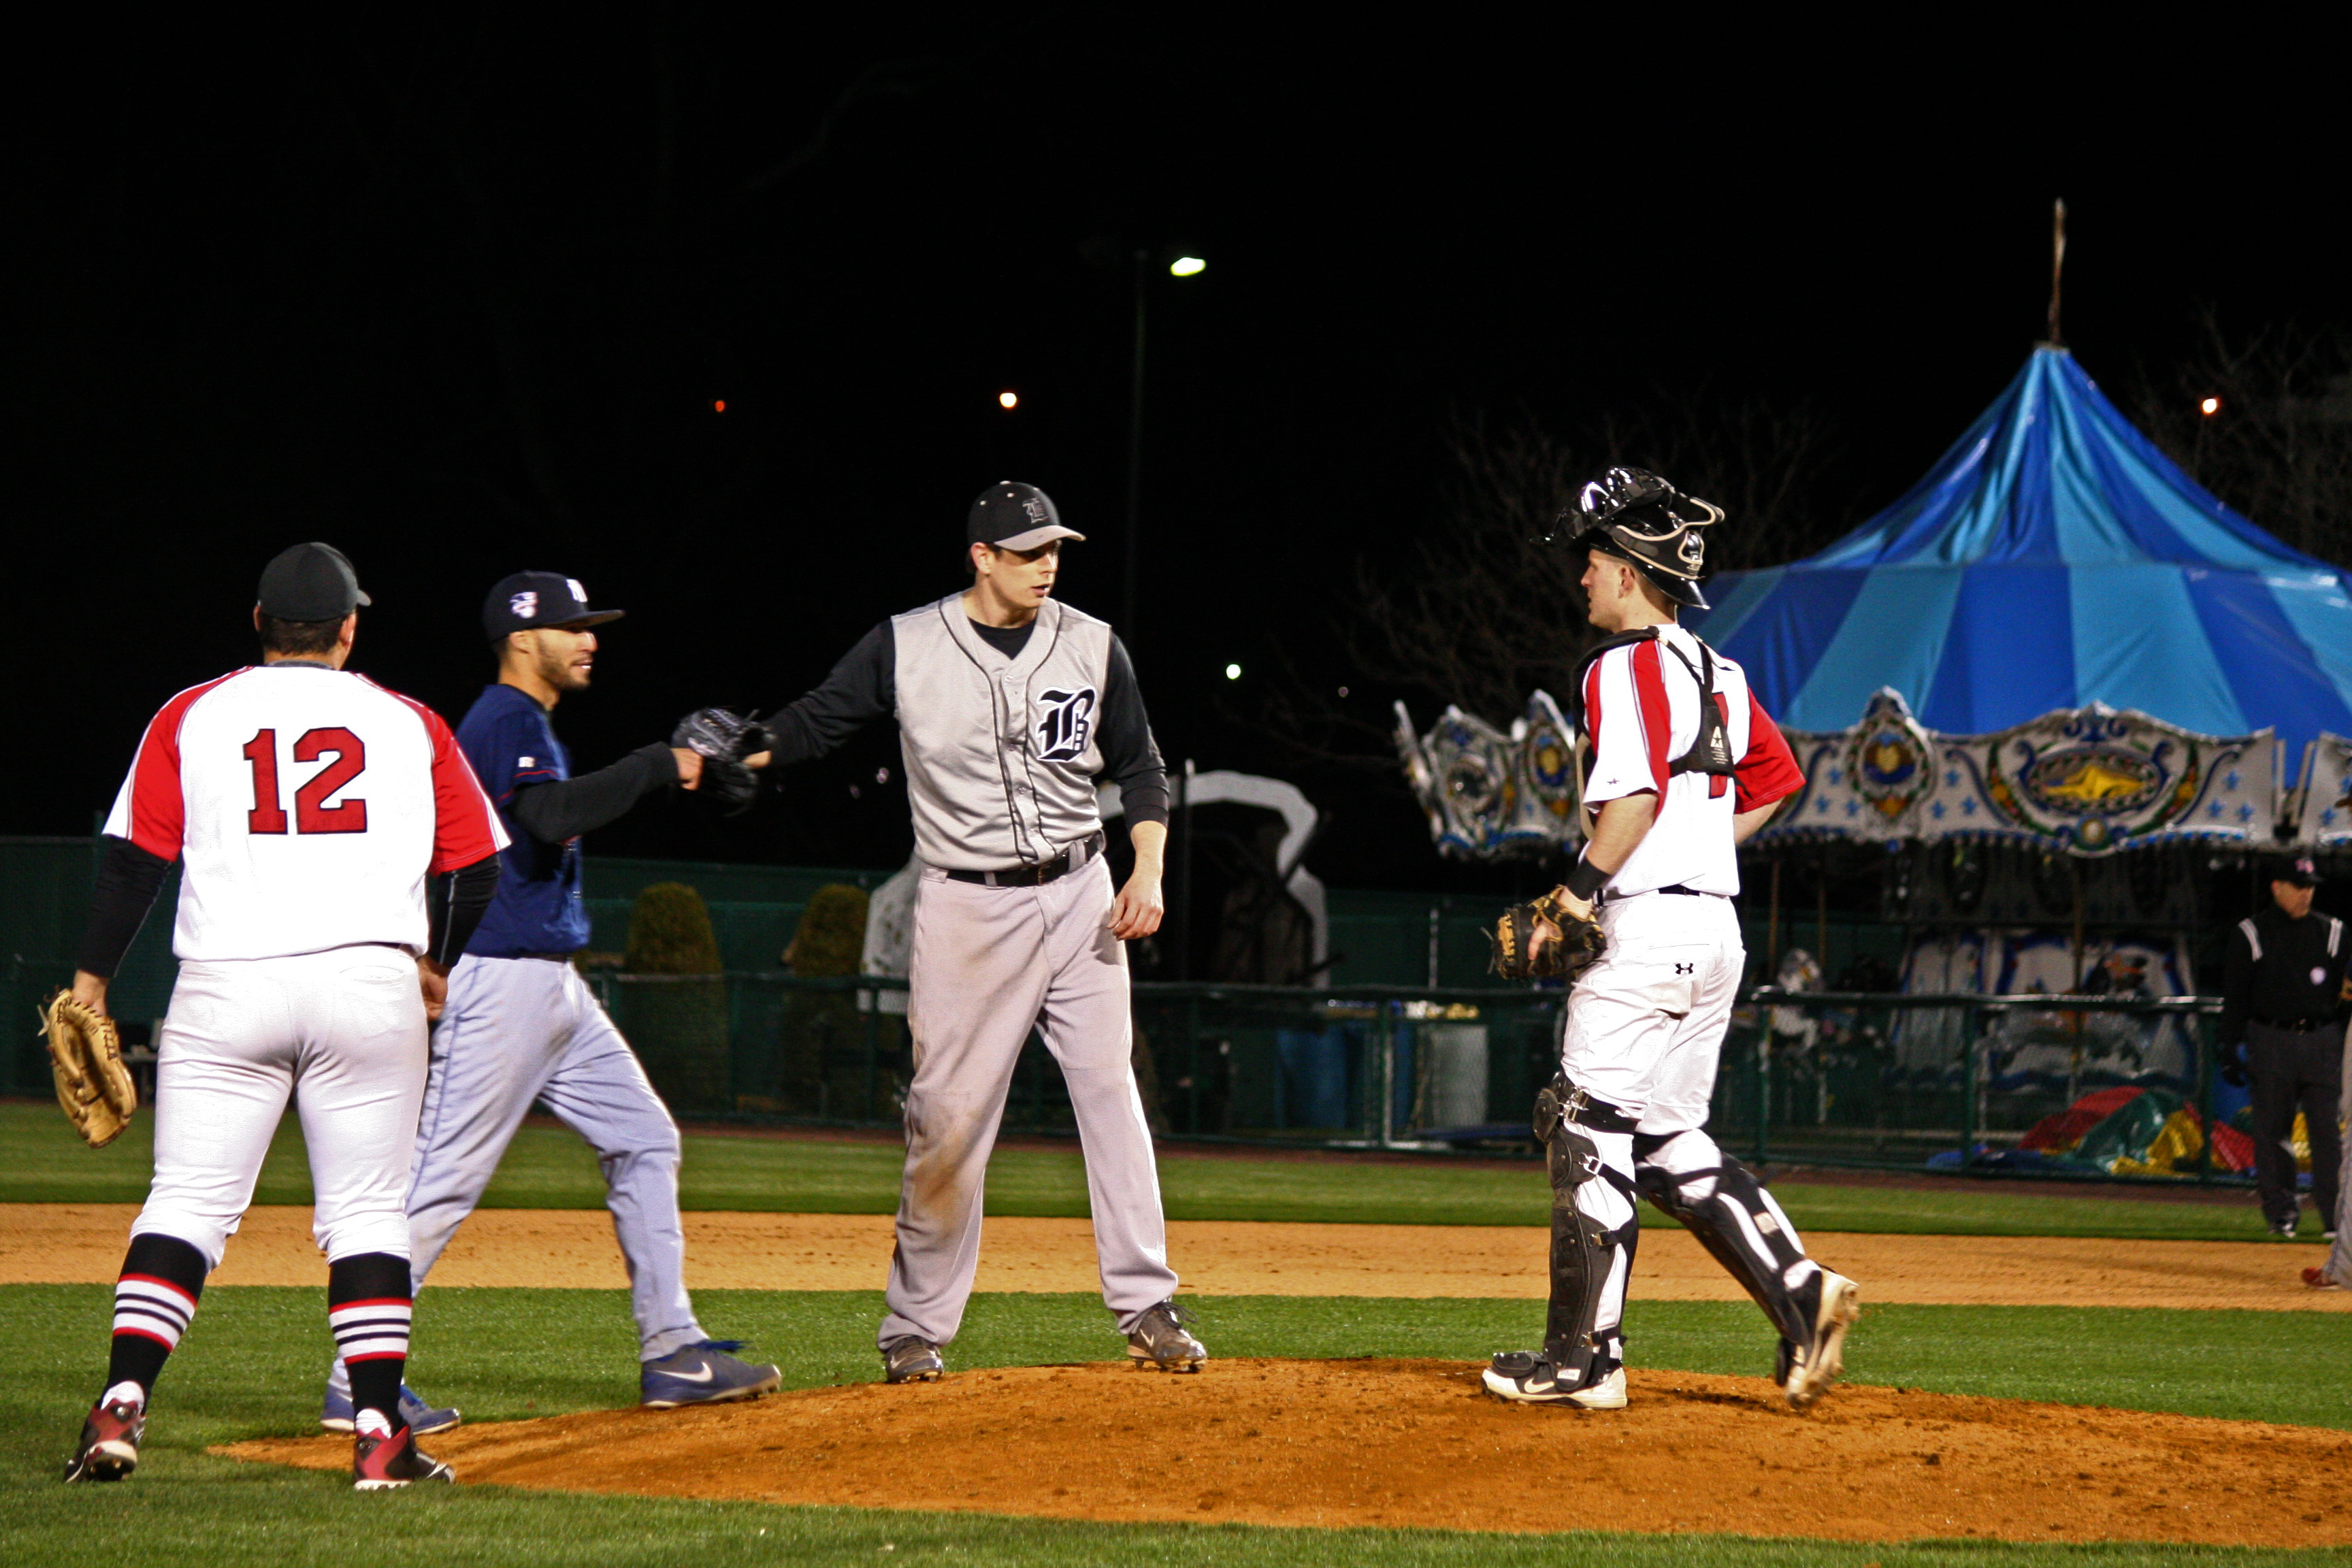
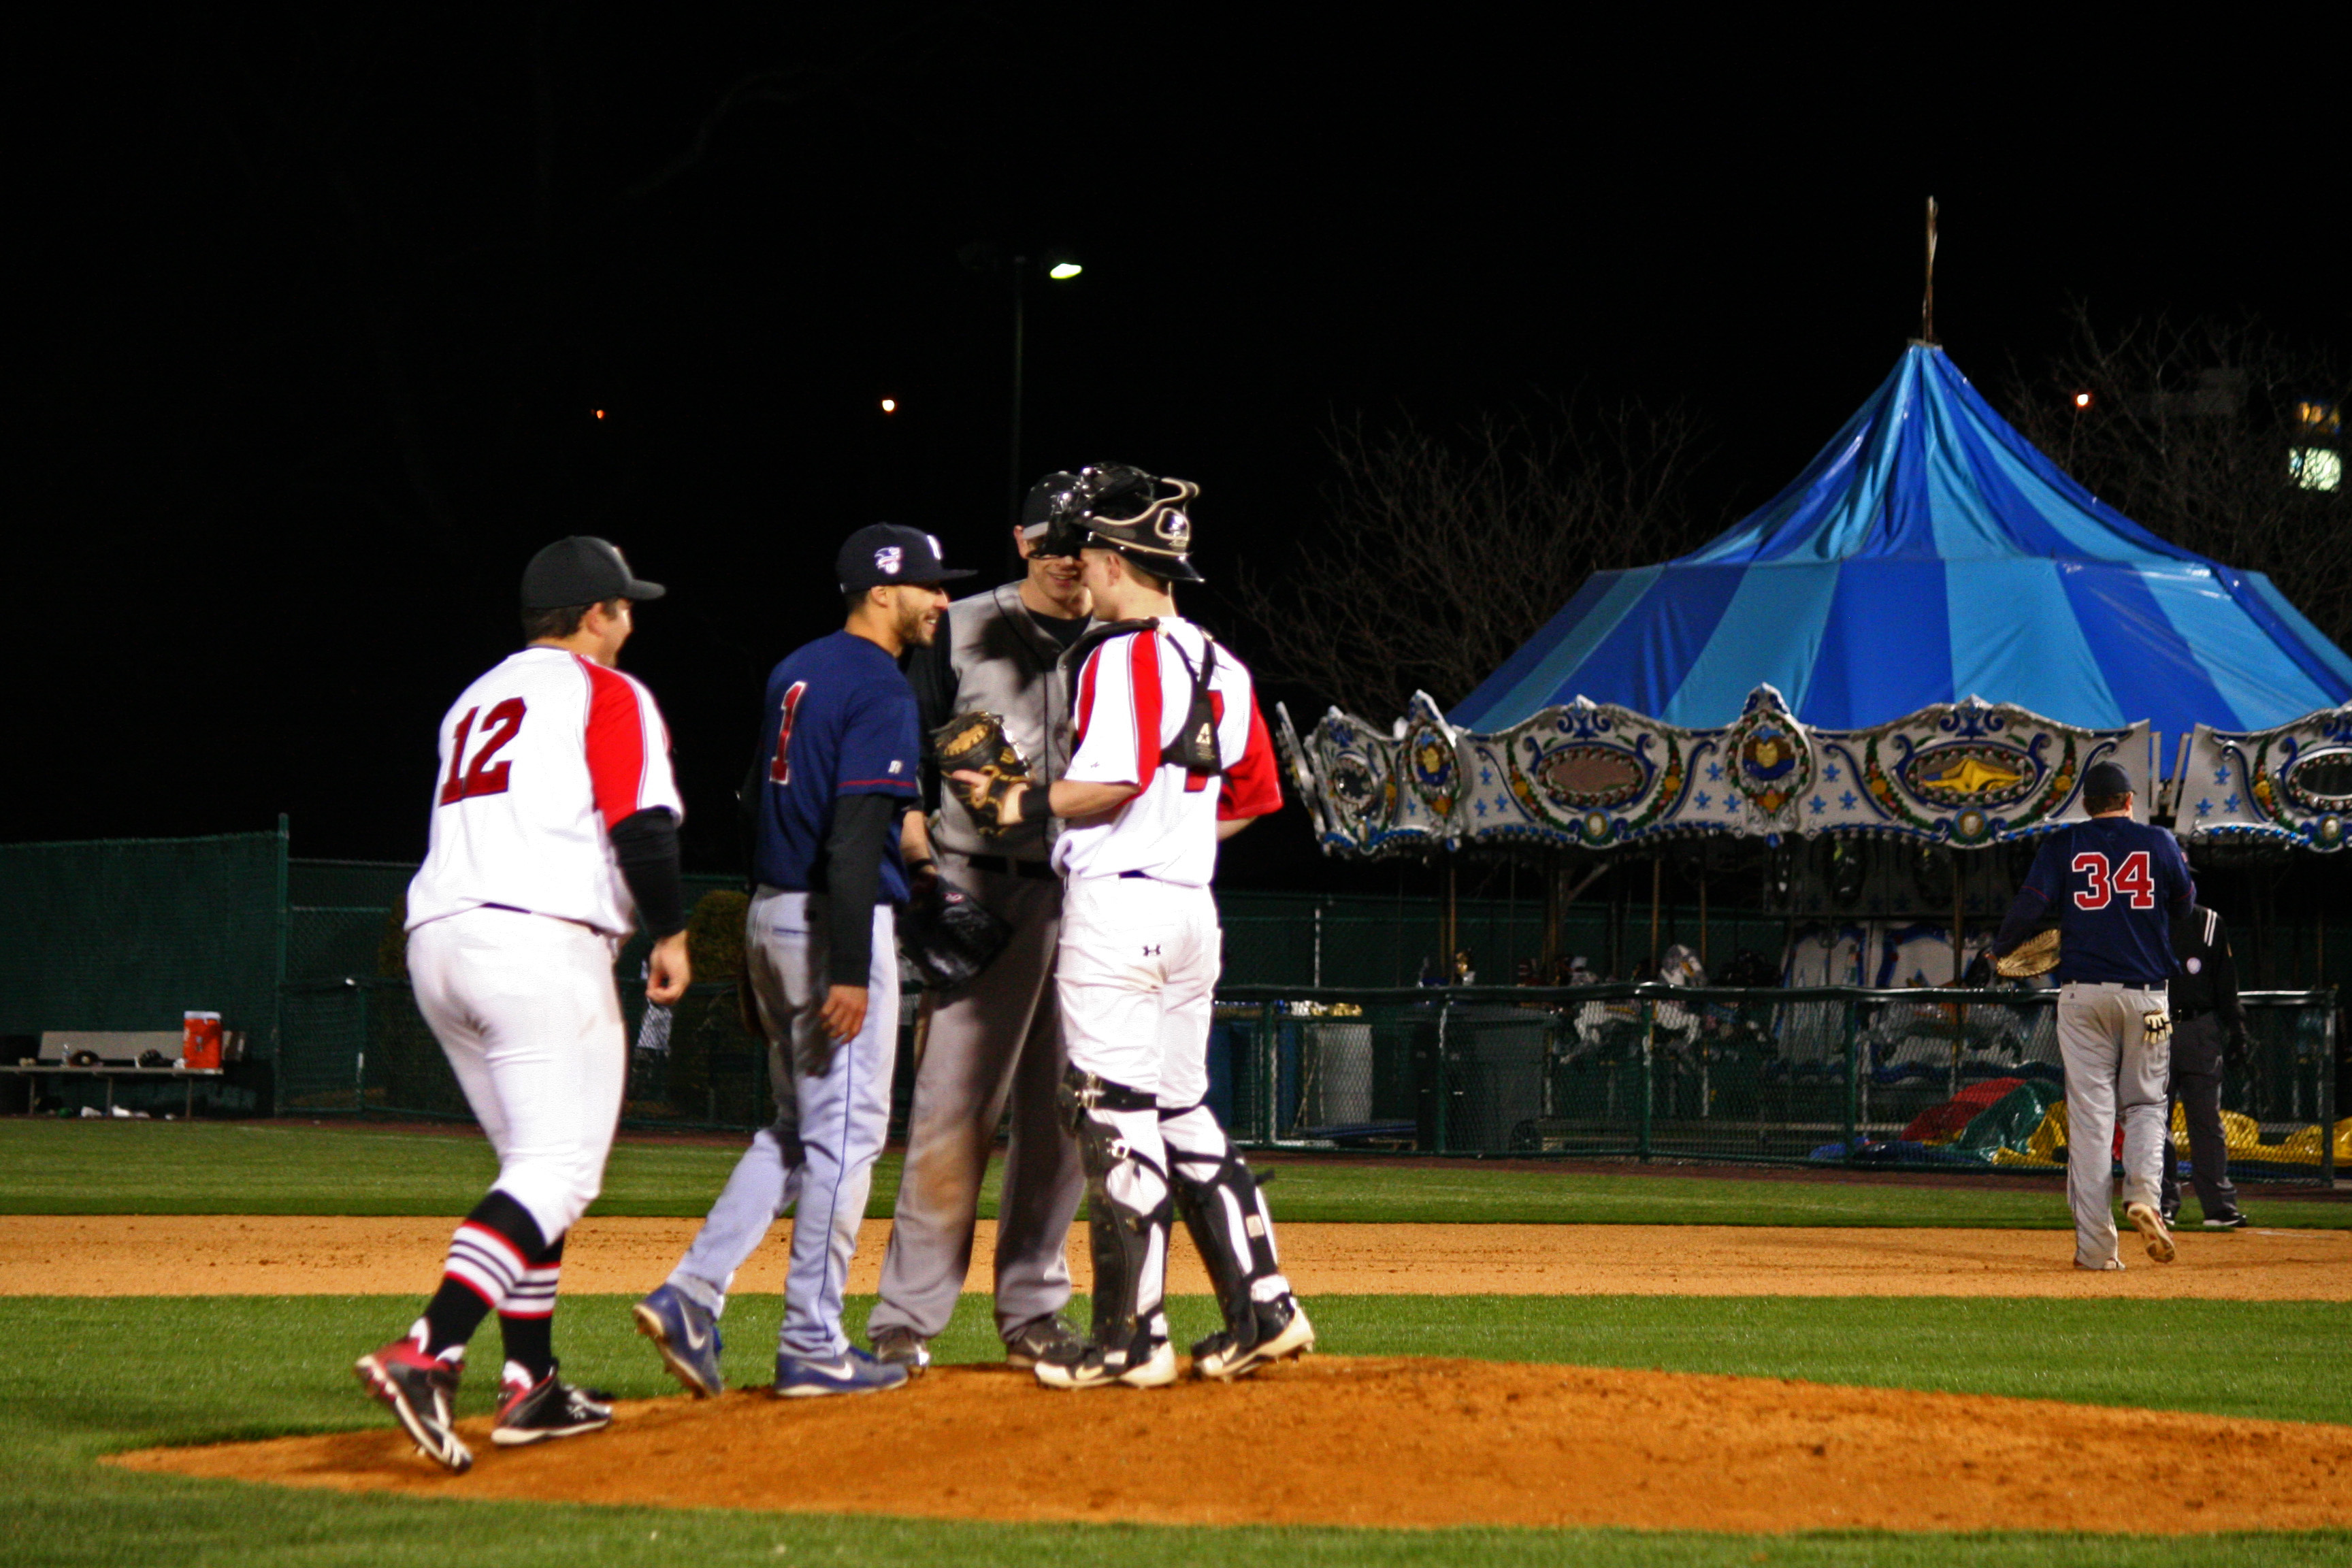
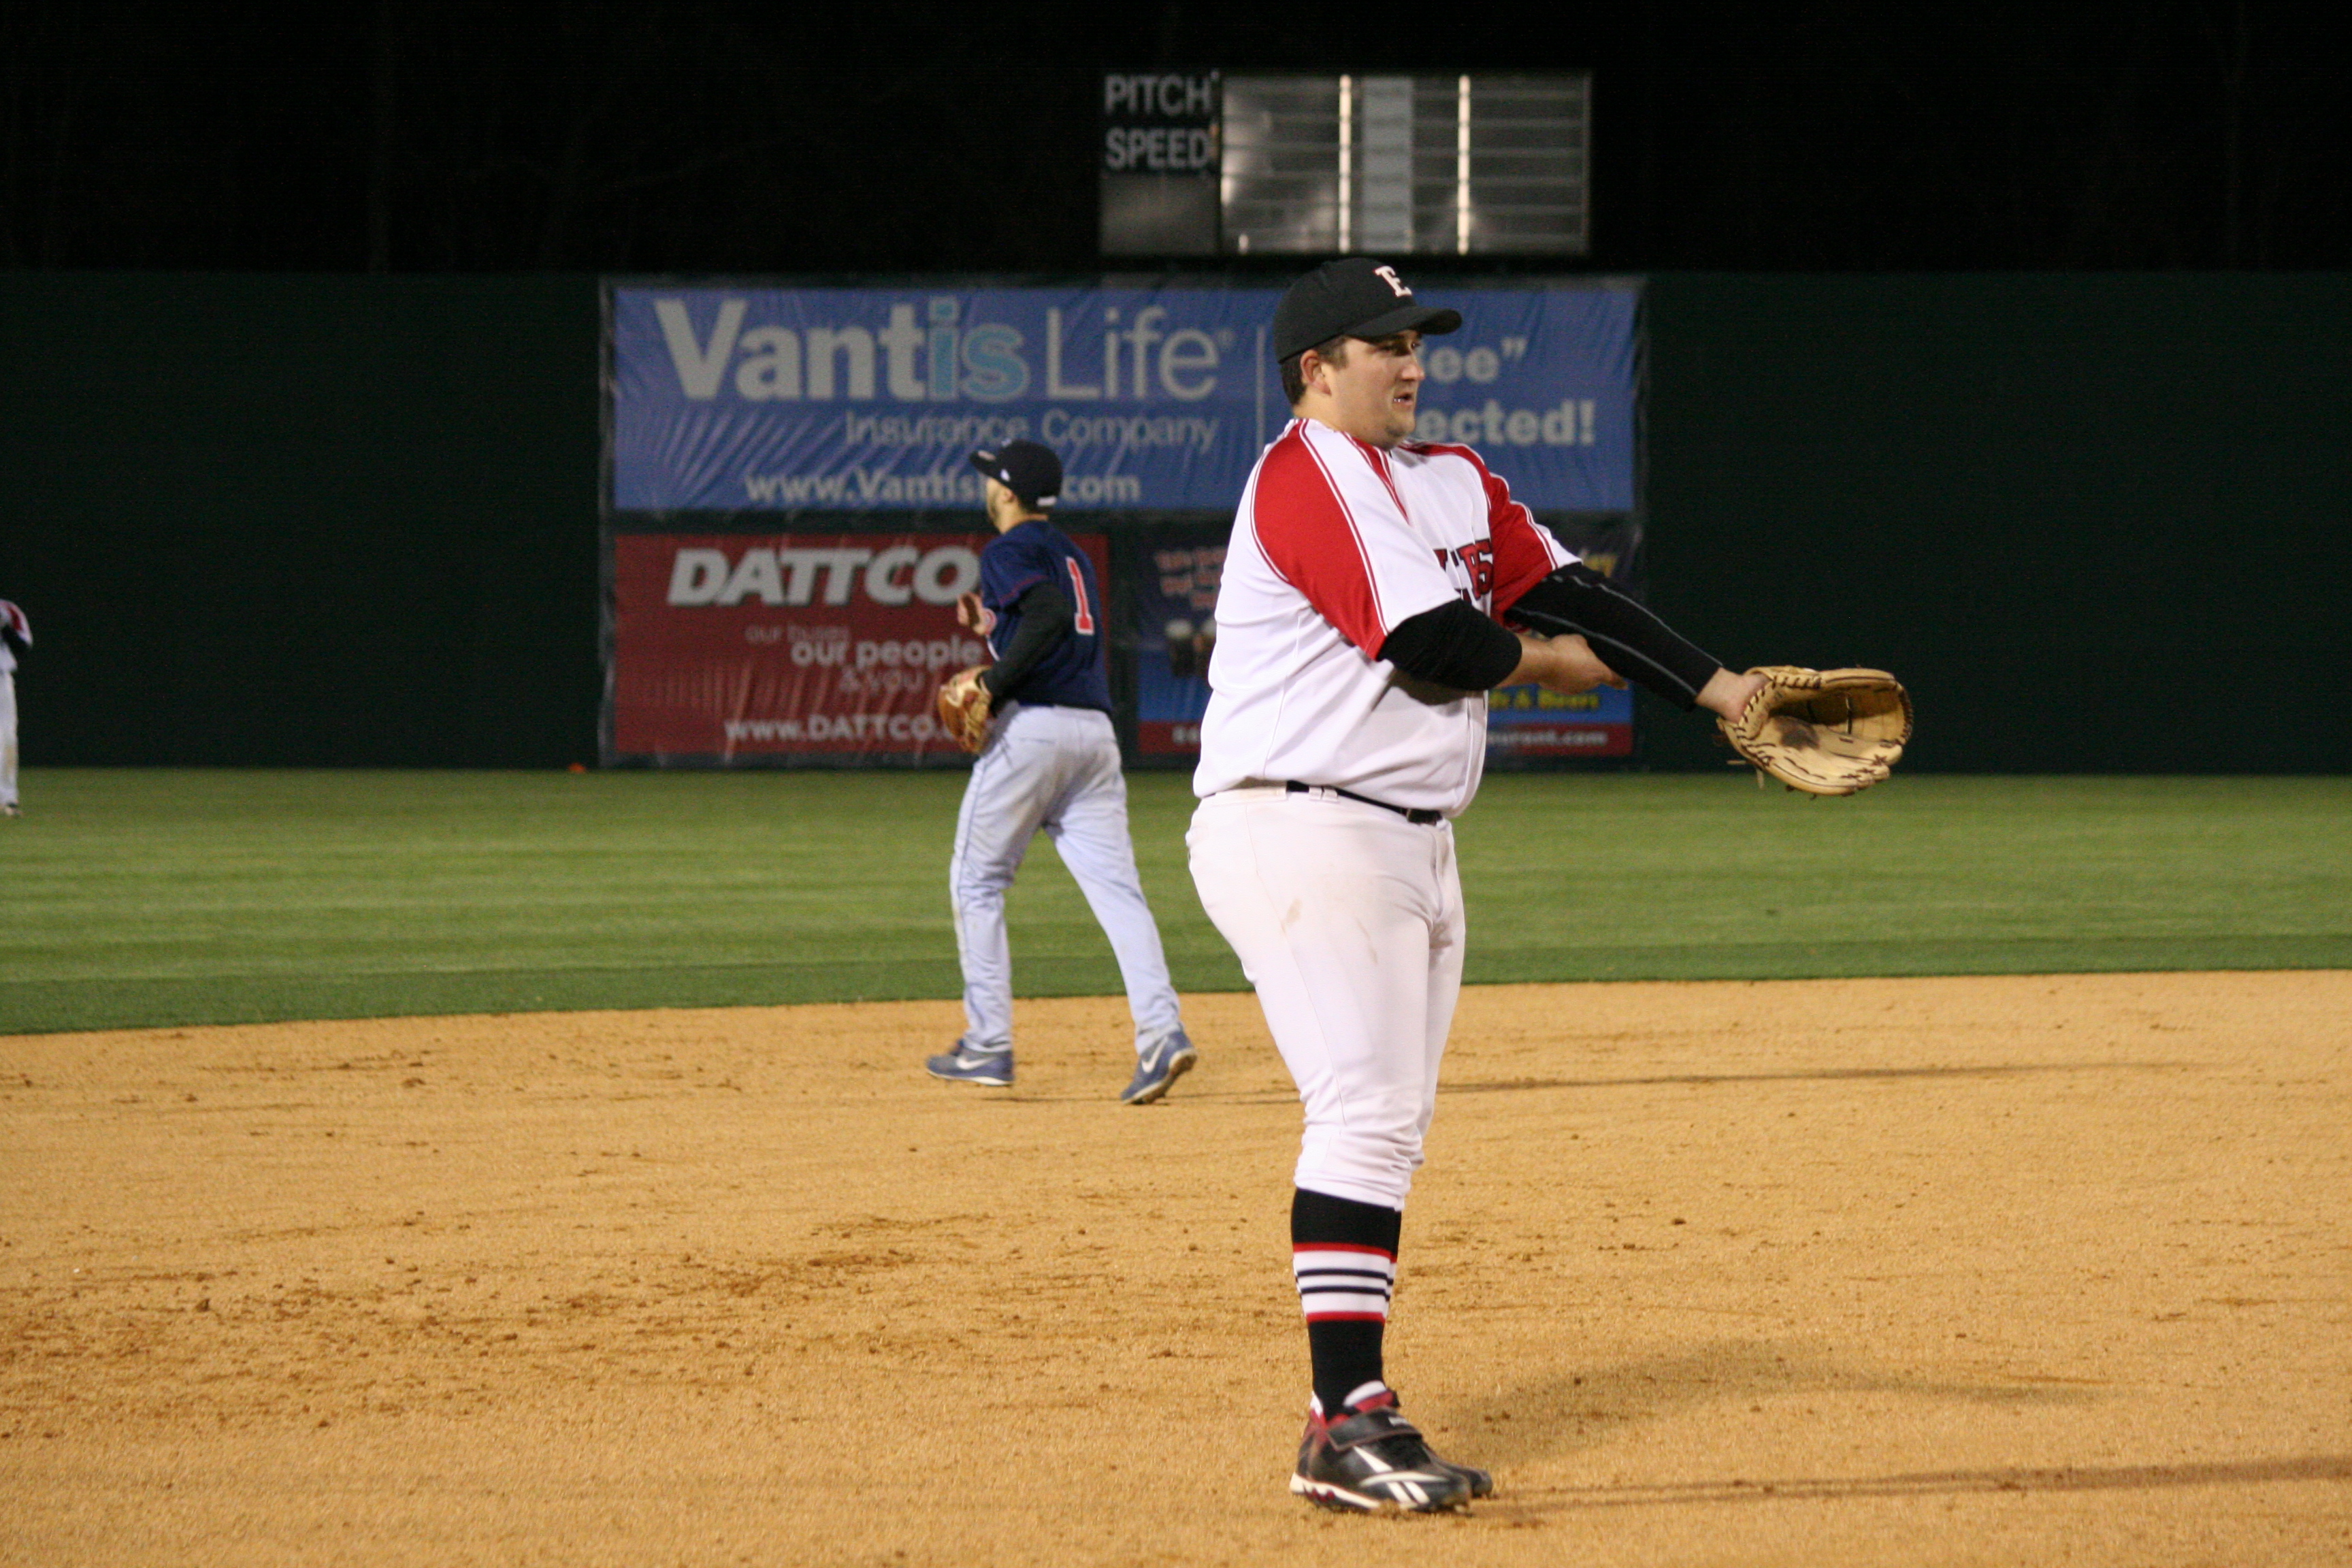
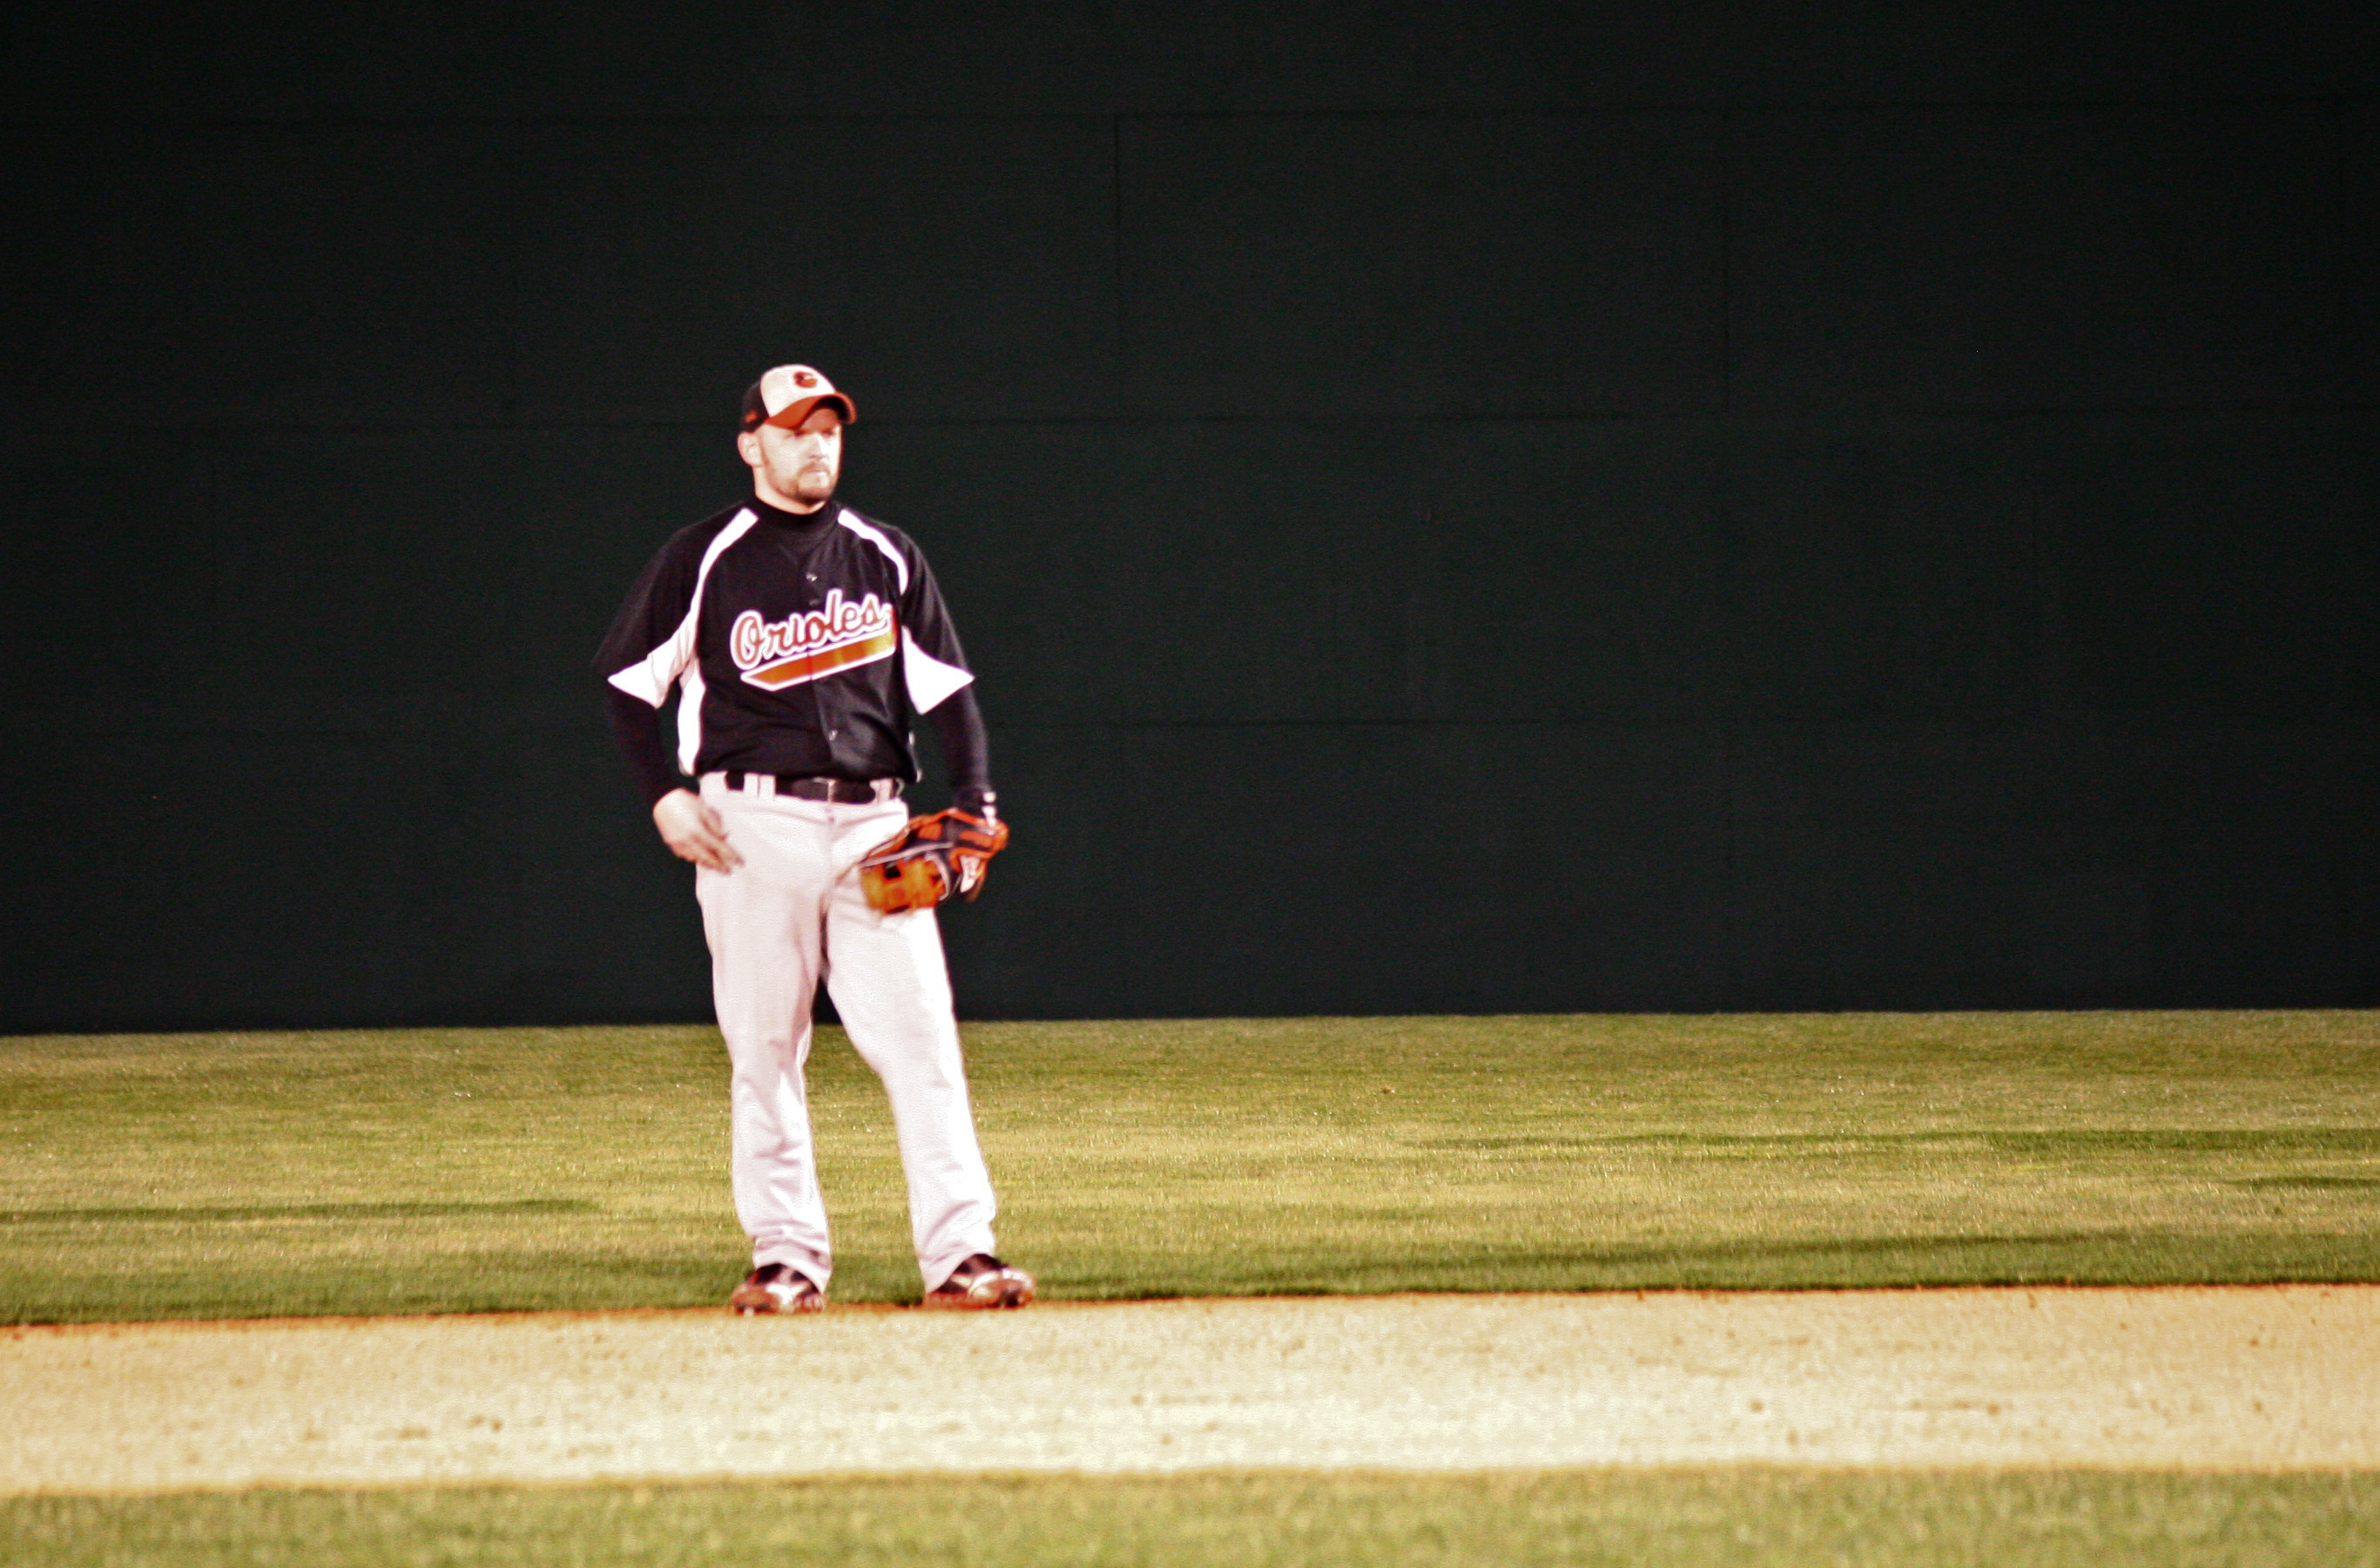
All photos by Scott Dickens (if anyone else has any to add here, let Scott know)


RECENT COMMENTS